From Scratch to Shader-Ready: How to Build a Custom Modpack Without Breaking the Game
Building a Custom Modpack for Minecraft Java Edition: From Scratch to Shader-Ready
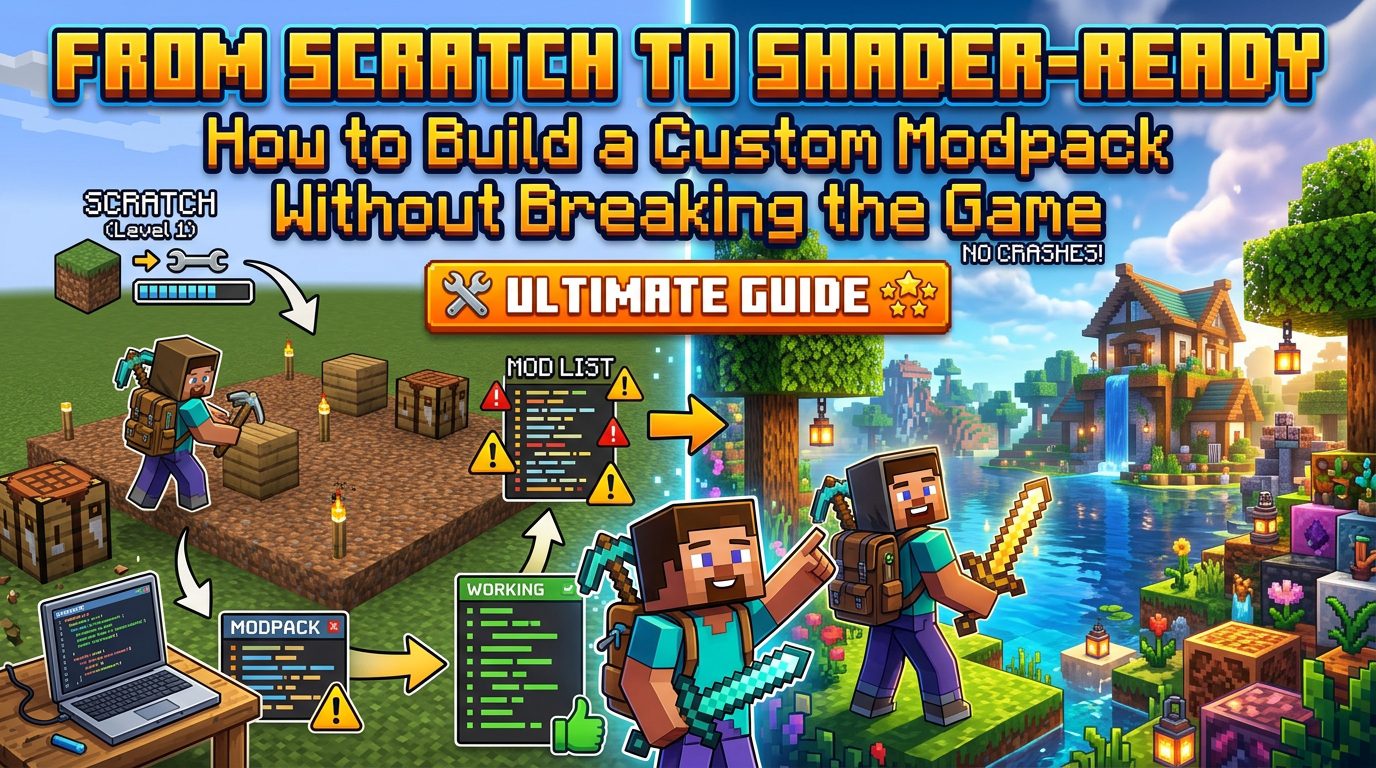
Embarking on the journey of creating a custom Minecraft modpack for Java Edition offers an unparalleled level of personalization and extended gameplay. This comprehensive guide will walk you through every essential step, from gathering the core components to integrating dazzling shaders, all while ensuring your game remains stable and enjoyable.
Understanding the Foundation: Java Edition vs. Bedrock and Version Compatibility
Before diving into the specifics of modpack creation, it’s crucial to understand the fundamental differences between Minecraft: Java Edition and Minecraft: Bedrock Edition, as well as the critical role of version compatibility.
Minecraft: Java Edition vs. Minecraft: Bedrock Edition
- Minecraft: Java Edition: This is the version we will focus on for modpack creation. It utilizes “mods” that directly modify the game’s underlying code. This deep level of access enables extensive customization, allowing for entirely new dimensions, complex machinery, and comprehensive combat overhauls. Java Edition relies on specialized mod loaders, such as Forge, Fabric, Quilt, or NeoForge, to function correctly. A key distinction is that Java Edition does not support cross-platform play with Bedrock Edition.
- Minecraft: Bedrock Edition: In contrast, Bedrock Edition uses “add-ons.” These add-ons are constructed using official tools and systems provided by Mojang, rather than directly altering the game engine’s core code. Consequently, Bedrock add-ons offer more limited customization compared to Java mods, with restrictions on implementing complex scripting or fully custom dimensions. Bedrock Edition boasts broad cross-platform play capabilities across various devices, including PC, Xbox, PlayStation, Switch, and mobile platforms. It also features an official marketplace where players can purchase content like skins, maps, and texture packs. It is important to note that Bedrock add-ons are generally not compatible with Java mods.
Strict Version and Mod Loader Compatibility
A cornerstone of successful modpack building is adhering to strict compatibility rules:
- Version Specificity: Mods are meticulously tied to a particular Minecraft version and, often, a specific mod loader version. For instance, a mod designed for Minecraft 1.20.1 will not operate correctly on Minecraft 1.19.5 or any other version.
- Mod Loader Specificity: Similarly, mods developed for Forge cannot be run on Fabric, and Fabric mods are incompatible with Forge. While there are rare exceptions for their respective forks (e.g., Quilt for Fabric or NeoForge for Forge), this general rule is vital to follow.
- Updating Modpacks: Attempting to change the core Minecraft version of an already established modpack is generally not recommended and is not guaranteed to work correctly. Only mods that have been specifically updated and are compatible with the new Minecraft version may be carried over successfully.
- Recommended Modded Versions: To maximize mod availability and ensure better compatibility, it is advisable to build modpacks on popular and well-supported versions. Currently, these include 1.7.10, 1.12.2, 1.20.1, and 1.21.1. Opting for less common versions may lead to a scarcity of available mods and potentially reduced overall compatibility within your modpack.
Gathering Your Ingredients: The Essential Toolkit
To construct your custom modpack, you’ll need a specific set of tools and files. Here’s a detailed breakdown of each component and where to acquire it:
- Minecraft Java Edition:
- Purpose: This is the fundamental game you’ll be modding.
- Obtain From: The official Minecraft website.
- Java Runtime Environment (JRE):
- Purpose: Essential for running `.jar` files, which include the Minecraft game itself, mod loaders, and individual mods.
- Obtain From: java.com/en/download/.
- Mod Loader:
- Purpose: A critical piece of software that allows your desired mods to interact with the core Minecraft game. You must choose one that is compatible with your chosen Minecraft version and your selected mods.
- Options & Obtain From:
- Performance/Shader Mod:
- Purpose: These mods are crucial for improving game performance and, most importantly for this guide, enabling shader support. The choice depends on your selected mod loader.
- Options & Obtain From:
- For Forge:
- OptiFine: Offers built-in shader support and performance enhancements. Obtain from optifine.net/downloads.
- Rubidium and Oculus: Rubidium provides performance improvements, and Oculus adds shader support for Rubidium. Obtain from CurseForge (curseforge.com) or Modrinth (modrinth.com).
- For Fabric:
- Sodium and Iris Shaders: Sodium is a performance mod, and Iris Shaders integrates shader support into Sodium. Obtain from CurseForge (curseforge.com) or Modrinth (modrinth.com).
- For Forge:
- Desired Mods:
- Purpose: These are the individual `.jar` files that introduce custom content, features, or gameplay changes to your Minecraft experience. Each mod must be compatible with your chosen Minecraft version and mod loader.
- Obtain From: CurseForge (curseforge.com), Modrinth (modrinth.com), or other trusted external mod websites. Always exercise caution when downloading from lesser-known sources.
- Shader Packs:
- Purpose: These are `.zip` files containing advanced graphical programs that dramatically enhance Minecraft’s visual fidelity, adding realistic lighting, shadows, reflections, and atmospheric effects. An example is Complementary Shaders.
- Obtain From: Modrinth (modrinth.com/shaders) or dedicated shader pack wikis.
- Modpack Launcher (Optional but Recommended):
- Purpose: These applications simplify the process of managing multiple modpack instances, installing mod loaders, and adding mods, making the entire experience much smoother.
- Options & Obtain From:
- CurseForge App: curseforge.com/download/app
- Modrinth App: modrinth.com/app
- Prism Launcher: prismlauncher.org/
- Jarfix (If Needed):
- Purpose: A utility designed to fix issues where `.jar` files do not open correctly or are not associated with Java.
- Obtain From: johann.loefflmann.net/en/software/jarfix/index.html.
Step-by-Step Construction: Building Your Custom Modpack
With all your ingredients at hand, it’s time to assemble your modpack. Follow these precise steps for a smooth setup:
- Select Minecraft Version and Mod Loader
Your first critical decision is to choose a specific Minecraft version (e.g., 1.20.1, 1.21.1) and a compatible mod loader (Forge, Fabric, Quilt, or NeoForge). This choice is foundational, as all subsequent mods and the shader support you integrate must align with both the chosen Minecraft version and mod loader. Remember that mods are strictly version and loader-specific, so consistency here prevents numerous compatibility headaches later on.
- Install Java
Ensure that the correct Java Development Kit (JDK) is installed on your system. Minecraft Java Edition and its mod loaders rely on Java to run. If you encounter issues where `.jar` files (such as mod loader installers or mods themselves) do not open when double-clicked, install Jarfix. This utility helps correctly associate `.jar` files with your Java installation, allowing them to execute as intended.
- Install Mod Loader
- Manual Installation: Download the installer for your chosen mod loader (e.g., Forge or Fabric installer) from its official website. Run the downloaded `.jar` installer file. This process will automatically create a new profile within your official Minecraft Launcher, specifically configured for your selected mod loader and Minecraft version.
- Using a Modpack Launcher: If you’ve opted for a modpack launcher like CurseForge App, Modrinth App, or Prism Launcher, the process is streamlined. Create a new custom instance directly within the launcher. During instance creation, you will be prompted to select your desired Minecraft version and the mod loader you wish to use. The launcher handles the installation of the mod loader automatically.
- First Launch (Mod Loader)
Regardless of your installation method, launch Minecraft at least once using the newly created mod loader profile. This initial launch is crucial because it generates all the necessary game files and folders that the mod loader requires, including the vital `mods` folder where your custom content will reside. Without this step, the `mods` folder might not be present, preventing you from adding mods.
- Download Mods
Now, begin acquiring all your desired mods. This step includes downloading your chosen performance/shader mod (OptiFine for Forge, or Rubidium/Oculus for Forge, or Sodium/Iris for Fabric). Crucially, for every single mod, double-check its compatibility: ensure its file is specifically designed for your selected Minecraft version AND your chosen mod loader. Reputable sources for mods include CurseForge (curseforge.com) and Modrinth (modrinth.com).
- Add Mods to Modpack
- Manual Method: Navigate to your Minecraft installation directory. On Windows, this is typically `%appdata%\.minecraft`. If you’re using a modpack launcher, locate the specific instance folder for your modpack. Within this directory, find the `mods` folder (which was generated during the first launch). Drag and drop all your downloaded `.jar` mod files directly into this `mods` folder.
- Using a Modpack Launcher: Modpack launchers simplify this significantly. Utilize the “Add Content,” “Browse Mods,” or equivalent feature within your chosen launcher. This allows you to search for and install mods directly from within the application, often handling compatibility checks and placement automatically.
- Download Shader Packs
Proceed to download your preferred shader packs. These typically come as `.zip` files and contain the graphical programs that will transform your Minecraft visuals. Modrinth (modrinth.com/shaders) and various shader pack wikis are excellent resources for finding a wide array of options, from realistic to stylized.
- Install Shader Packs
Installing shader packs requires a few in-game steps:
- Launch Minecraft using your modded profile (the one with your mod loader and performance/shader mod installed).
- From the main menu, navigate to Options > Video Settings > Shader Packs.
- Within the Shader Packs screen, you’ll find a button labeled “Open Shader Pack Folder.” Click this button.
- A file explorer window will open, showing the dedicated folder for shader packs. Drag all your downloaded shader pack `.zip` files into this opened folder. Do not extract the `.zip` files; simply place them as they are.
- Return to Minecraft, and your newly added shader packs should now appear in the list. Select your desired shader pack from the list to activate it.
- Allocate RAM
Modpacks, especially those with many mods and shaders, demand more system resources than vanilla Minecraft. It is essential to adjust the amount of RAM (Random Access Memory) allocated to your modpack instance. For lighter modpacks, a recommendation of around 6GB of RAM is suitable. For heavier, more complex modpacks with extensive content and high-resolution shaders, allocating 8-10GB of RAM is often necessary for stable performance. This setting can typically be found within the Minecraft Launcher’s installation settings for your specific profile or within your chosen modpack launcher’s profile options for the instance.
- Test and Troubleshoot
With all components in place, launch the game and thoroughly test its functionality. Play for a while, explore different aspects of your modpack, and ensure everything is working as expected. If the game crashes, do not despair. Navigate to your `.minecraft` folder (or the specific instance folder if using a launcher) and locate the crash reports. These text files often contain valuable clues about which mod or configuration issue might be causing the problem, providing a starting point for troubleshooting.
By following these detailed steps, you will successfully build a stable, custom Minecraft modpack, fully equipped to run breathtaking shaders and provide an entirely new dimension to your gameplay experience.

