Setting Up a Gradle Build Environment for Modding, Explained
Setting up a robust Gradle build environment is a fundamental step for any Minecraft mod developer. Gradle, an open-source build automation tool, plays a crucial role in managing project dependencies and streamlining the build processes essential for creating Minecraft mods. This guide will walk you through the comprehensive steps to establish such an environment, ensuring a smooth and efficient modding workflow.
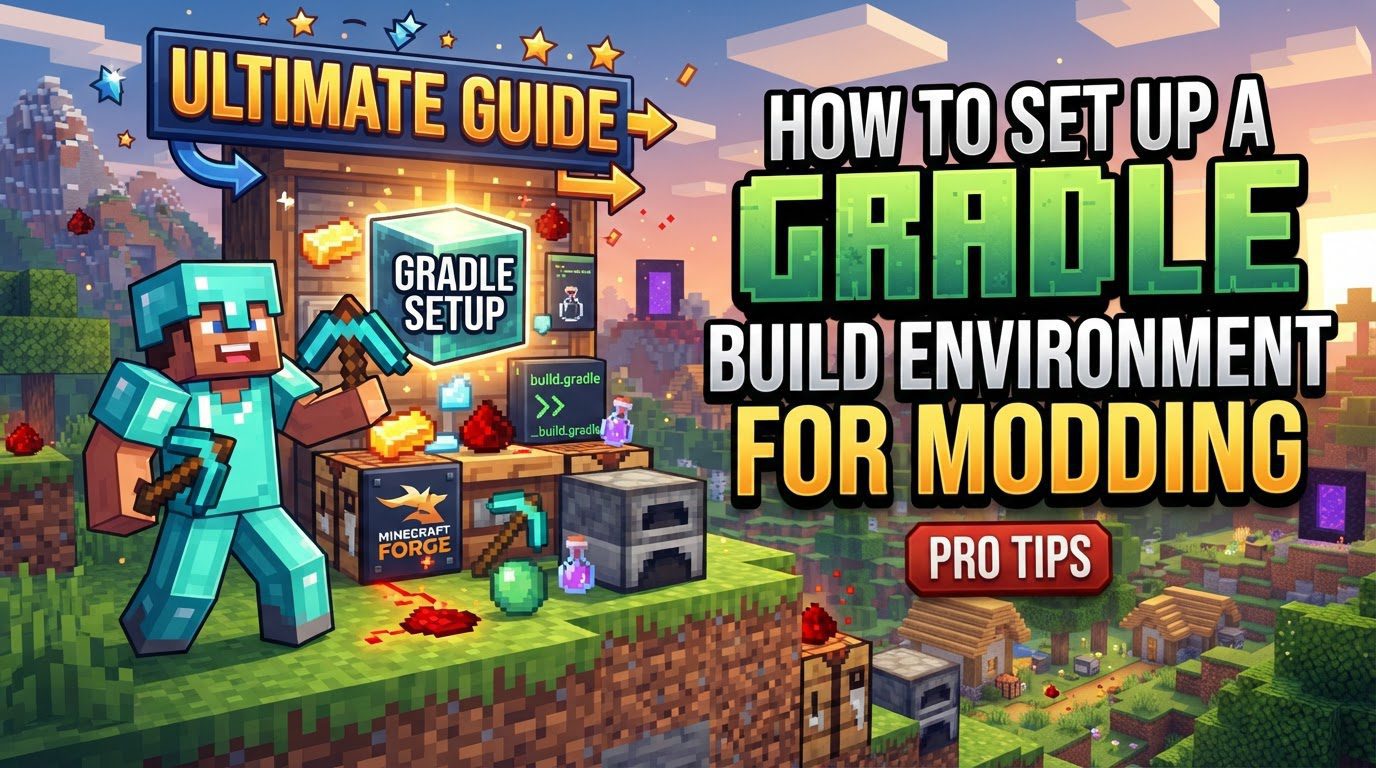
At the heart of Minecraft modding with Gradle are specific plugins tailored for different mod loaders. ForgeGradle and Fabric Loom are prime examples; these specialized Gradle plugins handle the intricate details of integrating your mod with Minecraft’s core source code, abstracting away much of the underlying complexity. They provide the necessary tasks and configurations to set up your development environment, decompile Minecraft, and manage dependencies.
The configuration of your mod’s build process is primarily managed through two key files. The build.gradle file is the core of your mod’s build configuration. Within this file, you define critical metadata such as your mod’s unique mod ID, its version, the Java package group (which typically corresponds to your base package name), and all the external dependencies your mod relies on. Complementing this is the gradle.properties file, which serves as a repository for various variables and values that Gradle uses during the build process. This often includes crucial information like the target Minecraft version and the specific mod loader version you are developing against.
To ensure consistency across different development environments and to avoid the need for a global Gradle installation, modding projects utilize the Gradle Wrapper. This includes scripts like gradlew for Unix-like systems and gradlew.bat for Windows. These wrapper scripts allow you to execute Gradle tasks without having Gradle installed globally on your machine, guaranteeing that everyone working on the project uses the exact same Gradle version and configuration, thus preventing “it works on my machine” issues.
Step-by-Step Process for Setting Up Your Build Environment
Establishing your Gradle build environment involves a series of sequential steps to prepare your development workspace:
-
Install Java Development Kit (JDK): The very first prerequisite is to have the correct Java Development Kit (JDK) installed on your system. The specific JDK version required is contingent on the Minecraft version you intend to mod. For instance, Minecraft versions from 1.12 to 1.16 typically require JDK 8. For newer versions like 1.18 and 1.19, JDK 17 is necessary. Furthermore, the most recent Forge versions may even demand JDK 21. Ensuring you have the correct JDK is crucial, as an incompatible version will lead to build failures.
-
Download Mod Developer Kit (MDK): Once your JDK is ready, you need to obtain the Mod Developer Kit (MDK). This kit is provided by the official Minecraft Forge website or the Fabric website, depending on which mod loader you choose. Make sure to download the MDK that corresponds to your desired Minecraft version to ensure compatibility.
-
Extract MDK: After downloading, extract the contents of the MDK zip file. It is highly recommended to extract these files into a new, empty directory. This directory will become the root folder for your mod’s project, keeping your workspace organized and preventing conflicts with other files.
-
Import into IDE: With the MDK extracted, open your preferred Integrated Development Environment (IDE). Popular choices among mod developers include IntelliJ IDEA and Eclipse due to their robust Gradle integration. Use your IDE’s import function to open the extracted MDK folder as a Gradle project. The IDE will then begin to recognize the project structure and its Gradle configuration.
-
Customize
build.gradle: This is a critical customization step. Navigate to thebuild.gradlefile within your project structure and edit its contents. You must set your uniquearchivesBaseName, which will serve as your mod ID, ensuring it is distinct. Also, define yourgroup(your Java package name, e.g.,com.yourname.yourmod) and the mod’sversion. It is essential to replace any default “examplemod” references or placeholders with your mod’s specific details to avoid naming conflicts and ensure proper identification. -
Synchronize Gradle/Generate Run Configurations: Your IDE will usually attempt to synchronize the Gradle project automatically upon import or after changes to
build.gradle. This process downloads dependencies and sets up the project. However, to explicitly generate IDE-specific run configurations that allow you to launch Minecraft with your mod directly from the IDE, you’ll need to execute specific Gradle tasks in your project’s directory using your terminal or command prompt. Common commands include:./gradlew genEclipseRunsfor Eclipse users../gradlew genIntellijRunsfor IntelliJ IDEA users../gradlew genVSCodeRunsfor Visual Studio Code users.
These commands create launch configurations that enable easy testing and debugging of your mod.
-
Set up Workspace (if necessary): In certain older Forge versions, an additional step might be required: running
gradlew setupDecompWorkspace. This command is responsible for downloading and decompressing Minecraft’s source code, making it available for your development environment. However, it’s worth noting that newer setup processes, especially with more recent mod loader versions, often integrate this step into the initial import and synchronization process, making manual execution less frequently needed. -
Build Mod (for release): Once your mod is developed and ready for distribution, you need to compile it into a distributable
.jarfile. This is achieved by running thegradlew buildcommand in your project’s root directory. After a successful build, the resulting.jarfile, which is your compiled mod ready for deployment, will be located in thebuild/libsfolder within your project structure.
Important Tips for Mod Development
To optimize your modding experience and avoid common pitfalls, consider these important tips:
-
Use an IDE with Gradle Integration: Integrated Development Environments like IntelliJ IDEA are highly recommended. Their robust Gradle support significantly simplifies project management, dependency handling, and debugging, making the development process much smoother.
-
Keep Tools Updated: Regularly update your Gradle version, the specific mod loader you are using (Forge or Fabric Loader), and their associated build plugins (ForgeGradle or Fabric Loom). Staying current ensures you benefit from the latest features, bug fixes, and compatibility improvements.
-
Use IDE Features: Leverage the powerful features offered by your IDE. Utilize warnings, suggestions, auto-import functionalities, and code cleanup tools. These features are particularly invaluable when upgrading your mods to new Minecraft versions, helping to identify and resolve potential issues quickly.
-
Test Thoroughly: Always conduct comprehensive testing of your mod. It is crucial to test your mod in both client (single-player) and dedicated server environments. This ensures broad compatibility and stability across different gameplay scenarios.
-
Back Up Worlds: Before introducing any new mods, make it a habit to create backups of your existing Minecraft worlds. This precaution can save you from irreversible data loss in case of mod conflicts or unexpected issues.
-
Add Mods Incrementally: When adding multiple mods to your game or testing environment, do so in small batches, ideally no more than five at a time. This approach significantly simplifies the troubleshooting process if you encounter problems, making it easier to pinpoint the problematic mod.
Common Mistakes to Avoid
Being aware of common mistakes can save you significant time and frustration:
-
Incorrect JDK Version: One of the most frequent errors is using a JDK version that is incompatible with your target Minecraft version. This will invariably lead to build failures and prevent your project from compiling correctly.
-
Inconsistent Mod ID: Ensure that your mod ID is uniformly updated across all relevant configuration files. This includes
build.gradle,mods.toml(for Forge), and your main mod class. Inconsistencies can lead to your mod not being loaded or recognized correctly by the game. -
Case Sensitivity and Naming Conventions: Adhere to consistent naming conventions. Mod IDs, Java package names, and folder names should generally be all lowercase. This helps avoid issues, especially because different file systems can have varying rules regarding case sensitivity, which might cause problems during deployment or on other operating systems.
-
Offline Gradle Mode: Avoid running Gradle in offline mode if you suspect dependencies are missing. Offline mode prevents Gradle from downloading necessary components, leading to “Could not find” errors when required libraries or resources are not present in your local cache.
-
Corrupted Gradle Cache: If you encounter persistent and inexplicable build errors, your Gradle cache might be corrupted. Try refreshing dependencies by running
./gradlew --refresh-dependencies. For Fabric projects, cleaning the Loom cache with./gradlew cleanloomcan also resolve many issues. -
Adding Too Many Mods Simultaneously: As mentioned in the tips, adding a large number of mods at once makes it exceedingly difficult to diagnose the source of errors or crashes. Always add mods incrementally.
-
Ignoring Mod Version Compatibility: Always verify that the mods you are using or developing are compatible with your specific Minecraft version and the mod loader you have chosen. Mismatched versions are a common cause of crashes and unexpected behavior.
-
Expecting Automatic Updates: Understand that modded Minecraft worlds often become “version locked.” When Minecraft itself updates, you will typically need to manually update your mod loader and all installed mods. In many cases, you might even need to start a new world, as automatic updates for modded setups are not a typical feature.
-
Improper Run Configuration Setup: Incorrectly configuring the run settings within your IDE can prevent your mod from launching or debugging properly. Double-check your run configurations to ensure they are set up to correctly load your mod and Minecraft client/server.
-
Violating Mojang’s EULA: It is crucial to adhere to Mojang’s End User License Agreement (EULA). This includes not distributing decompiled Minecraft source code or distributing modified versions of the game that allow users to play without legitimately purchasing Minecraft. Respecting these terms is vital for ethical mod development.
Tags:
YOU MAY ALSO LIKE...