

Resolving Shader Pack Conflicts with Certain Mods — A Quick Guide
145
views ❘
July 15, 2026
Understanding Shader Pack Conflicts
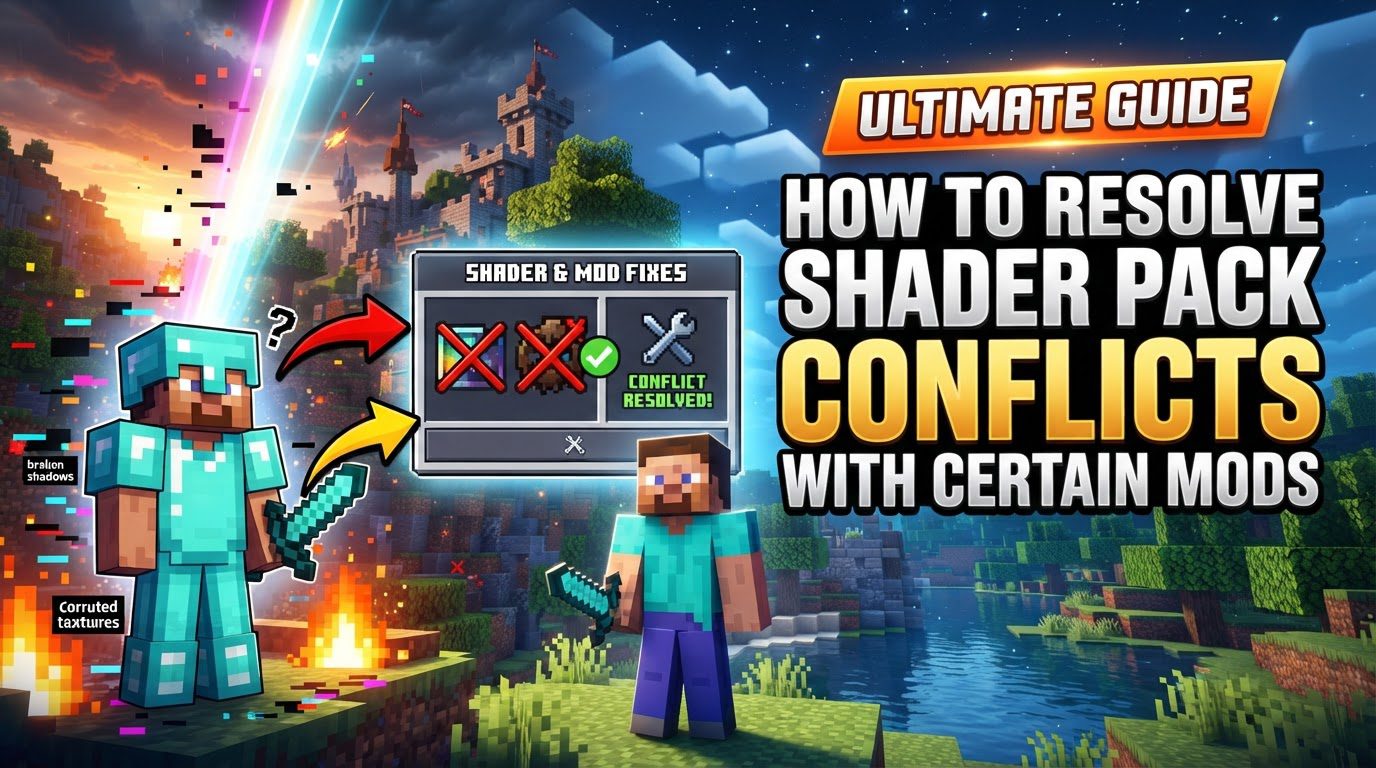
Resolving shader pack conflicts with certain mods in Minecraft demands a systematic approach to identify and mitigate incompatibilities. These conflicts typically arise from a variety of factors, including version mismatches between components, mod-specific rendering alterations that clash with shader effects, or complex interactions between the shader loader itself and other modifications you have installed. A clear understanding of the underlying mechanics is crucial for effective troubleshooting.
Key Mechanics of Conflict
- Shader Loaders: Shaders are not natively supported by Minecraft and require a dedicated loader to function. The two primary loaders are OptiFine and Iris. Iris is often paired with Sodium, especially for Fabric and NeoForge installations, to enhance performance. Conflicts frequently stem from how these specific loaders interact with other mods. Different shader packs may also be optimized for one loader over the other, leading to issues if the wrong loader is used.
- Version Incompatibility: A fundamental source of conflict is version mismatch. It is absolutely critical that all components of your Minecraft setup-the base Minecraft game, the chosen shader loader (OptiFine or Iris+Sodium), the shader pack itself, and every individual mod you have installed-are compatible with each other’s versions. Using a mod designed for an older Minecraft version with a newer shader loader, for example, can lead to immediate and often unresolvable issues.
- Mod-Specific Rendering: Certain mods are notorious for causing shader conflicts because they significantly alter in-game rendering. Mods that introduce custom skyboxes, implement unique lighting systems, or add complex visual effects can clash directly with how shaders attempt to render the world. Examples of such mods include Astral Sorcery, which features intricate sky and particle effects, Advanced Rocketry with its custom planets and space rendering, and Animania, which often introduces unique entity rendering that might not play well with shader-driven lighting.
- Log Files: When issues arise, Minecraft’s log files are your best friend for diagnosis. The `fml-client-latest.log` file is particularly useful for Forge installations, while `latest.log` serves the same purpose for other mod loaders. These files, along with any crash reports generated, provide critical error messages. These messages can pinpoint the exact cause of a problem, such as an “invalid program” error, which often indicates a shader compilation failure or a conflict with a specific mod’s rendering pipeline.
- Shader Pack Settings: Most modern shader packs include extensive in-game configuration options. These settings, accessible via the “Shader Options” menu, allow users to toggle specific visual effects, adjust performance parameters, or disable certain rendering features. Utilizing these settings can often resolve minor conflicts or performance hiccups without needing to remove mods entirely, by simply turning off the problematic effect.
- Custom Item Textures (CIT): Display issues with custom item textures are a common problem when using shaders, particularly with the Sodium/Iris combination. This occurs because the way shaders and performance mods handle texture rendering can sometimes interfere with CIT features. If custom item textures appear broken or incorrect, it often indicates that CIT support is either not built into the shader loader setup or requires an additional mod to function correctly.
Step-by-Step Process for Conflict Resolution
Follow these steps methodically to diagnose and resolve shader pack conflicts:
- 1. Verify Compatibility: Before diving into complex troubleshooting, ensure that the foundational elements of your setup are compatible. Confirm that your Minecraft version, the shader loader (whether OptiFine or Iris+Sodium), the shader pack itself, and all individual mods are specifically designed to work together. Always download the correct, matching versions for each component to prevent immediate issues.
-
2. Isolate the Issue: This is a critical diagnostic step.
- Start by testing the shader pack with only the shader loader installed (and Sodium if using Iris). This confirms that the shader pack itself functions correctly in isolation, without any interference from other mods.
- If the shader works in this minimal setup, begin reintroducing your other mods. You can do this one by one, testing after each addition, to pinpoint the exact mod causing the conflict. A more efficient method for large mod packs is a “binary split search”: divide your mods into two halves, test one half, and if the issue persists, continue narrowing down the problematic half until the conflicting mod is identified.
- 3. Check Shader Options: Once a shader pack is loaded, access the “Shader Options” menu located within Minecraft’s video settings. This menu provides granular control over the shader’s effects. Try lowering the overall shader profile, if available, or systematically disabling specific visual effects. Features like sky overrides, reflections, advanced lighting, or specific particle effects are common culprits for causing glitches or performance issues.
- 4. Examine Log Files: If you encounter crashes, severe graphical errors, or unexplainable behavior, immediately consult your Minecraft log files and crash reports. These are typically found in your `.minecraft/logs/` directory (e.minecraft/logs/fml-client-latest.log` for Forge or `.minecraft/logs/latest.log` for others) and `.minecraft/crash-reports/`. Look for detailed error messages, especially those mentioning “invalid program,” rendering errors, or specific mod names, as these provide crucial clues for diagnosis.
- 5. Address Mod-Specific Conflicts: If your isolation steps identified a particular mod as the source of the conflict, search online forums, mod pages, or community resources for known incompatibilities between that mod and shaders. Some mods may offer configuration files or in-game settings that allow you to disable specific features that clash with shader rendering. For example, certain mods might have “sky override” settings that can be set to ‘false’ to prevent conflicts with shader skyboxes.
- 6. Consider Alternative Shader Loaders: The choice of shader loader can significantly impact compatibility. If you are currently using OptiFine and experiencing persistent issues, try installing Iris (alongside Sodium for better performance) to see if that resolves the problem. Conversely, if you’re on Iris+Sodium and having trouble, test with OptiFine. Some shader packs are specifically optimized for one loader over the other, and switching can sometimes provide an immediate fix.
- 7. Update Graphics Drivers: Outdated graphics drivers are a common, yet often overlooked, cause of rendering problems with shaders. Ensure your computer’s graphics drivers are fully up to date. Visit the website of your graphics card manufacturer (NVIDIA, AMD, Intel) to download and install the latest stable drivers.
- 8. Install CIT Fixes: If you are using Iris+Sodium and experiencing issues where custom item textures appear broken or incorrect, this is a known compatibility challenge. To restore correct rendering for these textures, install a dedicated mod like CIT Resewn. This mod specifically addresses the display of custom item textures when using the Sodium rendering pipeline.
Important Tips for Troubleshooting
- Use Fully Released Versions: Whenever possible, opt for stable, fully released versions of OptiFine over preview or experimental builds. Beta or unstable versions are more prone to bugs and can introduce new instabilities when combined with shaders.
- Keep Shaders Zipped: Generally, shader packs should remain in their original `.zip` format. Place these `.zip` files directly into your `shaderpacks` folder without extracting them.
- One Shader at a Time: During troubleshooting, only enable one shader pack at a time. This simplifies the diagnosis process by eliminating potential conflicts between multiple shader packs.
- Lower Settings First: When initially testing a shader pack or troubleshooting an issue, begin with lower shader settings or profiles. Gradually increase these settings to find a stable configuration that balances visual quality with performance and compatibility.
- Effective Reporting: If you need to seek help from online communities or mod developers, provide clear and concise descriptions of the issue. Include screenshots (ideally with the F3 debug screen open to show relevant information) and attach relevant log files or crash reports, as these are invaluable for diagnosis.
- Experiment with Shader Packs: Not all shader packs are created equal. They have varying levels of compatibility with mods and different performance demands. If one shader pack doesn’t work well or causes persistent issues, don’t hesitate to try another one.
- Dedicated GPU: Shaders are highly resource-intensive. A dedicated graphics card is strongly recommended for optimal performance and stability. Computers relying solely on integrated graphics often struggle significantly with shaders, leading to low frame rates or visual artifacts.
Common Mistakes to Avoid
- Mismatched Versions: One of the most frequent errors is using shader packs, loaders, or mods that are not compatible with your current Minecraft version. Always double-check version requirements.
- Ignoring Log Files: Overlooking the crucial diagnostic information contained within crash reports and game logs is a common pitfall. These files often contain the exact error message needed to pinpoint the problem.
- Too Many Active Resource Packs: Enabling multiple resource packs simultaneously can lead to conflicts, especially with shaders, as they might overwrite or interfere with textures and models in unexpected ways.
- Running Both OptiFine and Iris: Never install and enable both OptiFine and Iris at the same time. They are alternative shader loaders and will conflict with each other, leading to crashes or severe instability. Choose one or the other.
- Unrealistic Expectations for Integrated Graphics: Expecting smooth and high-quality performance with shaders on computers that only use integrated graphics is often unrealistic. Integrated graphics typically lack the processing power required.
- Troubleshooting Blindly: Attempting to fix issues without systematically isolating the problematic mod or setting is inefficient. A methodical approach, as outlined in the step-by-step process, saves time and effort.
Click to rate this post!
[Total: 0 Average: 0]
Tags:
YOU MAY ALSO LIKE...

Is it possible to convert a single-player world to multiplayer
42
views
Yes, transforming your solitary Minecraft adventures into a shared experience with friends is entirely possible.…

Is It Possible to Cure a Zombie Villager Without a Golden Apple
22
views
No, it is unequivocally impossible to cure a Zombie Villager in Minecraft without a Golden…

Is It Possible to Get a Saddle Without Fishing or Trading
27
views
Believing saddles are uncraftable in Minecraft is a common mistake that many players still make,…

Is it possible to get banned for using mods in singleplayer
85
views
You will not be banned from Minecraft by Mojang or Microsoft simply for using legitimate…

Is It Possible to Get Two Totems at Once
27
views
While you cannot activate two Totems of Undying simultaneously from a single fatal blow, the…

Is it possible to install shaders on Bedrock Edition
39
views
Yes, it is entirely possible to install shaders on Minecraft Bedrock Edition, though the journey…

Is it possible to merge two separate worlds
89
views
Yes, combining two separate Minecraft worlds into a single, cohesive map is absolutely achievable, though…

Is it possible to play Minecraft offline
79
views
Yes, playing Minecraft without an internet connection is entirely possible for both its Java and…

Is it possible to play modded Minecraft on console
61
views
While not in the way many PC players understand it, yes, it is indeed possible…