

Zooming and Scaling a Map Correctly
Maps in Minecraft are indispensable tools for navigating and understanding your world. Mastering how to correctly zoom and scale maps is fundamental for efficient exploration and world management. This guide will cover the different types of maps, their zoom capabilities, and the best practices for their use.
Understanding Map Mechanics
-
Map Types:
Minecraft features two primary map types: regular maps and locator maps. Regular maps display only terrain. Locator maps, crafted with a compass, additionally show your current position with a moving pointer. In Bedrock Edition, a map can be crafted with just paper, and a compass can be added later at a Cartography Table to make it a locator map.
-
Zoom Levels and Scaling:
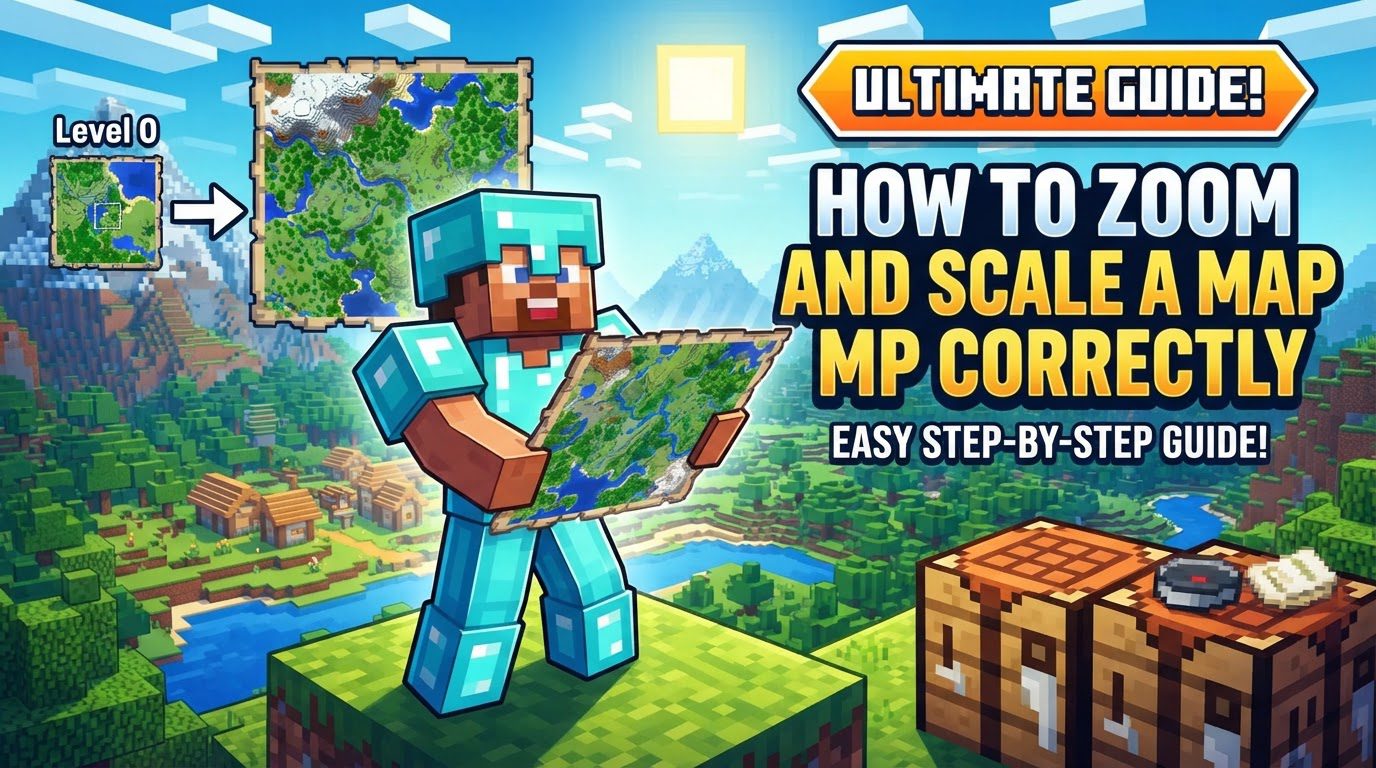
Maps have five distinct zoom levels, from highly detailed 0/4 (1:1 scale) to broad 4/4 (1:16 scale). Each upgrade doubles the area covered but reduces visible detail. The scales are:
- Level 0/4 (1:1 Scale): Each pixel represents 1×1 block, covering 128×128 blocks.
- Level 1/4 (1:2 Scale): Each pixel represents 2×2 blocks, covering 256×256 blocks.
- Level 2/4 (1:4 Scale): Each pixel represents 4×4 blocks, covering 512×512 blocks.
- Level 3/4 (1:8 Scale): Each pixel represents 8×8 blocks, covering 1024×1024 blocks.
- Level 4/4 (1:16 Scale): Each pixel represents 16×16 blocks, covering 2048×2048 blocks.
-
Map Grid Alignment:
Maps align to a predefined grid. The top-left corner of each map snaps to specific coordinates, preventing overlapping maps of the same zoom level and ensuring distinct coverage.
-
Map Exploration:
Maps dynamically fill in as you explore. Holding an empty or partially filled map while traversing new areas will cause the map to update and reveal the landscape around you.
Step-by-Step Guide to Crafting and Scaling Maps
1. Craft an Empty Map
-
To craft an empty locator map, combine 8 pieces of paper with 1 compass in a crafting grid. This creates a map showing both terrain and your position.
-
In Bedrock Edition, you can craft a map with just 8 pieces of paper. A compass can then be added later using a Cartography Table to convert it into a locator map.
2. Activate the Map
-
Hold the empty map in your hand and right-click (or use the designated button). The map will activate, centering on your current location and beginning to fill in with the surrounding terrain.
3. Zoom Out the Map (Scaling)
Once activated, you can zoom out your map to cover a larger area. This process is most efficiently done using a Cartography Table.
-
Using a Cartography Table (Recommended Method):
This is the most resource-efficient way to scale your maps:
- Place the Map: Put the map you want to zoom into the top slot of a Cartography Table.
- Add Paper: Place one piece of paper into the bottom slot.
- Retrieve Zoomed Map: Take the zoomed-out map from the result slot.
Repeat this process up to four times, adding one piece of paper each time, to reach the maximum zoom level (4/4).
-
Using a Crafting Table (Less Efficient Method):
While possible, this method consumes more resources:
- Place Map: Place the map in the center of a crafting grid.
- Surround with Paper: Fill the remaining 8 slots around the map with paper.
- Take Zoomed Map: Collect the zoomed-out map from the result slot.
This method requires 8 pieces of paper per zoom level, making the Cartography Table far superior for resource management.
Important Tips for Effective Map Usage
-
Mark Important Locations:
Use banners to mark specific spots on your map. Place a banner, then right-click it with your map in hand to add a marker. Different colored banners can represent various location types.
-
Create Map Walls:
Display multiple maps in item frames on a wall to create a large, detailed overview of your world. Ensure maps slightly overlap for visual continuity and proper alignment.
-
Always Carry a Locator Map:
A locator map helps you stay oriented, especially in unfamiliar areas, by showing your position. In multiplayer, it also tracks other players holding locator maps within its range.
-
Understand Map Orientation:
Maps are always oriented with north at the top, east to the right, south at the bottom, and west to the left. This consistent orientation aids navigation.
-
Maps in Other Dimensions:
Maps primarily display the Overworld’s surface. They won’t properly show terrain in the Nether or End, nor do they reveal underground structures in any dimension.
-
Cartography Table for Copies:
Use a Cartography Table to easily clone existing maps. Place an explored map in the top slot and an empty map in the bottom slot to create an identical copy without extra resource cost.
Common Mistakes to Avoid When Using Maps
-
Activating Maps in Already Mapped Areas:
Activating new blank maps within an area already covered by an existing map of the same zoom level leads to redundancy. Activate new maps outside the range of existing ones to map truly new territory.
-
Not Aligning Maps for Map Walls:
When creating a map display, ensure each map is placed in an item frame with its top facing north. Incorrect alignment will result in a disjointed and incoherent image.
-
Using a Crafting Table for Zooming:
While possible, zooming with a crafting table requires 8 pieces of paper per level, compared to just one piece using a Cartography Table. Always use the Cartography Table for efficiency.
-
Expecting Automatic Updates:
Maps do not update automatically. Any changes or newly explored terrain will only appear if you hold the map in the area for it to update manually.
-
Misinterpreting Player Pointer:
If your player pointer turns into a large white dot on the edge of the map, it indicates you’ve traveled outside the map’s current range. You’ll need to zoom out or craft a new map for your current location.
Tags:
YOU MAY ALSO LIKE...


