

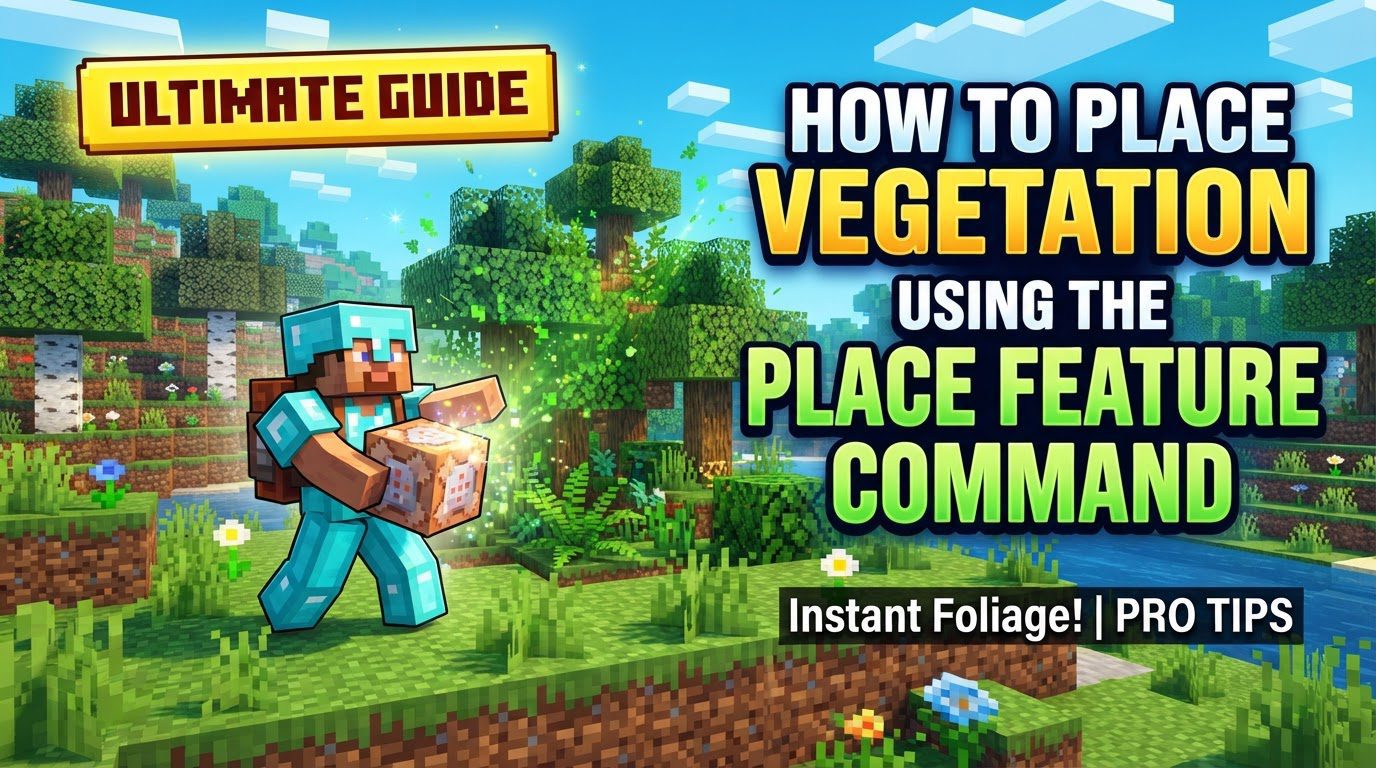
Placing Vegetation Using the Place Feature Command
The Minecraft world is rich with diverse biomes and natural structures, but sometimes, players desire more control over their environment. The /place feature command offers an unparalleled level of precision for spawning naturally generating world features, particularly vegetation, directly into your custom builds or terraformed landscapes. This powerful command allows you to populate your world with trees, flowers, and other plant life, transforming barren areas into lush ecosystems with just a few keystrokes.
Unlike larger structures or living entities, the features placed using this command are typically smaller, affecting at most a 3×3 chunk area, and are placed locally within a specific chunk. Introduced in Minecraft Java Edition 1.18.2 (initially as /placefeature) and later refined to its current form, /place feature, in 1.19, this command has become an indispensable tool for map makers, builders, and anyone looking to enhance their Minecraft worlds. It operates by utilizing a “resource key” or “namespace ID,” which is essentially a unique identifier that points to a specific feature within Minecraft’s minecraft:worldgen/configured_feature registry. This guide will walk you through the process, from understanding the command’s core mechanics to mastering its advanced applications, ensuring you can bring your verdant visions to life.
Key Mechanics of the /place feature Command
Understanding the underlying principles of the /place feature command is crucial for its effective use. This command is specifically designed to spawn naturally generating world elements that are not full structures and are not living mobs. Think of it as a precise tool for environmental detailing.
- Purpose and Scope: The primary function of
/place featureis to allow players to manually generate natural world elements. These elements are distinct from larger, more complex structures like villages or strongholds, and also separate from entities such as animals or monsters. Instead, it focuses on the smaller, often biological components that make up a biome, such as various types of trees, flowers, and other plant life. This makes it ideal for custom landscaping and world design. - Version History and Availability: This command is a relatively modern addition to Minecraft’s command repertoire. It first appeared in Minecraft Java Edition 1.18.2, where it was initially known as
/placefeature. With the subsequent 1.19 update, its syntax was streamlined to the more user-friendly/place feature. It is available in both Java and Bedrock Editions, though Bedrock users should be aware that they might need to enable certain experimental toggles in their world settings to access its full functionality, particularly for newer features. - Feature Identification System: At the heart of the command lies the concept of a “resource key” or “namespace ID.” This is a unique identifier, structured like
minecraft:oak_tree_feature, that Minecraft uses to internally recognize and locate specific world features. These IDs are registered within the game’sminecraft:worldgen/configured_featureregistry. When you execute the command, you’re essentially telling the game, “Find this specific feature by its ID and place it here.” Knowing these IDs is fundamental to utilizing the command effectively. - Placement Area and Locality: Features placed via this command are generally small in scale. They typically affect an area no larger than a 3×3 chunk radius and are placed locally within the chunk where the command is executed or at the specified coordinates. This local placement ensures that the command is precise and doesn’t inadvertently generate large, sprawling structures that could disrupt existing builds or natural terrain far from the target location.
- Cross-Edition Compatibility: The command’s presence in both Java and Bedrock Editions means that players across different platforms can leverage its power for world customization. For Bedrock players, it’s important to remember the potential requirement to enable experimental toggles, such as “Upcoming Creator Features” and “Jigsaw Block,” to ensure all modern functionalities of the
/placecommand are accessible.
Step-by-Step Guide to Placing Vegetation
Placing vegetation using the /place feature command is a straightforward process once you understand the necessary steps. Follow these instructions carefully to begin populating your world with custom plant life.
- 1. Enable Cheats: Before you can use any command in Minecraft, cheats must be enabled for your world. This grants you the administrative privileges necessary to execute commands that modify the game world. If you’re creating a new world, ensure “Allow Cheats” is toggled on during world creation. For an existing single-player world, you can enable cheats by opening the world to LAN (Local Area Network) through the pause menu and toggling “Allow Cheats” to “On” before starting the LAN world. This step is non-negotiable for command usage.
- 2. Open Chat: With cheats enabled, your next step is to access the chat interface, which is where you will input the command. The default key to open chat in Minecraft Java Edition is ‘T’. Pressing this key will bring up the chat window, allowing you to type in the command.
- 3. Enter the Command: Now, you’re ready to input the specific command. The basic format for placing a feature is:
/place feature <feature_ID> [x y z]<feature_ID>: This placeholder must be replaced with the exact resource key or namespace ID of the vegetation feature you wish to place. These IDs are specific and case-sensitive. Examples of common vegetation feature IDs include:minecraft:oak_tree_feature(for a standard oak tree)minecraft:cherry_tree_feature(for a cherry tree)minecraft:azalea_tree(for an azalea tree)minecraft:flower(for a random flower)minecraft:birch_tree_feature(for a birch tree)minecraft:jungle_tree_feature(for a jungle tree)
You must ensure the ID is correct to avoid command failure.
[x y z]: These represent the coordinates where the feature will be placed. You have two main options for specifying coordinates:- Absolute Coordinates: You can enter precise numerical values for X, Y, and Z (e.g.,
100 64 -200) to place the feature at an exact location in the world. - Relative Coordinates: Using tildes (
~) allows for relative placement.~ ~ ~will place the feature directly at your current location. You can also use offsets, such as~5 ~ ~-10, to place the feature 5 blocks to your positive X, at your current Y, and 10 blocks to your negative Z. This is incredibly useful for on-the-fly placement.
- Absolute Coordinates: You can enter precise numerical values for X, Y, and Z (e.g.,
A complete example command might look like:
/place feature minecraft:oak_tree_feature ~ ~ ~, which would place an oak tree at your current position. - 4. Execute the Command: Once you have typed the command correctly into the chat window, simply press the ‘Enter’ key. The game will then attempt to place the specified vegetation feature at the designated coordinates. If successful, you will see the feature appear in your world; if there’s an issue, an error message will typically appear in the chat.
Important Tips for Effective Vegetation Placement
To maximize your efficiency and achieve the desired results when using the /place feature command, consider these important tips:
- Discover Feature IDs: One of the most common challenges is knowing the exact
feature_IDfor the vegetation you want. Fortunately, Minecraft provides a built-in helper. After typing/place feature, press the ‘Tab’ key. This will cycle through available feature IDs, offering auto-completion suggestions. Keep pressing Tab to explore different options. Additionally, consulting online Minecraft resources and wikis can provide comprehensive lists of feature IDs, which are invaluable for discovering specific variants or less common plant types. - Coordinate Precision: Mastering coordinate input is key to precise placement. Experiment with both absolute (numerical) and relative (
~ ~ ~) coordinates. For large-scale projects or when placing features in specific, pre-determined spots, absolute coordinates offer perfect accuracy. For spontaneous placement while exploring or building in a localized area, relative coordinates are much faster and more intuitive. Practice using offsets with tildes (e.g.,~5 ~-2 ~) to fine-tune placements relative to your current position. - Environmental Context: Features often have specific requirements for successful placement. For example, most trees require a suitable block underneath them, such as dirt, grass, or coarse dirt, to generate. Attempting to place a tree on stone or air will likely result in failure. Similarly, underwater vegetation will require water source blocks. Always consider the natural habitat of the vegetation you’re placing and ensure the target environment meets these basic conditions for successful generation.
- Feature Variations: Many vegetation features, especially trees, come in various forms or sizes. For instance, there might be different oak tree variants (e.g., small, large, or specific configurations). The generic
minecraft:oak_tree_featuremight randomly select one. If you’re aiming for a very particular look, you might need to find a more precise feature ID (e.g.,jungle_tree_novinefor a specific type of jungle tree without vines). Using the Tab-completion feature after typing/place feature minecraft:can help uncover these more specific variants. - Advanced Placement with
executeCommands: For mass placement, creating forests, or achieving random distribution of vegetation over a large area, consider integrating the/place featurecommand with/executecommands. This combination, often used within command blocks, allows you to run the/place featurecommand at multiple locations, from various entities, or repeatedly within a defined area. This opens up possibilities for automated landscaping and complex environmental design far beyond single placements.
Common Mistakes to Avoid
While powerful, the /place feature command can be finicky if not used correctly. Being aware of common pitfalls can save you time and frustration.
- Incorrect Feature ID: This is arguably the most frequent error. A misspelled ID, an ID that doesn’t exist, or an ID that refers to something other than a configured feature will prevent the command from executing successfully. Always double-check your spelling, use the Tab key for auto-completion, and refer to reliable sources for feature IDs. If the command returns an error about an unknown feature, this is likely the cause.
- Unsuitable Environment: Minecraft features are designed to generate within specific environmental contexts. Attempting to place vegetation in an environment where it wouldn’t naturally occur will result in a “failed to place feature” message. For example, trying to place an ocean monument feature above ground, or a large tree in a tiny enclosed space, will fail. Ensure the blocks underneath and around your target location are appropriate for the chosen vegetation (e.g., dirt for trees, water for coral).
- Insufficient Space: Some larger vegetation features, particularly big trees or complex plant clusters, require a significant amount of clear space to generate properly. If the command attempts to place a feature in an area that is too confined or already occupied by other blocks, it will often fail to generate or generate incompletely. Clear a generous area around your target coordinates if you’re attempting to place a large feature.
- Missing Experimental Toggles (Bedrock Edition): For players on Bedrock Edition, new command functionalities, including some aspects of the
/placecommand, may be locked behind experimental toggles. If you’re experiencing issues, especially with newer features or specific IDs, ensure that “Upcoming Creator Features” and “Jigsaw Block” experimental toggles are enabled in your world settings. Without these, certain commands or features might not function as expected. - Block Update Glitches: Occasionally, a successfully placed feature might appear invisible, incomplete, or glitchy immediately after execution. This can sometimes happen if the game doesn’t immediately register a block update in the affected area. Often, simply placing or breaking a block adjacent to the feature, or even walking away and returning, will trigger a block update and cause the feature to render correctly.
- Outdated Minecraft Version: The
/place featurecommand is a modern addition to Minecraft. It was introduced in Java Edition 1.18.2 and refined in 1.19. If you are playing on an older version of Minecraft (prior to 1.18.2), this command simply will not exist or function. Ensure your game is updated to a compatible version to utilize this feature.
The /place feature command is an incredibly versatile and powerful tool for any Minecraft player looking to exercise greater control over their world’s natural aesthetics. From custom forests and intricate gardens to populating vast landscapes, its ability to precisely place naturally generating vegetation opens up a world of creative possibilities. By understanding its mechanics, following the step-by-step process, utilizing helpful tips, and avoiding common mistakes, you can harness this command to transform your Minecraft builds into truly unique and vibrant environments. Experiment with different feature IDs, coordinate placements, and environmental contexts to discover the full potential of this command in your creative endeavors.

