Configuring a Custom Sound Event in a Resource Pack (Step by Step)
Understanding Custom Sound Events in Minecraft
Minecraft’s resource pack system provides a powerful way for players to customize their game experience, extending far beyond visual changes to include custom sounds. By configuring custom sound events, you can replace existing in-game audio or introduce entirely new soundscapes to your world. This guide will walk you through the comprehensive process of setting up custom sound events within a resource pack, ensuring you understand the underlying mechanics and avoid common pitfalls.
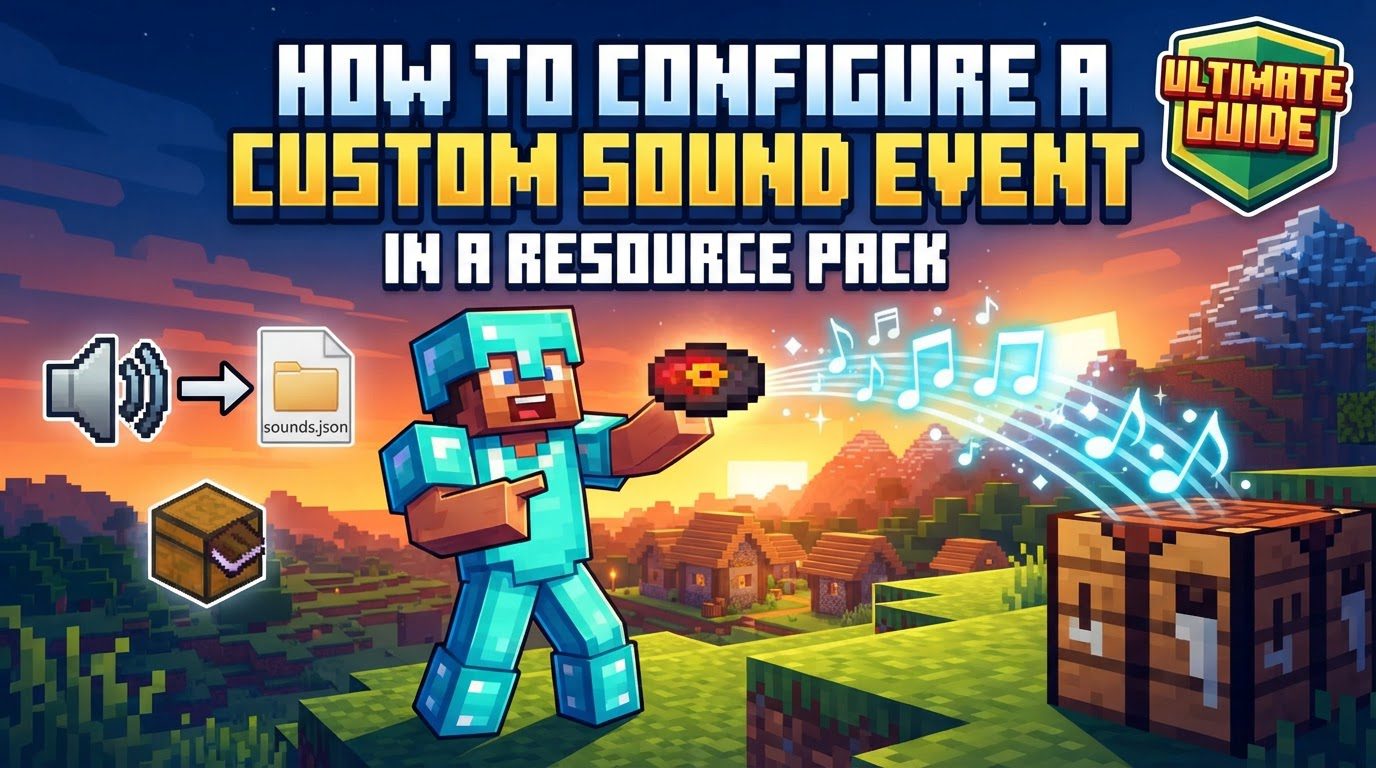
At its core, configuring a custom sound event involves creating a specific file structure within your resource pack, preparing your audio files, and defining these sounds in a special JSON file. For Java Edition, this file is named sounds.json, while Bedrock Edition utilizes sound_definitions.json. These files act as the bridge between your custom audio and Minecraft’s sound engine, linking unique sound identifiers to your prepared audio files.
Key Mechanics of Custom Sound Events
To effectively implement custom sounds, it’s crucial to grasp several fundamental concepts:
- Resource Pack Functionality: Resource packs are designed to modify or add custom content, including sounds, without altering or overwriting the game’s core files. This allows for easy installation, removal, and compatibility.
-
Audio File Format: All sound files used within Minecraft resource packs, whether for custom events or replacements, must be in the
.oggformat. The game will not recognize other audio formats. -
The Definition File: The
sounds.jsonfile (for Java Edition) orsound_definitions.jsonfile (for Bedrock Edition) is central to this process. It serves as the manifest for all your custom sound events, defining their unique IDs and pointing to their respective audio files within your resource pack’s directory structure. It also allows for the association of sounds with various game events. -
Triggering Sounds: Custom sound events can be initiated in two primary ways:
- By specific in-game actions that you’ve configured to play your sound.
- Manually, using the
/playsoundcommand within the game console, which is invaluable for testing.
-
Replacing Existing Sounds: If your goal is to change a vanilla sound, you can achieve this by duplicating the exact folder structure and filename of the original vanilla sound within your resource pack. Your custom
.oggfile will then override the default. -
Introducing New Sounds: For entirely new sounds, you’ll define a unique custom sound ID within your
sounds.jsonorsound_definitions.jsonfile. This ID will then be linked to the path of your custom.oggfile, located within your resource pack’s designated sound directory. -
Sound Event Properties: Beyond simply linking an ID to an audio file, you can configure various properties for your sound events. These include:
volume: Controls the loudness of the sound.pitch: Adjusts the playback speed and tone of the sound.subtitle: Provides text that appears on screen when the sound plays, useful for accessibility.weight: Used for randomizing sounds, allowing multiple audio files to be associated with a single event, withweightdetermining the probability of each playing.
Step-by-Step Process: Configuring a Custom Sound Event
Follow these steps carefully to successfully integrate your custom sounds into Minecraft:
1. Create a Resource Pack Structure
- Begin by creating a new folder, which will be the root of your resource pack (e.g.,
MyCustomSounds). - Inside this root folder, create the necessary subdirectories:
- For Java Edition: Create
assets/minecraft. - For Bedrock Edition: Create a
soundsfolder directly within the root.
- For Java Edition: Create
2. Add pack.mcmeta
- In the root directory of your resource pack (e.g.,
MyCustomSounds), create a file namedpack.mcmeta. - This file contains essential metadata for your resource pack, including its format version and a descriptive text. Without it, Minecraft will not recognize your resource pack.
3. Prepare Sound Files
- Acquire or create the audio files you wish to use.
- It is crucial that all these audio files are converted to the
.oggformat. Audio editing software such as Audacity is highly recommended for converting files and making any necessary adjustments.
4. Place Sound Files
- The placement of your
.oggfiles depends on whether you’re adding new sounds or replacing existing ones:- For new sounds: Create descriptive subfolders within your sound directory to organize your
.oggfiles. For Java Edition, this would typically be withinassets/minecraft/sounds, but it’s highly recommended to use a custom namespace folder (e.g.,assets/your_namespace/sounds) to prevent conflicts with vanilla sounds or other resource packs. For Bedrock Edition, these would go into subfolders within thesoundsdirectory. - For replacing sounds: You must replicate the exact folder structure of the vanilla sound you intend to replace. You can find this structure by examining the vanilla resource pack or by looking at the
assets/indexes/*.jsonfiles within your Minecraft installation. Place your custom.oggfile with the exact same name as the original vanilla sound file.
- For new sounds: Create descriptive subfolders within your sound directory to organize your
5. Create sounds.json / sound_definitions.json
- This is the file where you will define your sound events:
- For Java Edition: Create a file named
sounds.jsoninside theassets/minecraftfolder (e.g.,MyCustomSounds/assets/minecraft/sounds.json). - For Bedrock Edition: Create a file named
sound_definitions.jsoninside thesoundsfolder (e.g.,MyCustomSounds/sounds/sound_definitions.json).
- For Java Edition: Create a file named
6. Configure sounds.json / sound_definitions.json
- Open the newly created JSON file and define your custom sound events.
- For Java Edition (
sounds.json): You will define a custom sound event ID (e.g.,your_namespace:your_sound_id) and associate it with the path to your.oggfile. Note that you should omit the.oggextension in the path. You can also specify properties likevolume,pitch,subtitle, andweighthere.Example structure:
{ "your_namespace:your_sound_id": { "sounds": [ { "name": "your_namespace:custom_sounds/your_audio_file", "volume": 1.0, "pitch": 1.0, "subtitle": "Your Custom Sound" } ] } } - For Bedrock Edition (
sound_definitions.json): This file requires aformat_versionentry. It defines sound short-names that are then linked to the physical paths of your sound files.Example structure:
{
    "format_version": "1.14.0",
    "sound_definitions": {
        "your_namespace.your_sound_id": {
            "category": "neutral",
            "sounds": [
                {
                    "name": "sounds/custom_sounds/your_audio_file",
                    "volume": 1.0,
                    "pitch": 1.0
                }
            ]
        }
    }
}
- For Java Edition (
7. Activate Resource Pack
- Once your resource pack structure and files are in place, copy the entire root folder of your resource pack (e.g.,
MyCustomSounds) into Minecraft’sresourcepacksdirectory. This directory is typically found in your Minecraft installation folder. - Launch Minecraft, navigate to the “Options” menu, then “Resource Packs,” and activate your newly created resource pack by moving it from the “Available” column to the “Selected” column.
8. Test Sounds
- To confirm your custom sounds are working, open a world or server in Minecraft.
- Use the
/playsoundcommand in the chat to test your sound event. For example, for Java Edition, you might use:/playsound your_namespace:your_sound_id master @s ~ ~ ~ 1 1. Replaceyour_namespace:your_sound_idwith your actual sound event ID. - If you’ve configured your sound to trigger from an in-game event (e.g., a block breaking sound), perform that action to test it.
Important Tips for Success
- Examine Vanilla Resource Packs: For a deeper understanding of Minecraft’s sound structure and naming conventions, download and inspect the official vanilla resource pack. This can provide valuable insights, especially when replacing existing sounds.
-
Use Unique Namespaces: Always use a custom namespace (e.g.,
your_namespace:for Java Edition oryour_namespace.for Bedrock Edition) for your custom sound IDs and folder structures. This is critical for preventing conflicts with vanilla sounds or other resource packs you might use. - Client Restart for Testing: If your sounds aren’t working as expected during testing, sometimes a complete client restart of Minecraft is necessary, rather than just reloading the world or resource packs, to ensure all changes are registered.
- Sound Length Considerations: While music files can generally be of any length, be mindful of the length of sounds intended for entities or specific actions, as excessively long sounds might feel out of place or repetitive.
- Respect Copyright: Always ensure you have the necessary rights or permissions when using sound files created by others. Copyright infringement is a serious matter.
Common Mistakes to Avoid
-
Incorrect File Format: A frequent error is attempting to use audio files that are not in the
.oggformat. Minecraft will simply ignore these files. Always convert your audio to.ogg. -
Incorrect File Paths: Mismatched folder and file names, or incorrect casing (e.g.,
Sound.ogginstead ofsound.ogg), are common causes of issues. Double-check that the paths specified in yoursounds.jsonorsound_definitions.jsonexactly match the physical location and name of your.oggfiles. -
Syntax Errors in JSON: JSON files are sensitive to syntax. Missing commas, brackets, or incorrect quotation marks can render the entire file unreadable by Minecraft. Use a reliable JSON validator tool to check your
sounds.jsonorsound_definitions.jsonfor any errors. -
Missing pack.mcmeta: Forgetting to include the
pack.mcmetafile in the root of your resource pack will prevent Minecraft from recognizing it as a valid resource pack. -
Not Activating Pack: After placing your resource pack in the
resourcepacksfolder, you must remember to activate it within Minecraft’s in-game options menu for it to take effect. - Conflicting Sound IDs: Using generic sound IDs without a custom namespace can lead to conflicts, either overriding vanilla sounds unintentionally or clashing with other resource packs. Always use a unique namespace for your custom sounds.
By following this comprehensive guide and paying close attention to detail, you will be well-equipped to configure and enjoy custom sound events in your Minecraft resource packs, enriching your gameplay experience with unique audio. Happy creating!
Tags:
YOU MAY ALSO LIKE...