

Layering Multiple Resource Packs Correctly
Layering multiple resource packs in Minecraft is a powerful way to personalize your game’s aesthetics, allowing you to blend textures, sounds, and other assets from various sources into a unique visual experience. This process involves understanding how Minecraft prioritizes and applies content from different packs, enabling a customized look that goes beyond what a single resource pack can offer.
Understanding Key Mechanics
To effectively layer resource packs, it’s crucial to grasp the core principles that govern how Minecraft processes them. These mechanics dictate which assets are displayed and how different packs interact with each other.
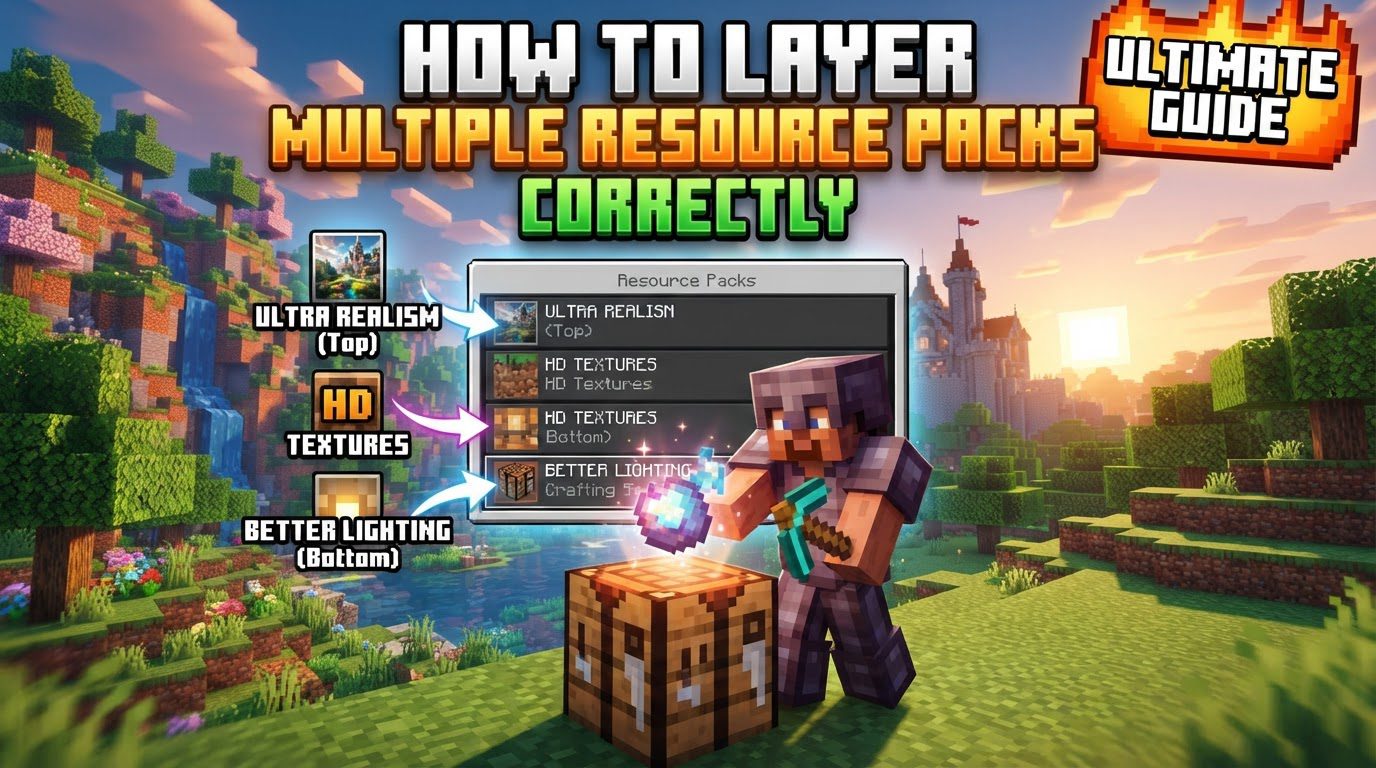
- Load Order and Priority: Minecraft processes and applies resource packs in a strict top-to-bottom order within your selected list. The pack positioned highest in this list holds the ultimate precedence. This means that if a specific texture, model, or sound asset exists in a higher-priority pack, that version will be used by the game, effectively overriding any identical asset found in a pack located lower down in the list. This hierarchical system is fundamental to achieving your desired layered look, as it determines which version of a particular game element will ultimately be visible.
- Partial Overrides: A common misconception is that resource packs must be complete to function. However, Minecraft’s system is designed to handle partial overrides efficiently. Resource packs do not need to contain every single texture or asset in the game. If a pack only includes specific textures-for instance, only custom sword designs or unique block textures-the game will utilize those particular assets. For any textures or assets that are not present in that pack, Minecraft will seamlessly fall back to the next pack in the established load order. If no other pack provides the missing asset, the game will default to its original, built-in Minecraft textures. This flexibility is what makes layering so effective, allowing users to combine small, specialized packs with larger, more comprehensive ones.
- File Structure: The successful application of any resource pack, especially when layering, hinges on a precise internal folder structure. Resource packs must adhere to a specific directory layout within their `.zip` file, such as `assets/minecraft/textures/blocks/` for block textures. This exact structure is critical because Minecraft relies on it to correctly locate and apply any modified content. Any deviation, even a minor one like incorrect capitalization or a misplaced folder, will prevent the game from finding and using the custom assets, resulting in them not appearing in-game.
Step-by-Step Process for Minecraft Java Edition
Layering resource packs in Minecraft Java Edition is a straightforward process once you understand the necessary steps. Follow these instructions to set up your custom visual experience:
- Download Packs: Begin by acquiring the resource packs you wish to use. These are typically distributed as `.zip` files from various online sources. Ensure you download packs that are compatible with your Minecraft version, as noted in the important tips section.
- Open Minecraft: Launch your Minecraft game client. From the main menu, you will navigate to the options that allow you to manage your resource packs.
- Access Resource Packs Menu: Once in the game, from the main menu screen, click on the “Options” button. Within the Options menu, locate and click on “Resource Packs.” This will open the dedicated interface for managing your installed packs.
- Open Pack Folder: On the Resource Packs screen, you will find a button labeled “Open Pack Folder.” Clicking this button will open the `resourcepacks` directory on your computer’s file system. This is the designated location where Minecraft looks for resource pack files.
- Add Packs: Take the downloaded `.zip` resource pack files and drag them directly into the `resourcepacks` folder that you just opened. Do not unzip them; Minecraft reads them in their `.zip` format. After placing the files, you might need to close and reopen the Minecraft Resource Packs screen for them to appear in the “Available” column.
- Activate and Arrange: Back in the Minecraft Resource Packs screen, you will see two columns: “Available” and “Selected.” To activate a pack, hover over it in the “Available” column and click the arrow icon that appears. This will move the pack to the “Selected” column on the right. Once multiple packs are in the “Selected” column, you can arrange them in your preferred order. To do this, simply click and drag a pack up or down within the “Selected” list. Remember, packs higher in this list have higher priority, meaning their assets will override those from packs below them.
- Apply Changes: After you have arranged your resource packs in the desired order, click the “Done” button at the bottom of the screen. Minecraft will then reload all the game assets, applying your newly layered resource packs according to the priority you’ve set. This reloading process may take a moment, especially with many or large packs.
Important Tips for Effective Layering
To ensure a smooth and visually appealing experience when layering resource packs, consider these essential tips:
- Version Compatibility: Always verify that the resource packs you intend to use are compatible with your current Minecraft version. Using packs designed for older or newer versions can lead to significant issues, such as textures failing to load correctly, appearing glitched or distorted, or even causing your game to crash unexpectedly. Checking compatibility beforehand can save a lot of troubleshooting time.
- Layer Specificity: When arranging your packs, it’s generally best practice to place resource packs that introduce small, highly specific changes-like a custom Graphical User Interface (GUI), unique item textures (e.g., just swords or tools), or custom skyboxes-higher in your selected list. This ensures that these particular, focused modifications are always applied and visible, overriding any broader changes that might come from a more general texture pack below them.
- Base Pack at Bottom: If you are using a comprehensive resource pack that aims to retexture most of the game’s blocks, items, and environment, this “base” pack should typically be positioned at the very bottom of your selected list. By placing it at the lowest priority, it provides a foundational visual style, allowing more specialized packs layered above it to introduce targeted changes without having to retexture everything. This creates an efficient and organized layering system.
- Manual Merging (Advanced): For users who desire ultimate control over every asset, or when a single, consolidated resource pack file is required (e.g., for a server), manual merging is an option. This involves unzipping the individual resource packs, carefully copying specific files or folders (e.g., just the `textures` folder for blocks or items) into a new, empty resource pack folder, ensuring the correct internal structure is maintained, and then re-zipping this new folder. This method demands a precise understanding of Minecraft’s file structure to avoid errors.
- Online Combiner Tools: For a less labor-intensive approach to merging, several online tools are available that simplify the process. Websites like Nera’s Pack Combiner or elmakers.com allow you to upload multiple resource pack `.zip` files, define their priority, and then download a single, combined resource pack file. These tools are incredibly convenient for creating a unified pack without needing to delve into manual file manipulation.
Common Mistakes to Avoid
While layering resource packs offers immense customization, certain pitfalls can lead to frustration. Being aware of these common mistakes can help you troubleshoot and achieve your desired aesthetic:
- Incorrect Load Order: One of the most frequent errors is improperly ordering your resource packs in the “Selected” list. This can lead to textures you specifically prefer or intended to see being unexpectedly overridden by less desired or default textures from a lower-priority pack. Always double-check your priority arrangement to ensure your favorite elements are visible.
- Incompatible Pack Versions: As mentioned, using resource packs that are not compatible with your specific Minecraft version can cause a range of problems. These issues can manifest as textures that simply fail to load, appear visually glitched or broken, or, in more severe cases, can even lead to your game crashing outright. Always verify version compatibility to maintain game stability.
- Naming and Folder Structure Errors: This mistake is particularly relevant when attempting manual merging or creating your own custom packs. Minecraft is highly sensitive to the exact naming and internal folder structure of resource pack assets. Even minor discrepancies, such as incorrect capitalization, a misspelled folder name, or a misplaced file, can prevent the game from correctly locating and loading the intended assets, resulting in them not appearing in your game world.
- Server Resource Pack Limitations: It’s important to note that Minecraft servers typically have a limitation regarding resource packs: they can only enforce a single resource pack for all connected players. If you, as a server owner, wish for players on your server to experience a blend of merged textures from multiple packs, you cannot simply upload several individual packs. Instead, you must first combine all the desired individual resource packs into a single, unified resource pack file before uploading it to the server. This ensures all players see the same, intended custom visuals.
Tags:
YOU MAY ALSO LIKE...


