Fixing a Broken Player Skin, Explained
A “broken” Minecraft player skin can be a frustrating issue, manifesting as your character appearing as the default Steve or Alex, an invisible entity, or a garbled mess of pixels. Understanding the underlying mechanics of how Minecraft handles skins is the first step toward effective troubleshooting. Your skin data is intrinsically linked to your Minecraft account and is retrieved directly from Mojang or Microsoft servers. This means that a stable connection and correct authentication are crucial for your skin to display properly. Both Minecraft Java Edition and Bedrock Edition have unique aspects that can lead to skin issues, from authentication token problems in the Java launcher to specific settings in Bedrock that prevent custom skins from loading.
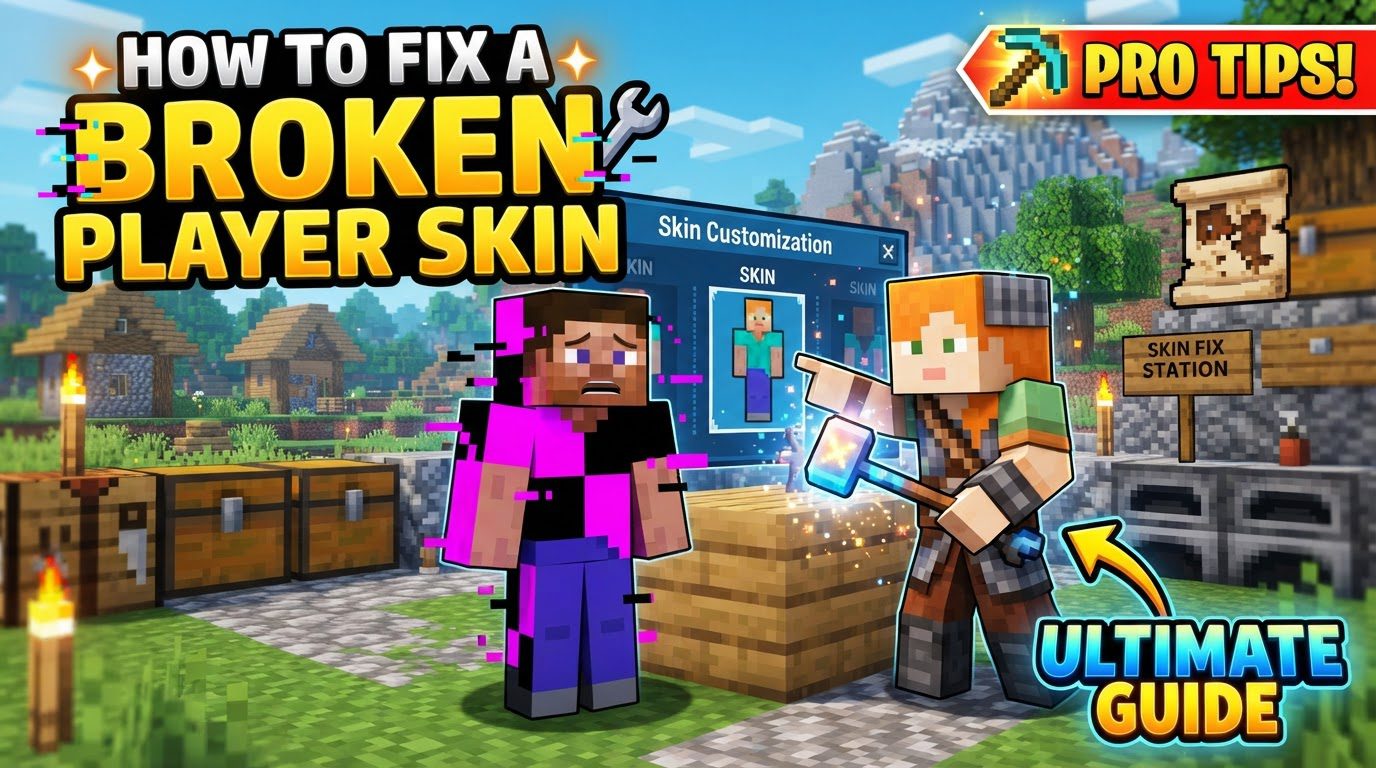
Client-side skin caches can also become corrupted or outdated, causing display issues even if your skin is correctly set on the server. Furthermore, multiplayer servers might have their own settings that block custom skins, preventing them from being seen by others or even yourself. Custom skin files themselves must adhere to strict requirements, needing to be in PNG format and specific dimensions, typically 64×64 or 64×32 pixels, with a reasonable file size. Addressing these various potential points of failure is key to restoring your intended appearance in the game.
Troubleshooting for Minecraft Java Edition
If you’re experiencing skin issues in Minecraft Java Edition, the problem often lies with authentication tokens or local client data. Here are the steps to resolve these common problems:
- Refresh Authentication: This is often the first and most effective step for Java Edition users. Authentication tokens in the Minecraft launcher can sometimes lose their connection to the skin servers, leading to your skin not loading. To fix this, completely close Minecraft. Then, open the launcher, navigate to your profile settings, and log out of your current account. After logging out, sign back in using your Microsoft credentials. This process forces the launcher to refresh its authentication tokens and re-download your skin file from the servers, usually resolving transient display issues.
- Upload Skin via Official Website: If you are using a custom skin and it’s not appearing, bypassing the in-game launcher for the upload process can often help. Visit the official Minecraft website and log into your profile. From there, you can manually upload your correctly formatted custom skin file. This method ensures that the skin is properly registered with your account on Mojang/Microsoft’s servers, which is where the game retrieves the skin data from. Ensure your custom skin file is a valid PNG and meets the dimensional requirements (64×64 or 64×32 pixels).
-
Clear Minecraft Cache: Corrupted or outdated client-side skin caches can prevent your skin from displaying correctly. To clear these caches, you’ll need to locate your
.minecraftfolder. On Windows, this is typically found by typing%appdata%/.minecraftinto the Run dialog (Windows Key + R). Once inside the.minecraftfolder, delete theassets/skinsfolder and thelibrariesfolder. Don’t worry, these folders contain temporary or cached files, and the game will automatically re-download them cleanly the next time you launch Minecraft. This action forces the game to fetch fresh copies of all necessary assets, including your skin. - Verify Skin File: For custom skins, it’s paramount that the file itself is correctly formatted. Confirm that your custom skin file is a PNG image and adheres to the standard dimensions of 64×64 or 64×32 pixels. Additionally, ensure its file size is reasonable, typically under 1MB (though some uploaders might allow up to 3MB). An incorrectly formatted or oversized file will either fail to upload or display incorrectly in-game. If there’s any doubt, try re-uploading the verified file to the official Minecraft website.
Troubleshooting for Minecraft Bedrock Edition
Minecraft Bedrock Edition has its own set of common issues and solutions for broken skins, often related to specific in-game settings or the Dressing Room feature.
- Disable “Only Allow Trusted Skins”: One of the most frequent causes of custom skins not appearing in Bedrock Edition is the “Only Allow Trusted Skins” setting. When this option is enabled, it can prevent custom or unverified skins from displaying, often defaulting your character to Steve or Alex. To disable it, navigate to the main menu, go to “Settings,” then find “Profile” or “General.” Within these options, you should see the toggle for “Only Allow Trusted Skins.” Ensure this option is turned off.
- Reapply Skin in Dressing Room: Sometimes, even if your skin is technically selected, the game might not be displaying it correctly. The Dressing Room is where you manage your character’s appearance in Bedrock Edition. Go to the Dressing Room, select “Change Classic Skin,” and then choose your owned skin from the available options. Even if it appears to be selected already, re-selecting it can often refresh the game’s internal state and cause your skin to display properly. If your skin isn’t showing up as the profile picture within the Dressing Room, re-selecting it is a good first step.
-
Clear Skin Pack Cache: Similar to Java Edition’s asset cache, Bedrock Edition can also accumulate corrupted or outdated cached data, particularly for skin packs. On some platforms, you might need to manually clear the
premium_cache/skin_packsfolder within your Minecraft files. The exact location varies by device, but this action forces the game to re-download skin pack data, potentially resolving display issues. - Verify Skin File: Just as with Java Edition, custom skin files for Bedrock must also be correctly formatted. Ensure your custom skin is a PNG file with dimensions of 64×64 or 64×32 pixels and a manageable file size. If you’re encountering issues after uploading a custom skin, double-checking these specifications and re-uploading if necessary is a crucial step.
Important Tips for Skin Management
Beyond the specific troubleshooting steps, there are several general practices that can help prevent and resolve skin issues across both editions of Minecraft:
- Always Restart Minecraft: After making any changes to your skin settings, clearing caches, or re-uploading files, it is crucial to completely restart Minecraft. This ensures that the game reloads all assets and settings, applying your changes effectively.
- Maintain a Stable Internet Connection: Minecraft skins are loaded from your account on Mojang/Microsoft servers or through cloud services. A stable and reliable internet connection is essential for the game to fetch and display your skin correctly. Offline mode or an intermittent connection can often lead to your skin not loading.
- Keep Game and Launcher Updated: Always ensure your Minecraft launcher and game client are updated to their latest versions. Outdated software can sometimes have bugs that affect skin loading or compatibility with server-side changes.
- Verify Skin on Official Website: For custom skins, always verify that your skin appears correctly on your official Minecraft website profile. If it doesn’t show up correctly there, it won’t show up correctly in-game.
- Correct Custom Skin File Format: Reiterate that custom skins must be saved as a PNG file with the correct dimensions (64×64 or 64×32 pixels). Any other format or incorrect dimensions will lead to failure.
- URL Enclosure for Modded Clients: If you are using a modded client or specific plugins that allow uploading skins via a URL, ensure that the URL is properly enclosed in double quotes. Incorrect syntax can prevent the skin from being fetched.
Common Mistakes to Avoid
Understanding common pitfalls can save you time and frustration when dealing with broken Minecraft skins:
- Incorrect File Format or Dimensions: A very common mistake is using an image file that is not a PNG, or one that does not adhere to the required 64×64 or 64×32 pixel dimensions. This will almost always result in upload failures or display errors in-game. Always double-check these specifications.
- “Only Allow Trusted Skins” Enabled (Bedrock): For Bedrock Edition players, forgetting to disable this setting is a frequent cause of custom skins not appearing. This setting explicitly prevents unverified or custom skins from being displayed.
- Corrupted or Invalid Skin Files: If you’ve recently uploaded a custom skin and it appears invisible, partially rendered, or as a scrambled mess, the image file itself might be corrupted or internally formatted incorrectly. Try re-saving the image or creating a new one from scratch.
- Outdated Game or Launcher: Playing with an older version of Minecraft or its launcher can lead to various compatibility issues, including problems with skin loading. Always keep your game and launcher updated.
- Offline Mode or Unstable Internet: As skins are retrieved from online services, playing in offline mode or having an unreliable internet connection will prevent your skin from loading, causing you to appear as a default character.
- Server Restrictions: Be aware that some multiplayer servers may intentionally block custom skins or use server-side plugins that override client skins. If your skin only breaks on a specific server, this might be the cause.
- Excessive Details or Copyrighted Images: Minecraft’s blocky graphics are not designed to render extremely fine details. Skins with too many intricate elements might not display well. Additionally, avoid using copyrighted or offensive content, as these can be flagged and removed, or lead to account penalties.
- Large File Sizes: While not as common with standard skins, excessively large skin files (generally over 1MB, or 3MB for certain tools) can cause upload failures or slow loading. Optimize your custom skin files for size.
By systematically working through these troubleshooting steps and being mindful of common mistakes, you should be able to resolve most issues related to a broken Minecraft player skin, ensuring your character looks exactly how you intend in the vast worlds of Minecraft.
Tags:
YOU MAY ALSO LIKE...