

Crafting a Tinkers’ Construct Hammer for Area Mining
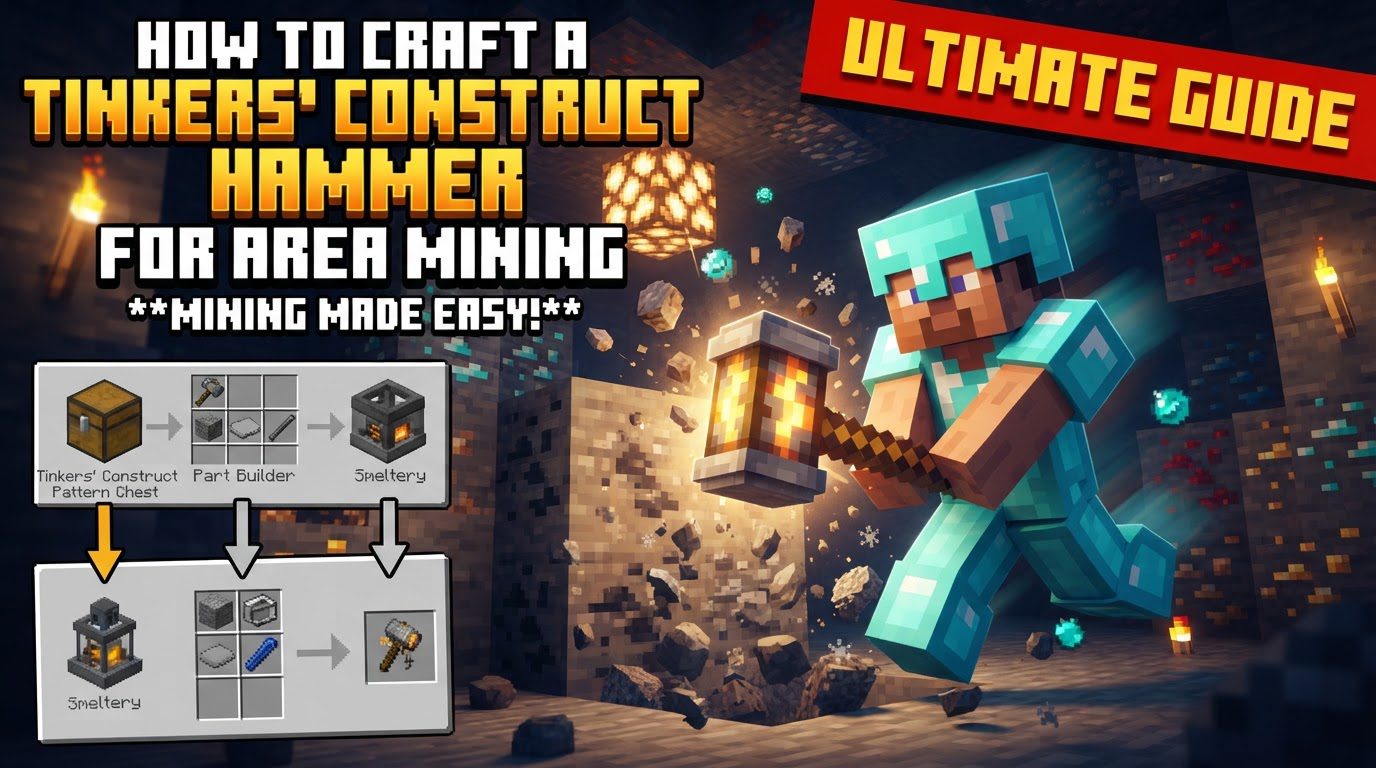
The Tinkers’ Construct Hammer stands out as an indispensable tool for any seasoned Minecraft adventurer, particularly when facing large-scale excavation projects. Unlike a standard pickaxe, this powerful Tier 2 tool is engineered for efficiency, capable of mining a 3×3 area of blocks with each swing. This guide will walk you through the comprehensive process of crafting your own Hammer, from gathering the initial materials to optimizing its performance with crucial modifiers, ensuring you can tackle vast mining operations with ease.
Understanding the Hammer’s Core Mechanics
Before diving into the crafting process, it’s essential to grasp the fundamental mechanics that define the Tinkers’ Construct Hammer. Its primary allure is its ability to clear a 3×3 block area, significantly accelerating the collection of resources and the excavation of tunnels or large chambers. This area-of-effect mining capability applies to stone and various ores, provided they are blocks that a standard pickaxe would normally be able to mine. However, a critical limitation to remember is that the Hammer will only successfully break blocks that its current mining level permits.
The Hammer’s performance, specifically its mining level and the material required for its repair, is directly determined by the material chosen for its Hammer Head. This makes the selection of the Hammer Head material a strategic decision that impacts the tool’s overall utility and longevity. Understanding these core principles will guide your material choices and help you avoid common pitfalls during crafting and use.
Step-by-Step Guide to Crafting Your Hammer
Crafting a Tinkers’ Construct Hammer involves several distinct stages, moving from raw materials to a powerful mining implement. Each step requires careful attention to material selection and crafting station usage.
1. Gather Materials
The first step is to collect the necessary raw materials for the Hammer’s three core components. You will specifically need enough material to create:
- One Hammer Head: This is the most crucial component, as its material dictates the Hammer’s mining level and repair material.
- Two Large Plates: These provide structural integrity to the Hammer. Each Large Plate typically requires a substantial amount of material (e.g., 8 units).
- One Tough Tool Rod: This forms the handle of the Hammer, contributing to its durability and potential modifiers.
The specific type of material you choose for these components will vary based on your desired Hammer properties, ranging from basic options like cobblestone or iron to advanced materials like cobalt or Manyullyn.
2. Create Patterns/Casts
Once you have your raw materials, the next step is to create the appropriate patterns or casts required to shape them into tool parts.
- If you are using a Part Builder with wood, you will need to craft the wooden patterns for a Hammer Head, Large Plate, and Tough Tool Rod. These patterns are then used in the Part Builder with your chosen solid materials (e.g., stone, iron ingots).
- If you are utilizing a Smeltery for liquid metals, you will first need to create Blank Casts from clay, then pour molten metal over the wooden patterns in a Casting Table or Casting Basin to create reusable metal casts for the Hammer Head, Large Plate, and Tough Tool Rod. These metal casts are then used to mold future parts from molten metals.
Ensuring you have the correct patterns or casts is fundamental to creating the specific parts needed for your Hammer.
3. Craft Individual Parts
With your materials and patterns/casts ready, it’s time to craft the actual components of your Hammer.
- Use your chosen material (e.g., cobblestone for a basic Hammer Head, iron for a stronger one, or molten cobalt/Manyullyn with casts) in conjunction with the respective patterns or casts to produce the Hammer Head.
- Similarly, craft two Large Plates using your selected material. Remember that each Large Plate typically consumes 8 units of material, so plan accordingly.
- Finally, create one Tough Tool Rod from your chosen material.
Careful material selection at this stage is crucial, as it directly impacts the Hammer’s final stats, including its mining speed, durability, and mining level.
4. Assemble in the Tool Forge
This step is critically important and a common point of error for new Tinkers’ Construct users. The Hammer is classified as a Tier 2 tool, meaning it possesses advanced capabilities and requires a more sophisticated crafting station.
- You must assemble the Hammer in a Tool Forge, not a regular Tool Station. Attempting to craft it in a Tool Station will not work.
- Place the crafted Hammer Head, two Large Plates, and one Tough Tool Rod into the appropriate slots within the Tool Forge’s interface.
Once all components are correctly placed, your powerful new Tinkers’ Construct Hammer will be assembled and ready for use.
5. Apply Modifiers (Recommended)
While your Hammer is functional after assembly, its true potential is unlocked through the application of modifiers. These enhancements can dramatically improve its performance, making it more efficient, durable, or resourceful.
- Use either a Tool Station or the Tool Forge itself to apply various modifiers to your Hammer.
- Popular modifiers include Redstone for increased mining speed, Lapis Lazuli for Fortune, a Lava Crystal for auto-smelting, or a Moss Ball for auto-repair.
Strategic application of modifiers is key to tailoring your Hammer to specific mining needs and maximizing its utility.
Important Tips for Optimizing Your Hammer
To get the most out of your Tinkers’ Construct Hammer, consider these expert tips regarding material selection and modifier optimization.
Material Selection for Core Components
- Hammer Head:
- Cobalt: A very popular choice for the Hammer Head due to its exceptionally high mining speed, allowing for rapid excavation.
- Manyullyn: Offers superior durability compared to many other materials, making it an excellent choice for a long-lasting Hammer Head that can withstand extensive use.
- Tough Tool Rod:
- Ardite: Using Ardite for the Tough Tool Rod provides a unique benefit: the hammer will regain durability automatically whenever you mine stone-based blocks. This can significantly reduce the need for manual repairs.
Optimizing Modifiers for Peak Performance
Modifiers are where your Hammer truly shines, allowing for customization to suit any mining scenario.
- Redstone: Adding Redstone to your Hammer will significantly increase its mining speed. The more Redstone you apply, the faster your hammer will break blocks, making it ideal for clearing large areas quickly.
- Lapis Lazuli: Applying Lapis Lazuli grants the Fortune enchantment effect, which can increase the drops for certain raw resources. While it is effective for resources like diamonds, lapis, and redstone, it’s important to note that its effect on increasing ore block drops when mined by a hammer can be inconsistent or non-existent for some ore types.
- Lava Crystal: This powerful modifier provides an auto-smelting capability. When equipped, any ore blocks you mine will automatically be converted into their respective ingots, and stone will be smelted into smooth stone. This saves inventory space and processing time.
- Moss Ball: The Moss Ball grants auto-repair functionality. With this modifier, your Hammer will slowly mend itself over time, reducing the need for constant manual repairs and extending its lifespan.
- Durability/Mining Level Boosts:
- Diamonds: Can be used to increase the Hammer’s overall durability.
- Emeralds: Can be used to increase the Hammer’s mining level, allowing it to break tougher blocks.
- Extra Modifier Slots:
- Gold Block + Diamond: Combining a Gold Block with a Diamond can add an additional modifier slot to your Hammer, allowing for further customization.
- Nether Star: A Nether Star can also be used to add an extra modifier slot, offering a highly valuable expansion for your tool’s capabilities.
- Electric Modifier: For those seeking nearly indestructible tools, the Electric modifier is a game-changer. Once the tool’s durability is reduced, integrating the Electric modifier with a compatible RF (Redstone Flux) system can provide infinite durability, effectively making your Hammer unbreakable as long as it receives power.
Common Mistakes to Avoid
Even experienced players can make mistakes when crafting and using Tinkers’ Construct tools. Be mindful of these common pitfalls:
- Attempting to Craft in a Tool Station: This is perhaps the most frequent error. The Hammer is a Tier 2 tool and, as such, must be crafted in a Tool Forge. A regular Tool Station lacks the necessary interface and functionality for its assembly.
- Insufficient Material for Large Plates: Each Large Plate component requires a significant amount of material, typically 8 units. Failing to gather enough material for both Large Plates will halt your crafting progress. Always double-check the material requirements before you begin.
- Misunderstanding Fortune’s Effect with Ores: While Lapis Lazuli’s Fortune effect is generally beneficial, its consistency when applied to hammer-mined ore blocks can vary. For some ore types, the increased drops may be inconsistent or non-existent, even with Fortune applied. Manage your expectations regarding Fortune on certain ore blocks when using a Hammer.
- Ignoring Mining Level Requirements: The Hammer, like any other mining tool, is limited by its mining level. It will only successfully break blocks that its current mining level can handle. If you’re attempting to mine obsidian with a stone Hammer Head, it simply won’t work. Always check the mining level provided by your Hammer Head material to ensure it meets the requirements for the blocks you intend to excavate.
By keeping these tips and warnings in mind, you are well-equipped to craft, optimize, and effectively wield a Tinkers’ Construct Hammer, transforming your mining endeavors into highly efficient and productive operations.
Tags:
YOU MAY ALSO LIKE...


