

Building a BuildCraft Quarry (Step by Step)
Mastering Automated Mining: A Comprehensive Guide to Building a BuildCraft Quarry
The BuildCraft Quarry stands as a cornerstone of automated resource gathering in Minecraft, offering an efficient solution for excavating vast amounts of material. This powerful machine is designed to automatically mine a large, predefined area down to bedrock, significantly reducing the manual effort required for resource acquisition. By default, the Quarry operates within a 9×9 block area. However, its mining dimensions can be fully customized, allowing players to tailor its operation to specific needs and geological formations. Understanding its mechanics, from energy requirements to item transport, is crucial for successful implementation. The Quarry operates by first constructing a structural frame, followed by the deployment of a floating robot that systematically clears blocks within its designated boundaries. It’s important to note that once placed and operational, the Quarry will actively keep the chunks it’s mining loaded in memory, even if its power supply is temporarily interrupted. All mined blocks are conveniently ejected from the top of the Quarry, ready for collection and transport.
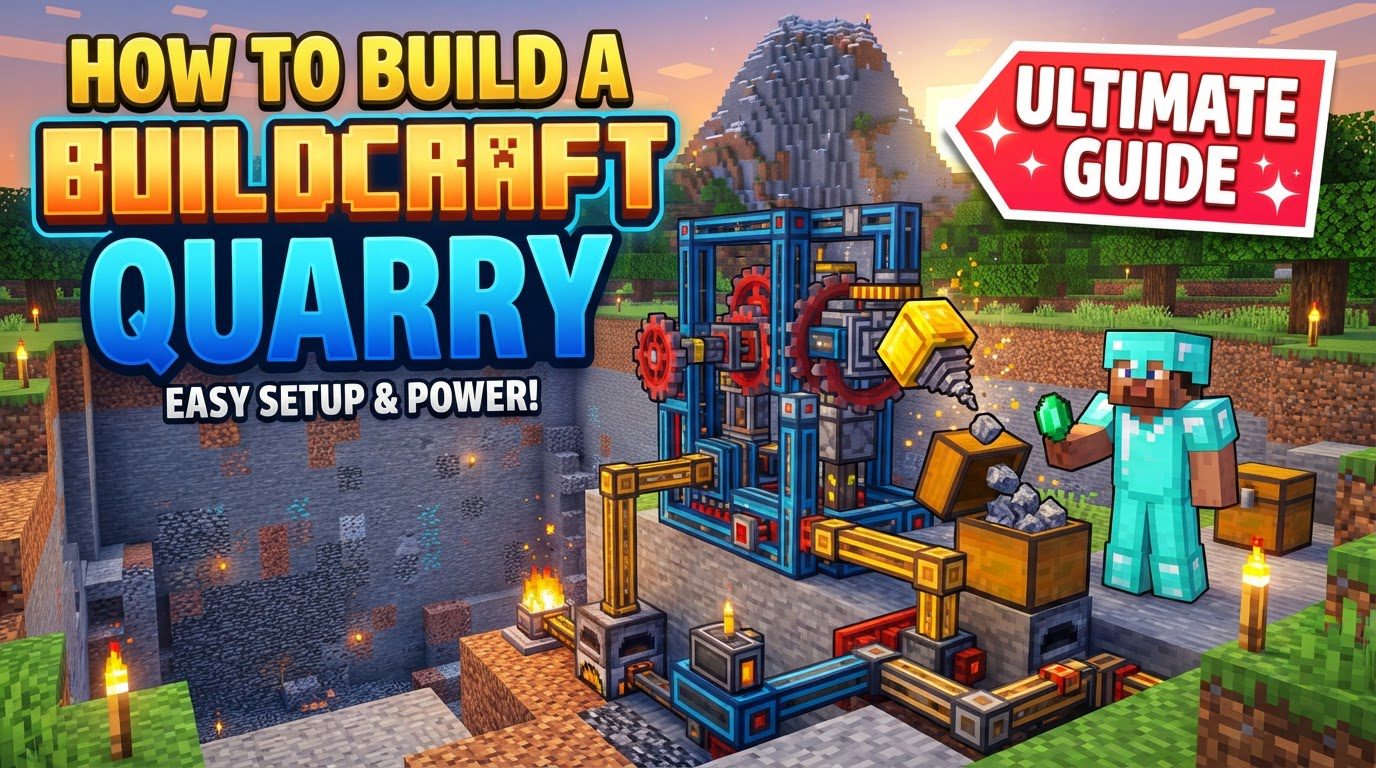
Crafting Your Quarry
The journey to automated mining begins with crafting the Quarry itself. This advanced piece of machinery requires a specific set of components, reflecting its utility and power. The standard crafting recipe typically involves a combination of gears and a diamond tool:
- Two Diamond Gears: These are high-tier gears, indicating the Quarry’s robust construction.
- Two Gold Gears: Another set of valuable gears, contributing to the machine’s intricate mechanisms.
- Three Iron Gears: These form the foundational gearing system of the Quarry.
- One Unused Diamond Pickaxe: A pristine diamond pickaxe is integrated into the Quarry, symbolizing its primary function and mining capability.
- One Redstone Dust: This provides the necessary redstone signal for the Quarry’s internal circuitry.
It’s worth noting that while this is the common recipe, players in modpacks featuring GregTech may encounter a more complex and resource-intensive recipe, reflecting GregTech’s emphasis on intricate crafting progressions.
Defining the Mining Area with Landmarks
Before placing the Quarry, you have the option to define a custom mining area, moving beyond the default 9×9 boundary. This is achieved using BuildCraft Landmarks:
- Placing Landmarks: To define the width and depth of your desired mining area, place at least three Landmarks in a straight line. Once placed, right-clicking on them will cause red line markers to appear, visually indicating the boundaries you are establishing.
- Setting Height: If you wish to specify the height from which the Quarry should start mining, a fourth Landmark can be placed. This allows for precise control over the vertical extent of the excavation.
- Visibility Aids: To make the red line markers and the overall mining area more visible, especially in complex terrain or at night, consider placing a Redstone Torch next to a Landmark. Alternatively, simply right-clicking a Landmark will cast a distinct blue beam, making it significantly easier to align and confirm your mining boundaries.
Placing the Quarry
Once your mining area is defined (or if you intend to use the default 9×9 area), the next step is to place the Quarry itself:
- Strategic Placement: If you’ve used Landmarks to define a custom area, place the Quarry directly next to one of these Landmarks. Upon placement, yellow and black guidelines will materialize, visually confirming the precise mining boundaries the Quarry will adhere to.
- Avoid Landmark Beams: A critical mistake to avoid is placing the Quarry directly on top of the red Landmark beams. Doing so can lead to the Quarry attempting to remove blocks within that specific area, which may result in its self-destruction or improper functioning. Always ensure the Quarry is adjacent to, not on, the Landmark beams.
Powering the Quarry: The Lifeline of Automation
The BuildCraft Quarry is a power-hungry machine, requiring Minecraft Joules (MJ) energy to operate. Its mining speed is directly correlated with the amount of power supplied; more power means faster excavation:
- Connecting Engines: To power your Quarry, you must attach one or more BuildCraft engines to it. Various engine types are available, each with different power outputs and fuel requirements:
- Stirling Engines: These are a common starting point, providing 1 MJ/t (Minecraft Joule per tick). For a decent mining speed, you will likely need multiple Stirling engines connected to your Quarry. They are typically powered by solid fuels like coal or charcoal, often requiring Redstone torches placed adjacent to them to initiate operation.
- Combustion Engines: Offering a significantly higher output of 5 MJ/t each, Combustion engines are a more powerful option. They require liquid fuels, such as oil or fuel, and also need a continuous supply of water to prevent overheating and potential explosions. Proper management of fuel and water is essential for their safe and efficient operation.
- Magmatic Engines: While not detailed in the notes, they are another common engine type for liquid fuel. (Self-correction: The research notes only mention Stirling and Combustion, so I will stick to those two explicitly mentioned examples).
- Power Extraction: To successfully transfer power from the engines to the Quarry system, you will often need to use Wooden conductive pipes. These pipes are capable of extracting energy directly from engines. Golden pipes, while also conductive, primarily carry energy within a network and do not extract it from engines.
- Avoiding Insufficient Power: A common pitfall is providing inadequate power. If the Quarry appears to pause its operation, it’s a clear indicator that it requires more consistent MJ energy. Ensure your engine setup is robust enough to meet its demands.
- Correct Pipe Connections: Always double-check your pipe connections. Using the wrong type of pipe for power extraction (e.g., trying to extract with a Golden pipe instead of a Wooden conductive pipe) will prevent the Quarry from receiving power.
Setting Up Item Transport and Storage
As the Quarry mines, it will generate a massive volume of blocks. Efficient item transport and ample storage are paramount:
- Connecting Pipes: Mined blocks are ejected from the top of the Quarry. To collect these items, connect pipes to the top of the Quarry. Cobblestone Pipes are a basic and effective choice for transporting items away from the Quarry.
- Item Sorting: To manage the diverse range of materials a Quarry extracts, consider integrating a Diamond Pipe into your transport system, ideally close to the Quarry itself. Diamond Pipes allow for advanced filtering, enabling you to send specific items to designated destinations. For example, you can configure it to send coal directly back to Stirling engines for fuel, or route unwanted items, such as excessive dirt or gravel, to a Void Pipe for disposal.
- Ample Storage: One of the most critical aspects of Quarry operation is ensuring you have sufficient storage space. The Quarry will produce an enormous quantity of blocks, particularly cobblestone and dirt. Always have plenty of storage options available, such as multiple chests. For long-distance transport back to your main base, Ender Chests are an invaluable solution, allowing you to easily transfer items across dimensions or vast distances.
- Preventing Storage Overflow: If your output chests fill up completely, the Quarry will continue to eject items, causing them to spill out onto the ground. This can lead to significant lag in your game and, more importantly, result in the loss of valuable mined resources. Regularly monitor your storage capacity to avoid this common mistake.
Important Tips for Optimal Quarry Operation
To maximize the efficiency and safety of your BuildCraft Quarry, consider these crucial tips:
- Managing Lava Encounters: Lava is a common obstacle during deep mining. If the Quarry encounters lava and it’s not handled, the Quarry will cease mining blocks beneath it. To prevent this, strategically place water source blocks in the corners of the mining area or, ideally, position the Quarry frame directly over an existing body of water. This will convert any exposed lava into cobblestone or obsidian, allowing the Quarry to continue its excavation without interruption.
- Optimizing Placement for Resources: To save both time and fuel, consider placing your Quarry directly above known rich ore levels. This minimizes the amount of “waste” blocks mined and maximizes the yield of valuable minerals.
- Water for Mob Prevention: The deep pits created by a Quarry can become dark and ideal spawning grounds for hostile mobs. Placing water source blocks within the Quarry pit can help to prevent these undesirable spawns, creating a safer environment around your operation.
Common Mistakes to Avoid
While the Quarry is a powerful tool, several common errors can hinder its performance or even lead to resource loss:
- Insufficient Power: As mentioned, the Quarry requires consistent MJ energy. If its operation pauses or is exceedingly slow, it’s a clear sign that your engine setup is not supplying enough power. Upgrade or add more engines to maintain optimal mining speed.
- Incorrect Pipe Connections: Ensure you are using the correct pipes for their intended purpose. Wooden conductive pipes are essential for extracting power from engines, while Golden pipes are for energy transmission within a network. Similarly, use item pipes (like Cobblestone Pipes) for block transport. Misconnecting pipes will disrupt the flow of power or items.
- Placing Quarry on Landmark Beams: Never place the Quarry directly on the red landmark beams that define its custom mining area. This can cause the Quarry to attempt to mine its own foundational blocks, potentially leading to its destruction or malfunction.
- Running Out of Storage: This is a frequently overlooked issue. If your output chests become full, the Quarry will continue mining, and all subsequent blocks will spill out, risking loss and causing performance issues due to excessive dropped items. Always over-estimate your storage needs.
- Ignoring Liquid Issues: Failing to manage lava or other liquids encountered during mining will halt the Quarry’s progress. If lava is not converted to cobblestone or obsidian by water, the Quarry simply will not mine the blocks beneath it, leaving valuable resources inaccessible.
By carefully following these guidelines and understanding the nuances of its operation, you can effectively deploy and manage a BuildCraft Quarry, transforming your resource gathering into an automated, efficient, and highly productive endeavor.

