Configuring a Quark Mod Automatic Crafting Feature
Automating production in Minecraft can transform your gameplay experience, and Quark’s backported Crafter block is a powerful tool for achieving this, especially in versions like 1.20.1 where it might not be natively available. This guide will walk you through setting up and optimizing the Quark Crafter for efficient automatic crafting, ensuring your resource processing runs smoothly.
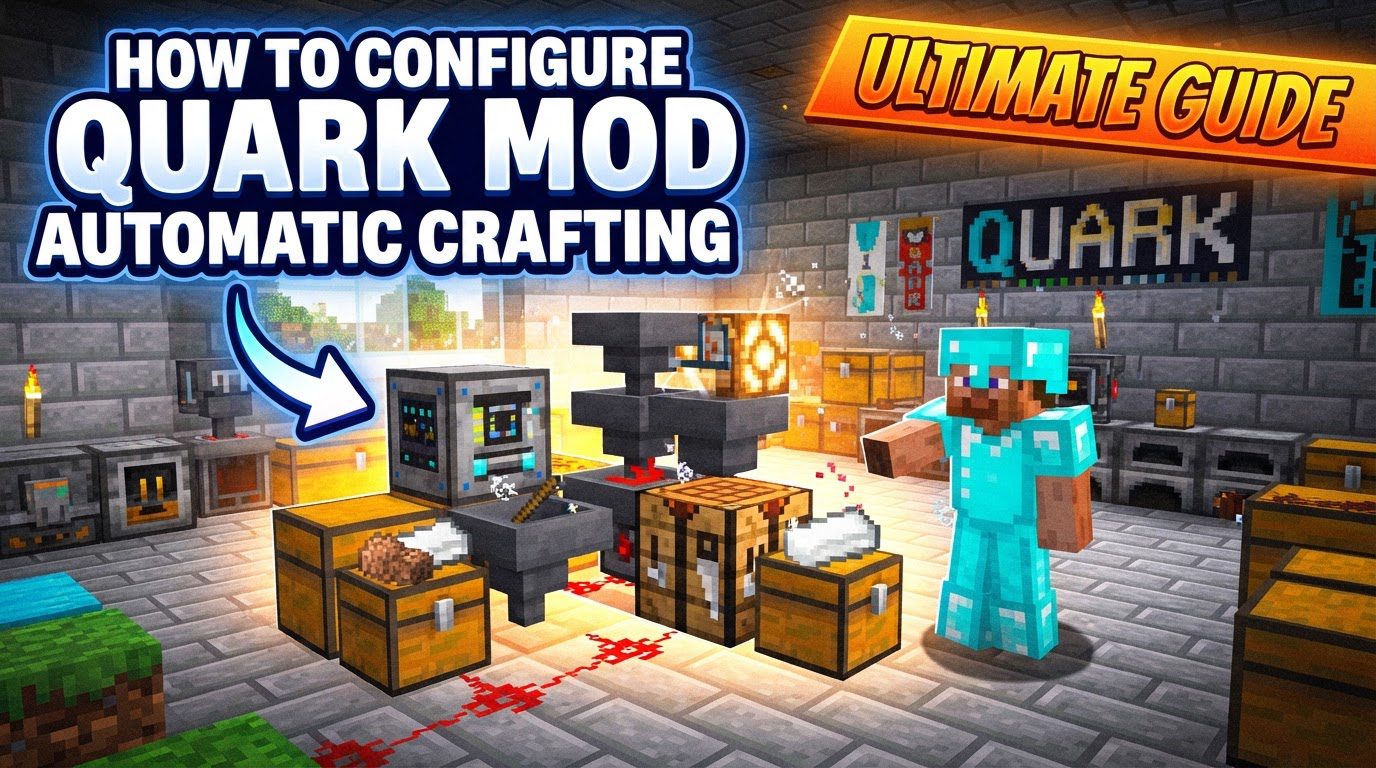
Understanding the Quark Crafter: Key Mechanics
The Quark Crafter functions as an advanced, automated crafting table, capable of executing any standard 3×3 crafting recipe. Its intelligent design allows for precise control over item placement and crafting activation, making it a cornerstone for complex automation systems.
- Crafter Block: At its core, the Crafter is an automated 3×3 crafting grid. When supplied with the correct ingredients in the right slots, it can craft any recipe. This block is the central piece of your automated crafting setup.
- Redstone Activation: Unlike a manual crafting table, the Quark Crafter requires a Redstone pulse to perform a craft. Once the ingredients are correctly positioned in its grid, a Redstone signal triggers the crafting process and dispenses the finished item. This Redstone dependency is crucial for integrating the Crafter into larger automated systems.
- Slot Configuration: A key feature for precise automation is the ability to configure individual slots within the Crafter’s 3×3 grid. You can enable or disable each slot by clicking on it in the GUI. Disabling slots prevents items from entering them, ensuring that ingredients are directed only to their intended positions for a specific recipe. This prevents misplacement and blockages.
- Comparator Output: The Crafter provides valuable feedback via Redstone comparators. A comparator placed adjacent to the Crafter can read its state, outputting a Redstone signal strength. Specifically, when all necessary slots for a defined recipe are full and the Crafter is ready to perform a craft, it typically outputs a signal strength of 9. This signal can be used to intelligently trigger the Crafter or to indicate that more ingredients are needed.
- Item Flow: Items are inserted into the Crafter using standard automation methods such as hoppers, droppers, or even Quark’s own Chutes. The Crafter has a specific item-filling logic: items typically fill slots from top to bottom, then left to right. Importantly, it prioritizes slots that currently contain fewer items. Understanding this prioritization is vital for designing reliable input systems, especially for recipes requiring varying quantities of ingredients.
- Quark’s Additional Automation Tools: Quark itself provides other useful tools that can complement your automatic crafting setup. The Chute, for example, allows for precise vertical item dropping, which can be invaluable for feeding ingredients into Crafters from above. Enhanced Dispensers, another Quark feature, can place blocks, further extending the possibilities for advanced automation.
Step-by-Step Guide to Configuring Your Quark Crafter
Setting up a Quark Crafter involves several sequential steps, from initial placement to full Redstone automation. Following these steps carefully will ensure a robust and efficient crafting system.
- 1. Place the Crafter: Begin by placing the Crafter block in your desired location. Consider its orientation, as the crafted item will be dispensed from the front face of the block. Planning the output direction early will simplify integrating it with collection systems like hoppers or chests. Think about how it will fit into your overall factory layout, whether as a standalone unit or part of a larger, tileable design.
- 2. Define the Recipe: Open the Crafter’s graphical user interface (GUI) by right-clicking it. This presents you with a 3×3 crafting grid identical to a regular crafting table. Place the required ingredients for your chosen recipe into the appropriate slots within this grid. Crucially, after placing the ingredients, click on any unused slots in the grid to disable them. Disabled slots will appear darker or distinctly marked, preventing items from accidentally flowing into them and disrupting the recipe. This step is paramount for preventing blockages and ensuring correct item placement.
- 3. Input Items: Next, set up a system to supply ingredients to the Crafter. Hoppers placed above the Crafter are a common method, feeding items directly into the top. Hoppers or droppers can also be placed to the sides to insert items. Ensure that your input system delivers items in the correct quantities and, if necessary, in a specific order to match the defined recipe. Consider the Crafter’s item prioritization logic to design your input streams effectively. For instance, if a recipe requires one stick and two planks, ensure the input system can consistently deliver these without overfilling slots.
- 4. Automate Output: Once an item is crafted, it needs to be collected. Place a hopper directly underneath the Crafter’s output face (the front side) to collect the crafted item. This hopper can then feed into a chest for storage, another automated system for further processing, or directly into a Chute for vertical transport. Without proper output handling, the Crafter will cease functioning once its internal output slot is full.
- 5. Provide Redstone Power: The final step is to connect a Redstone circuit to the Crafter to trigger the crafting process. A simple button or lever can provide a manual pulse for testing. For full automation, a more sophisticated Redstone setup is required. A common and highly effective method involves using a Redstone comparator facing out of the Crafter. When the Crafter’s grid is full and ready to craft (indicated by a signal strength of 9), the comparator can detect this. This signal can then be used to trigger a short Redstone pulse, which in turn activates the Crafter to perform the craft and eject the item. This self-triggering mechanism creates a continuous crafting loop as long as ingredients are supplied.
Optimizing Your Automated Crafting: Important Tips
To get the most out of your Quark Crafter setup, consider these optimization tips for efficiency and reliability.
- Smart Redstone Control: Always utilize a Redstone comparator facing out of the Crafter. When the Crafter is fully stocked with ingredients and ready to craft, it emits a Redstone signal strength of 9. This signal is a powerful indicator. You can use it to create a self-regulating system: the signal triggers a monostable circuit (a circuit that generates a short pulse from a sustained input) to activate the Crafter, and simultaneously, it can send a signal to your ingredient supply system to request more items. This ensures continuous production without over-supplying or under-supplying ingredients.
- Disable Unused Slots: This cannot be stressed enough. Always, without exception, disable any slots in the Crafter’s GUI that are not part of your defined recipe. Failing to do so is a primary cause of item misplacement, which leads to blockages, incorrect crafting, and ultimately, a non-functional system. By disabling slots, you dictate precisely where each ingredient must go.
- Manage Item Prioritization: Understand that items inserted into the Crafter via hoppers or droppers will attempt to fill slots that have the fewest items first, then proceed from top-to-bottom, left-to-right. For recipes that require different quantities of the same item (e.g., three planks for a wooden pickaxe handle, two for the head), you need to design your input system carefully. This might involve using multiple input lines, filtering systems, or specific timing to ensure the correct number of items lands in the correct slot.
- Tileable Designs: The Quark Crafter is well-suited for tileable designs. This means you can create compact, repeatable modules that can be placed side-by-side to scale up production. Whether you need faster production of a single item or want to craft multiple different items simultaneously, designing your Crafter units to be tileable will save space and simplify expansion. Look for designs that minimize Redstone wiring and item transport complexity between units.
Avoiding Common Pitfalls in Quark Automatic Crafting
Even with careful planning, mistakes can happen. Being aware of common issues will help you troubleshoot and build more reliable systems.
- Incorrect Item Insertion Order: One of the most frequent errors is allowing items to be inserted into the wrong slots or in an incorrect sequence. If the Crafter’s internal grid doesn’t match the recipe exactly, it won’t craft. This often leads to items backing up in the input hoppers or within the Crafter itself, causing blockages and halting production. Double-check your slot configuration and input lines.
- Lack of Output Handling: Forgetting to place a hopper or chest to collect the crafted items is a common oversight. The Crafter has a small internal buffer for crafted items. Once this buffer is full, the Crafter will stop functioning, even if all ingredients are present and Redstone is supplied. Always ensure a clear path for crafted items to be collected and stored.
- Improper Redstone Timing: The Crafter requires a precise Redstone pulse to activate. A pulse that is too short might not register, while one that is too long can interfere with subsequent crafting cycles or item insertion. Similarly, providing a pulse at the wrong time (e.g., before all ingredients are in place) will be ineffective. Utilize Redstone repeaters and comparators to fine-tune pulse length and timing for optimal performance.
- Ignoring Slot Disablement: As mentioned, not disabling unused slots is a critical mistake. If slots are left enabled, stray items from your input stream can accidentally flow into them. This clogs the Crafter, prevents the correct recipe from forming, and requires manual intervention to clear. Make it a habit to always configure slots meticulously.
- Overlooking Quark’s Modular Nature: Quark is a highly configurable mod. If you find that the Crafter or other Quark features aren’t behaving as expected, it’s possible that a relevant module is disabled or incorrectly configured. Always remember to check Quark’s in-game configuration menu, typically accessed by pressing the ‘q’ key on the title screen. Ensure that the automatic crafting module and any related features are enabled and set up according to your needs.
By understanding these mechanics, following the setup steps, applying optimization tips, and avoiding common mistakes, you can master the Quark Crafter and build sophisticated, efficient, and reliable automatic crafting systems in your Minecraft world.
Tags:
YOU MAY ALSO LIKE...