Locating a Trail Ruins Site (Step by Step)
Unearthing Ancient Secrets: A Comprehensive Guide to Locating Trail Ruins
Trail Ruins are fascinating, mostly buried structures introduced to Minecraft in the 1.20 “Trails & Tales” update. These ancient settlements offer a unique archaeological experience, distinct from other game structures. Unlike traditional dungeons or temples where loot is often found in chests, Trail Ruins require a more careful and methodical approach: the primary method for obtaining valuable artifacts is by using a brush on Suspicious Sand and Suspicious Gravel blocks. These blocks can yield precious items such as Pottery Sherds, unique Armor Trims, and rare Music Discs, making the search for these ruins a rewarding endeavor for any explorer.
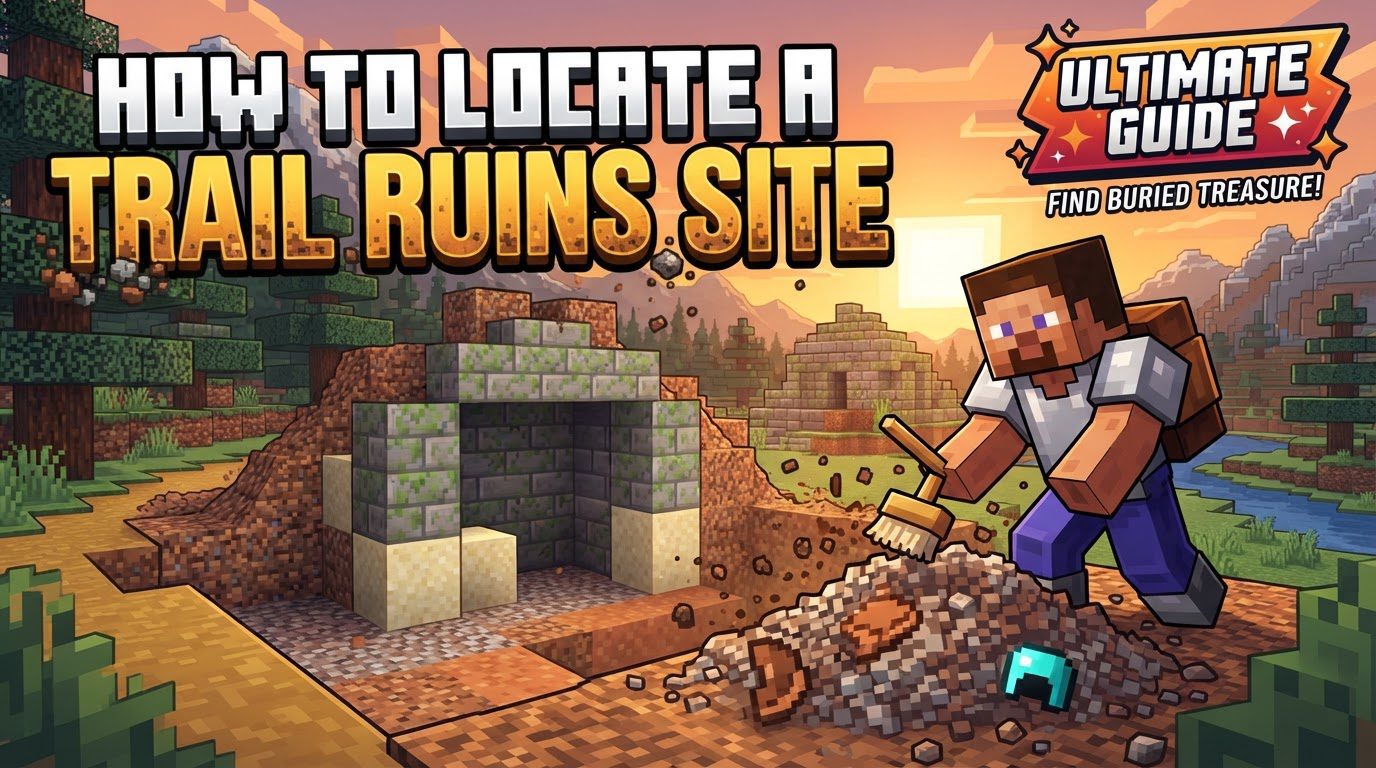
Understanding where and how these structures generate is key to a successful excavation. Trail Ruins generate exclusively in a select group of biomes, and they often provide subtle clues on the surface that can lead you to their hidden depths. This guide will walk you through the entire process, from identifying the right biomes to carefully extracting the treasures within.
Identifying Prime Locations: Where Trail Ruins Generate
The first and most crucial step in locating a Trail Ruin is to understand their preferred spawning environments. Not all biomes are created equal when it comes to these ancient sites. To maximize your chances, you must focus your search on specific biomes:
- Jungle: These dense, verdant biomes are a potential home for Trail Ruins.
- Old Growth Birch Forest: Look for these distinct forests with tall, light-barked birch trees.
- Old Growth Pine Taiga: A variation of the taiga biome characterized by large pine trees.
- Old Growth Spruce Taiga: Similar to the pine taiga, but with towering spruce trees.
- Snowy Taiga: The cold, snow-covered variant of the taiga.
- Regular Taiga: The standard, temperate taiga biome.
Traveling to these designated biomes is paramount. Searching in incorrect biomes, such as warm biomes like badlands, savannah, or desert, will prove fruitless, as Trail Ruins simply do not generate there. Once you are within one of these suitable biomes, you can begin the more detailed search.
The Search Begins: Surface Indicators and Water Proximity
Trail Ruins are mostly buried, but they are rarely completely hidden. They often provide subtle hints on the surface that skilled explorers can spot. Your next step is to carefully scan the ground for these tell-tale signs:
- Unusual Block Formations: Keep an eye out for blocks that seem out of place in their natural surroundings. This often includes colorful terracotta blocks, mud bricks, or gravel patches that don’t quite fit the natural terrain generation. These are frequently the visible “tip of the tower” of the buried structure, indicating that something man-made lies beneath.
- Prioritize Water Edges: A significant characteristic of Trail Ruin generation is their proximity to water. Make sure to explore extensively along rivers, lakes, and coastlines within the specified biomes. These ancient settlements commonly generate near bodies of water, suggesting a historical preference for such locations.
By combining the search for specific block indicators with a focus on water bodies, you significantly increase your chances of stumbling upon a hidden Trail Ruin. Remember, these structures are often well-hidden, so patience and keen observation are essential.
The Excavation Process: Unearthing the Past
Once you’ve identified potential surface indicators, the delicate work of excavation begins. This stage requires careful attention to avoid destroying valuable artifacts.
- Excavate Carefully: When you’ve found indicators, do not dig straight down haphazardly. Instead, dig down slowly, layer by layer, to gradually reveal the full buried structure. This methodical approach helps prevent the accidental destruction of fragile suspicious blocks, which are the source of your loot.
- Use a Brush on Suspicious Blocks: As you uncover the ruin, you will inevitably encounter Suspicious Gravel or Suspicious Sand blocks. These are the blocks you want. Equip a brush (ensure you always carry at least one, preferably two for backup) and right-click on the suspicious block. This action will carefully extract the hidden items without destroying the block or its contents. Mining Suspicious Gravel or Suspicious Sand with a pickaxe or shovel, or any other tool, will destroy the block and its contents, leading to a complete loss of potential loot.
- Proper Tool Usage: Use a regular shovel for digging around the ruins. However, avoid using a shovel enchanted with Efficiency, as its speed can lead to accidentally breaking suspicious blocks before you have a chance to brush them. Your goal is precision, not speed, when excavating around the ruin itself.
- Loot Depth: Be aware that the most valuable and rare loot items are typically found deeper within the structure. Don’t stop digging once you find a few suspicious blocks near the surface; continue to carefully excavate to uncover the full extent of the ruin and its deeper treasures.
- Clear Foliage: In dense biomes like Jungles or Taigas, visibility can be an issue. Clear out dense foliage with torches or by other means to improve your line of sight and spot hidden blocks or subtle indicators you might otherwise miss.
Important Considerations and Common Pitfalls
To ensure a successful and frustration-free archaeological expedition, keep the following tips in mind and avoid common mistakes:
- Always Carry a Brush: This cannot be stressed enough. Forgetting to bring a brush makes it impossible to retrieve items from suspicious blocks, rendering your entire search pointless.
- No Chests: Trail Ruins do not contain chests for loot. All loot is exclusively found by brushing suspicious blocks. Do not waste time searching for non-existent chests.
- Recognize Subtle Indicators: Trail Ruins are often well-hidden. Train your eye to recognize the subtle surface indicators. What might look like a random patch of gravel or a few colored blocks could be the gateway to a significant find.
- Beware of Floating Suspicious Blocks: When excavating, be cautious around floating Suspicious Gravel blocks. Breaking blocks adjacent to them can cause the suspicious block to fall and be destroyed, leading to the loss of potential loot. Always clear blocks beneath them first, if possible, or support them before removing surrounding blocks.
- Bedrock Edition Differences: In Bedrock Edition, Trail Ruins may sometimes be more exposed above ground compared to their Java Edition counterparts. While still mostly buried, Bedrock players might find slightly more visible portions of the structure.
- The `/locate` Command (Optional): If you are playing with cheats enabled and wish to bypass the search process, you can use the command `/locate structure minecraft:trail_ruins` in the chat. This will instantly provide you with the coordinates of the nearest Trail Ruin, allowing you to teleport there directly. This is a quick method for those prioritizing speed over the exploration experience.
By following this comprehensive guide, you’ll be well-equipped to embark on your own archaeological adventures in Minecraft. The thrill of discovering a hidden Trail Ruin and carefully brushing away layers of history to reveal ancient artifacts is a uniquely rewarding experience. Happy digging!
Tags:
YOU MAY ALSO LIKE...