Enabling Attack Indicator Settings — A Quick Guide
Understanding the Minecraft Attack Indicator: A Comprehensive Guide
Minecraft’s combat system, particularly since its significant overhaul in version 1.9, relies heavily on strategic timing rather than rapid, indiscriminate clicking. A pivotal feature introduced to guide players through this new approach is the attack indicator. This visual cue is designed to inform you precisely when your weapon is ready to deliver its full, intended damage, transforming combat from a simple click-fest into a more deliberate and engaging experience.
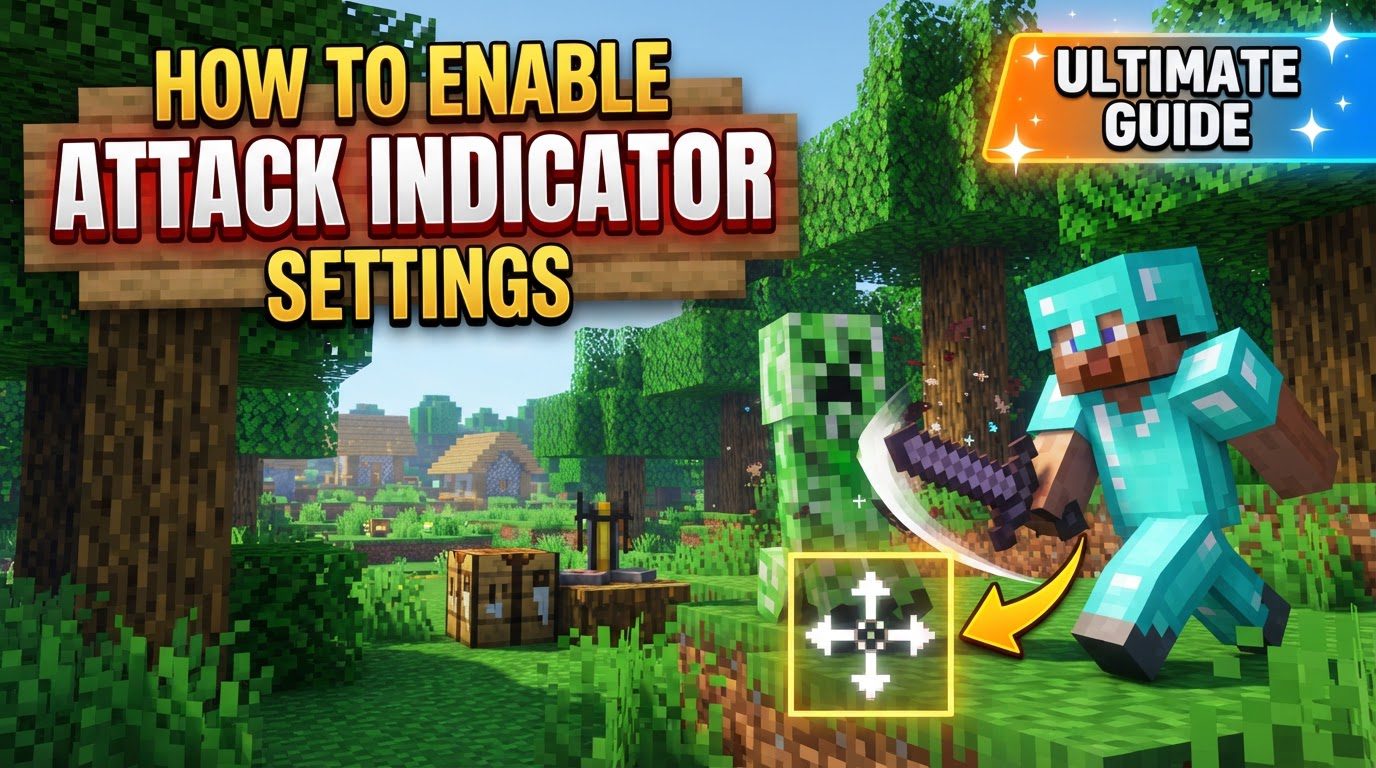
The attack indicator serves as a crucial visual representation of your weapon’s cooldown. Every swing of a tool or weapon in Minecraft initiates a brief recovery period. During this period, your next attack will deal reduced damage. The indicator fills up as this cooldown progresses, signaling the exact moment your weapon is fully charged and capable of inflicting maximum damage. Understanding and utilizing this mechanic is fundamental to mastering combat in the game, whether you’re fending off hostile mobs, engaging in player-versus-player skirmishes, or simply clearing blocks with efficiency.
Prior to its introduction in Minecraft 1.9, combat often devolved into “spam clicking,” where players would click their mouse as fast as possible, regardless of weapon readiness. This led to a less nuanced and often less satisfying combat experience. The attack indicator was specifically implemented to counteract this by encouraging players to time their attacks, rewarding patience and precision with powerful, full-damage blows. It shifted the focus from sheer speed to tactical execution, making each strike feel more impactful and meaningful.
A key aspect of this system is that not all tools and weapons are created equal in terms of their attack speed. Different items possess varying cooldown durations, meaning the indicator will fill at different rates depending on what you are wielding. For instance, a heavy axe might have a slower cooldown but deliver a devastating blow when fully charged, while a lighter sword might recharge quicker but deal less damage per hit. This variance adds another layer of strategy, requiring players to adapt their timing and combat style based on their chosen equipment. Recognizing these differences and adjusting your attack rhythm accordingly is vital for optimal performance in any combat scenario Minecraft throws at you.
Why the Attack Indicator is Essential for Effective Combat
Enabling and paying attention to the attack indicator is not merely an optional preference; it is a critical component for maximizing your damage output and understanding the modern Minecraft combat system. The indicator directly helps players time their swings to ensure they are consistently dealing the highest possible damage. Without it, you are largely guessing when your weapon is ready, which inevitably leads to a significant reduction in your combat effectiveness.
Hitting an enemy before your attack indicator is full will always result in weaker attacks. This means that even if you’re landing every hit, you might be dealing only a fraction of your weapon’s potential damage if you are not waiting for the indicator to fully recharge. This can prolong fights, consume more resources (like weapon durability), and put you at greater risk, especially when facing formidable foes or multiple enemies. The difference between a well-timed, full-damage strike and a rushed, weak hit can often be the deciding factor between victory and defeat in a challenging encounter.
The indicator is absolutely crucial for internalizing and mastering the combat system introduced in Minecraft 1.9. This update fundamentally changed how players engage with the world, emphasizing timed, powerful blows over rapid, low-damage attacks. If you play without the attack indicator, you are essentially operating blind to this core mechanic. You might find yourself confused as to why your attacks feel weak or ineffective, despite using powerful weapons. The indicator provides the necessary visual feedback to learn the rhythm of combat and to effectively leverage your weapon’s capabilities.
One of the most common mistakes players make, especially those new to Minecraft or returning after a long hiatus, is not enabling the attack indicator. This setting is often off by default in new installations or on fresh profiles, leading many players to unknowingly engage in ineffective combat. The consequence of this oversight is constant confusion and frustration, as battles take longer and enemies seem disproportionately difficult. Players might attribute their struggles to weapon choice or enemy strength, when in reality, the issue lies in not utilizing the fundamental visual cue designed to improve their combat performance. Proactively enabling this setting is a simple yet powerful step towards significantly improving your combat prowess.
Step-by-Step Guide: Enabling and Customizing Your Attack Indicator
Configuring the attack indicator in Minecraft is a straightforward process that can dramatically enhance your gameplay. By following these simple steps, you can ensure you’re always aware of your weapon’s readiness and maximize your combat potential.
- Open Minecraft and Navigate to the “Options” Menu:
Launch your Minecraft game. From the main title screen, you will see a button labeled “Options.” Click on this to access the game’s various settings and configurations. This menu serves as the central hub for adjusting everything from audio levels to graphics performance and, crucially, combat feedback.
- Select “Video Settings”:
Within the “Options” menu, you will find several categories of settings. Locate and click on “Video Settings.” While the attack indicator is a gameplay mechanic, its display is a visual element, and thus, its configuration is logically grouped under the video-related options. This section allows you to fine-tune how visual information is presented to you during gameplay.
- Locate the “Attack Indicator” Setting:
Scroll through the “Video Settings” menu until you find the option labeled “Attack Indicator.” It might be located alongside other display-related toggles and sliders. Take a moment to ensure you’ve found the correct setting, as there are many options available in this menu.
- Choose Your Preferred Display Option: “Crosshair,” “Hotbar,” or “Off”:
Once you’ve found the “Attack Indicator” setting, you will typically have three choices for how it is displayed. Each option offers a different visual placement, catering to various player preferences and combat styles:
- “Crosshair”:
Selecting “Crosshair” will display the attack indicator directly below your central crosshair. This is often the preferred option for players who want the most immediate and central visual feedback. The indicator typically appears as a small, charging bar or icon that fills up as your weapon’s cooldown progresses. Its proximity to your aiming point means you can keep your eyes focused on your target while still receiving clear information about your weapon’s readiness. This option is excellent for maintaining situational awareness and precision during intense combat.
- “Hotbar”:
Choosing “Hotbar” will display the attack indicator next to your hotbar, usually as a small overlay on or near the currently selected item slot. This option provides a more peripheral visual cue, which some players find less intrusive than the crosshair option. It allows you to keep the center of your screen uncluttered while still providing reliable information about your weapon’s cooldown. If you prefer to have your central vision solely on your target and surroundings, the hotbar option can be a fantastic alternative, allowing you to monitor your weapon status with a quick glance downwards.
- “Off”:
The “Off” option completely disables the attack indicator. As highlighted previously, playing with the indicator off is generally not recommended for optimal combat performance, especially in versions of Minecraft that incorporate the 1.9 combat mechanics. While some veteran players who have developed an innate sense of weapon timing might opt for this, for most, it will lead to significant disadvantages in combat effectiveness. If you find your attacks feeling weak or inconsistent, always double-check that your attack indicator hasn’t been accidentally set to “Off.”
After selecting your preferred display option, you can exit the settings menus. Your changes will typically be applied immediately, allowing you to jump back into the game and experience the benefits of a properly configured attack indicator.
- “Crosshair”:
Maximizing Your Combat Effectiveness with the Attack Indicator
Once enabled, the attack indicator becomes an invaluable tool in your Minecraft arsenal. Its consistent visual feedback empowers you to execute “timed, powerful blows” as intended by the game’s design. By consistently waiting for the indicator to fully charge before striking, you ensure that every hit you land deals maximum damage. This efficiency translates directly into faster enemy dispatch, reduced damage taken (as fights are shorter), and conservation of weapon durability, making your adventures more successful and less resource-intensive.
The strategic advantage offered by the attack indicator extends across all facets of Minecraft combat. In player-versus-player (PvP) scenarios, precise timing can mean the difference between winning and losing a duel. Against challenging mobs like zombies, skeletons, or creepers, full-damage hits allow you to quickly neutralize threats before they can overwhelm you. For more formidable adversaries, such as boss monsters, every point of damage counts, and the indicator ensures you’re never wasting an attack with a weak hit. It fosters a more deliberate and thoughtful approach to combat, moving beyond simple button mashing to a system that rewards skill and observation.
Utilizing the attack indicator effectively also builds crucial muscle memory. Over time, as you consistently observe the indicator and time your attacks, you’ll begin to internalize the attack speeds of your various weapons. This can eventually lead to a more intuitive understanding of combat rhythms, even allowing you to perform well without constantly staring at the indicator. However, for learning and consistent performance, especially when switching between different tools or weapons, the visual cue remains unparalleled. It’s a fundamental aspect of the game that, once embraced, unlocks a deeper, more rewarding combat experience.
In conclusion, the Minecraft attack indicator is far more than a minor graphical element; it is a cornerstone of effective combat since Minecraft 1.9. By understanding its mechanics, enabling it through the simple steps outlined, and choosing a display option that suits your style, you can transform your combat encounters. Say goodbye to ineffective, weak attacks and embrace the power of timed, strategic strikes, making your journey through the blocky world of Minecraft significantly more successful and enjoyable.
Tags:
YOU MAY ALSO LIKE...