

Configuring Classroom Mode Permissions
Understanding Classroom Mode Permissions in Minecraft: Education Edition
Minecraft: Education Edition offers a powerful companion application known as Classroom Mode, designed specifically to empower educators in managing their multiplayer worlds. This comprehensive guide will walk you through the mechanics of Classroom Mode, the step-by-step process for configuring permissions, essential tips for effective use, and common pitfalls to avoid, ensuring a smooth and controlled learning environment.
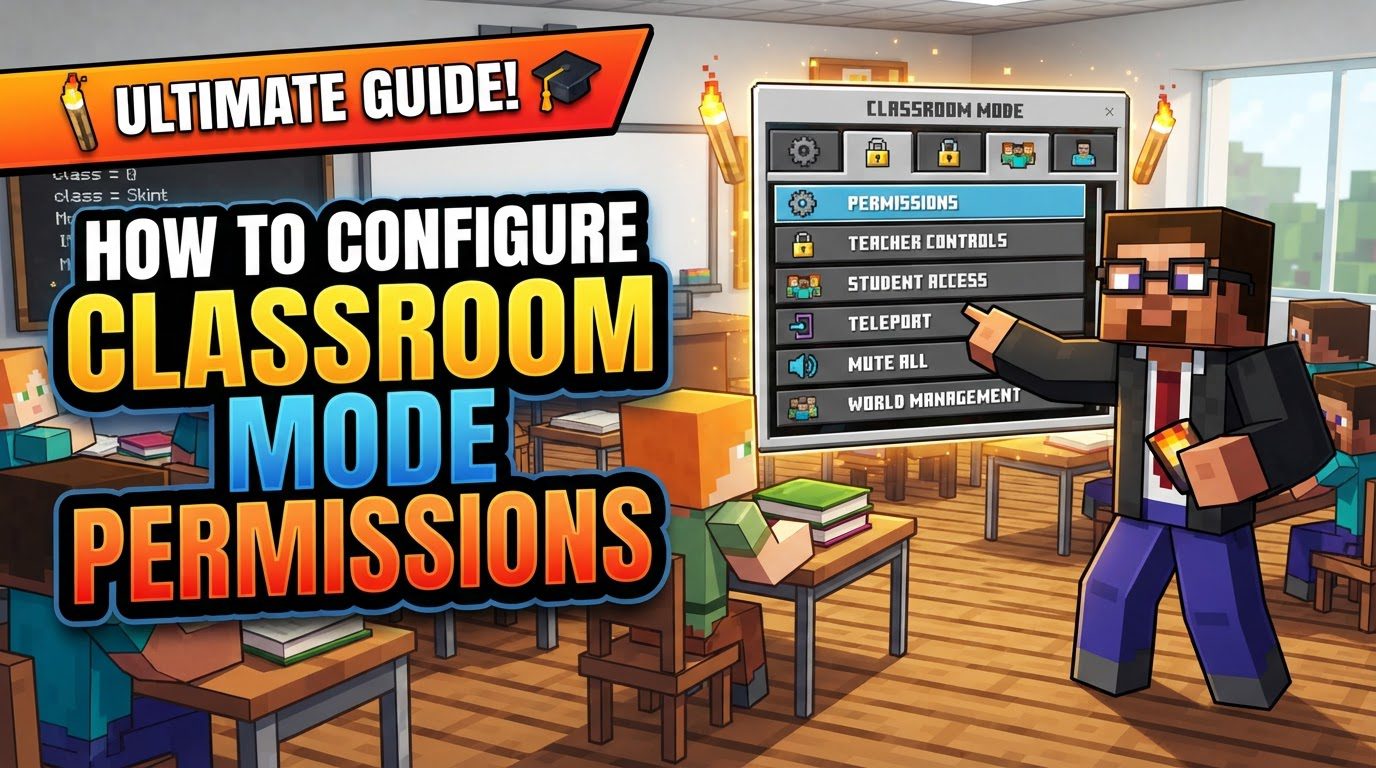
Key Mechanics of Classroom Mode and Permissions
Classroom Mode serves as a central hub for educators, allowing them to oversee and interact with a Minecraft: Education Edition multiplayer world from a separate interface. It’s crucial to understand that while Classroom Mode provides broad control over game settings, specific player permissions are handled slightly differently.
- Centralized Game Management: Classroom Mode allows teachers to exert control over various game settings. This includes the ability to pause the entire game for all players, disable chat functionality to maintain focus, control weather patterns (e.g., clear skies for building projects), and manage mob spawns, ensuring a distraction-free or challenge-appropriate environment.
- Efficient Player Teleportation: A powerful feature within Classroom Mode is the ability to teleport students. Educators can move individual students or an entire group to specific map locations, which is invaluable for starting activities, regrouping, or guiding students to new areas of the world.
- Teacher-Student Communication: Classroom Mode facilitates direct communication from the teacher to the students. Educators can use a dedicated chat bar within the Classroom Mode application, and any messages sent will appear in the students’ game chat, clearly marked as coming from “teacher.”
- Understanding Player Permissions (Visitor, Member, Operator): This is a critical distinction for managing your classroom. Player permissions-Visitor, Member, and Operator-are not set directly within the Classroom Mode application. Instead, these permission levels are configured by the host of the world from within the Minecraft: Education Edition game itself. Each level grants different capabilities:
- Visitor: Typically has minimal interaction, primarily observing.
- Member: Can build, break blocks, and interact with the world normally.
- Operator: Possesses significant control, including the ability to use commands, change game settings, and manage other players. This level should be granted with care.
- The “Worldbuilder” Permission: Beyond the standard Visitor, Member, and Operator roles, Minecraft: Education Edition offers a specialized “worldbuilder” permission. When a player has this permission, they gain fine-grained control over building within specific areas using unique blocks. These specialized blocks include “allow” blocks (which permit building in designated areas), “deny” blocks (which prevent building), and “border” blocks (which define boundaries students cannot cross). This permission is essential for structuring lessons and protecting specific areas of your world.
Step-by-Step Process for Configuring Classroom Mode and Permissions
To effectively use Classroom Mode and manage player permissions, follow these steps in sequence:
- Install Both Applications: Ensure you have both Minecraft: Education Edition and the separate Classroom Mode application installed on your computer.
- Launch Minecraft: Education Edition as Educator: Open Minecraft: Education Edition and log in using your educator account. This is essential for accessing hosting and Classroom Mode features.
- Create or Open a World: Either create a new world for your lesson or open an existing one that you intend to host for multiplayer gameplay with your students.
- Start Hosting in Minecraft: Education Edition: While in your world, press the ESC key to open the game menu. Navigate to the “Hosting” tab within this menu and select “Start Hosting.” The game will then provide you with a unique join code that students will use to enter your world.
- Launch Classroom Mode and Log In: Independently launch the Classroom Mode application and log in using the same educator account you used for Minecraft: Education Edition.
- Copy the `/connect` Command: Within the Classroom Mode application, go to the “Waiting Room” section. Here, you will find and need to copy the provided `/connect` command. This command is crucial for linking Classroom Mode to your hosted Minecraft world.
- Connect Classroom Mode to Minecraft: Education Edition: Switch back to your Minecraft: Education Edition game. Open the chat bar by pressing the T key. Paste the `/connect` command you copied from Classroom Mode into the chat bar and send it. This action establishes the vital connection between your live Minecraft world and the Classroom Mode interface.
- Verify Connection in Classroom Mode: Once the connection is successful, the Classroom Mode application will update. You should now see a dynamic map of your hosted world, a roster of all connected players, and various control options that you can begin to utilize.
- Adjust Individual Player Permissions (In-Game): To change a student’s permission level (Visitor, Member, or Operator), the host must perform this action within Minecraft: Education Edition, not Classroom Mode.
- Press the ESC key to open the game menu.
- Navigate to the list of players currently in your world.
- Select the specific player’s name whose permissions you wish to modify.
- From the options presented, choose the desired permission level: Visitor, Member, or Operator. This allows the host to tailor each student’s capabilities within the world.
Important Tips for Effective Classroom Management
To maximize the benefits of Classroom Mode and maintain a productive learning environment, keep these tips in mind:
- Keep Software Updated: Always ensure that both your Minecraft: Education Edition client (host and student versions) and the Classroom Mode application are updated to their very latest versions. Version mismatches are a common cause of connection difficulties and unexpected behavior.
- Utilize the Pause Feature: Leverage Classroom Mode’s ability to pause the game for all players. This is an incredibly useful tool for redirecting student attention, giving instructions, or initiating discussions without the distractions of ongoing gameplay.
- Leverage Teleportation for Efficiency: Make frequent use of the teleportation features. It allows you to quickly move students to new areas, bring them back to a central location, or rescue them if they get lost, significantly streamlining lesson flow and reducing downtime.
- Careful Consideration for Operator Status: Granting “Operator” status provides a player with significant control over the world, including the ability to use game commands, change settings, and even affect other players. Generally, reserve this status for specific advanced activities where students need elevated privileges, or for trusted student assistants who understand the responsibilities involved. For most activities, “Member” status is sufficient.
- Configure In-Game Classroom Settings: Beyond individual player permissions, Minecraft: Education Edition offers global Classroom Settings accessible via the escape menu. These settings allow you to configure options such as “allow destructive items” (preventing players from using TNT or lava), “players can take damage” (to toggle invincibility), and “prohibits world modification” (to lock the world from all building/breaking). Adjust these settings to suit your lesson’s specific needs, creating a safe and controlled environment.
Common Mistakes to Avoid
Being aware of common pitfalls can save you time and frustration when using Classroom Mode:
- Version Mismatch: One of the most frequent issues is having different versions of the software. Ensure that all Minecraft: Education Edition clients (your host client and all student clients) and the Classroom Mode application are running on the identical version. Inconsistent versions will almost certainly lead to connection failures and operational problems.
- Incorrect Hosting Setup: Remember that Classroom Mode is specifically designed for managing shared multiplayer worlds that you host. It will not function with individual student worlds or single-player instances. Always ensure you are hosting a world for others to join.
- Login Issues: Always confirm that you are logging into both Minecraft: Education Edition and the Classroom Mode application with your official O365 educator account. If you encounter “Service login failed” errors within Classroom Mode, check your credentials and consider updating the Classroom Mode application itself, as this can sometimes resolve authentication problems.
- Performance Overload: Running both Minecraft: Education Edition (as the host) and the Classroom Mode application on the same computer, especially with a large number of students connected, can place a significant strain on your system’s resources. This can lead to noticeable lag, performance degradation, and even application crashes. If possible, consider running the Minecraft: Education Edition server on a dedicated machine, or manage smaller groups of students to mitigate performance issues.
- Confusing Control Panels: It’s easy to confuse where certain controls are located. Always remember this fundamental distinction:
- Player Permissions (Visitor, Member, Operator) are managed directly within the Minecraft: Education Edition game by the host. You change these via the in-game escape menu.
- Broader Game Settings (like pausing, weather, teleportation, general chat) are controlled via the Classroom Mode application.
Keeping this distinction clear will help you efficiently manage your classroom world.
By understanding these mechanics, following the proper setup steps, and heeding the advice for best practices and common pitfalls, you can effectively leverage Classroom Mode to create engaging, controlled, and educational experiences in Minecraft: Education Edition.

