

Reverting to a Previous Game Version in the Launcher
Reverting your Minecraft game to a previous version can be a valuable skill for a variety of reasons, especially if you’re an experienced player delving into the vast world of mods, server communities, or simply wish to experience nostalgic gameplay. The official Minecraft Launcher provides a straightforward method to achieve this, primarily for Minecraft: Java Edition. This comprehensive guide will walk you through the process, highlight essential tips, and help you avoid common pitfalls, ensuring a smooth transition to your desired older version.
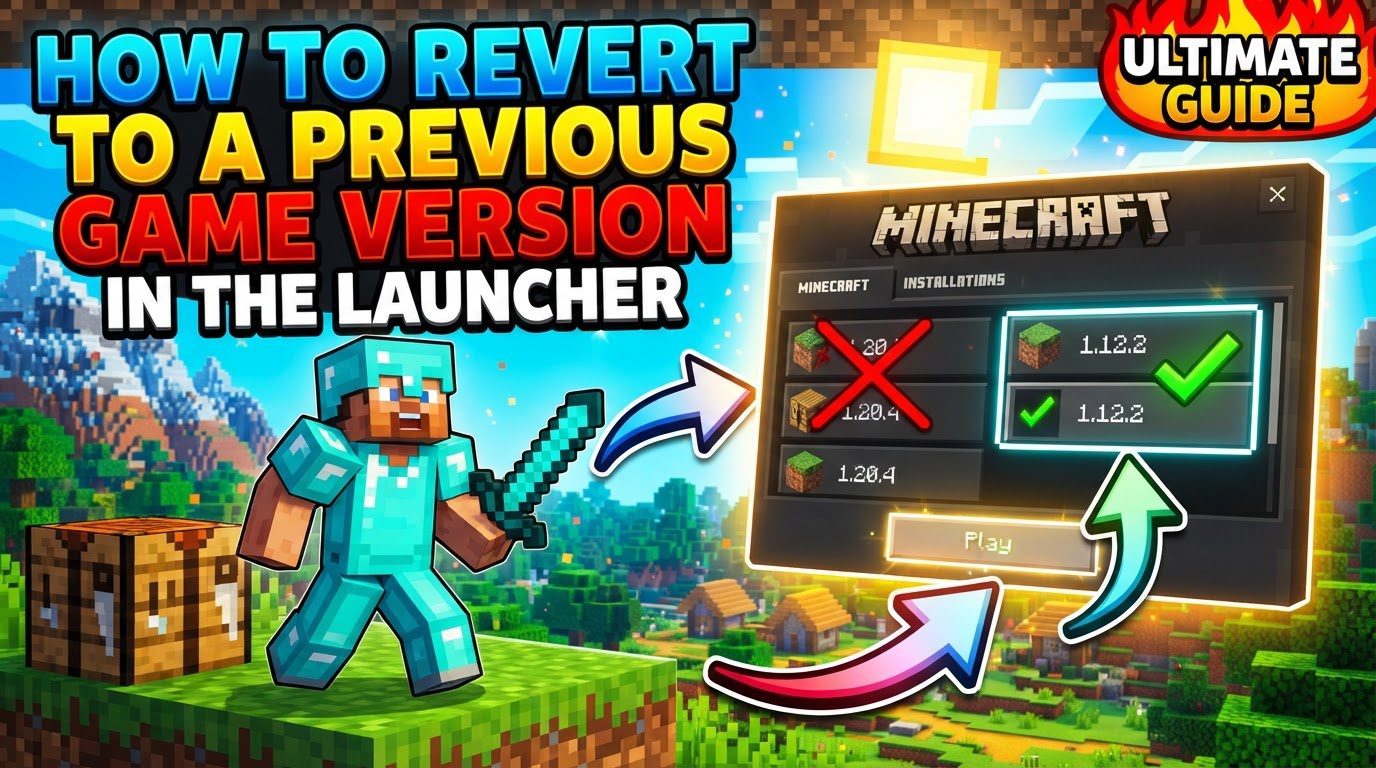
Whether you’re looking to play on a server that hasn’t updated yet, test older modpacks, or revisit a specific era of Minecraft, understanding how to manage game versions within the launcher is crucial. This functionality allows for immense flexibility, letting you switch between different game states without complicated manual file manipulation.
Understanding the Key Mechanics
The core of version management in the Minecraft Launcher revolves around a feature known as “installations” or “profiles.” These are essentially custom configurations that dictate which specific game version the launcher will run. Instead of being limited to just the latest version, you can create multiple installations, each pointing to a different Minecraft release.
- The Minecraft Launcher empowers users to create new “installations” or “profiles.” Think of these as distinct setups, each configured to run a specific version of the game. This means you can have a profile for the latest snapshot, another for a stable release like 1.16.5, and yet another for an older version like 1.7.10, all managed within the same launcher.
- When you create a new installation and select an older game version, the launcher intelligently downloads only the necessary game files specific to that particular version. It doesn’t overwrite your existing game files but rather stores the required assets separately, allowing for seamless switching between versions. This ensures that each installation functions independently with its designated game files.
- It is important to note that this robust functionality is primarily available and designed for Minecraft: Java Edition. While other editions exist, the in-launcher method for reverting versions as described here is specific to Java.
- Downgrading to a previous version is a common practice, often undertaken to ensure compatibility with older modifications (mods) that haven’t been updated for the latest game versions, or to connect to specific multiplayer servers that are running an older client version. It opens up a wider array of content and community experiences that might not be accessible on the newest releases.
Step-by-Step Process for Reverting Your Game Version
Follow these detailed instructions to create a new installation and play an older version of Minecraft: Java Edition.
- Open the Minecraft Launcher: Begin by launching the official Minecraft Launcher application. This is your gateway to managing all your Minecraft installations and versions.
- Navigate to the “Installations” Tab: Once the launcher is open, look towards the top of the window. You will see several tabs; click on the one labeled “Installations.” This tab displays all your existing game profiles and provides options to create new ones.
- Click on “+ New” or “New Installation”: Within the “Installations” tab, locate and click the button labeled “+ New” or “New Installation.” This action will open a new window titled “Create new installation.”
- Provide a Name for the New Installation: In the “Create new installation” window, you’ll find a field to enter a name for your new profile. Choose a descriptive name that clearly identifies the version you’re setting up, for example, “Minecraft 1.7.10 Mods” or “Alpha 1.2.6.” This will help you easily distinguish it later.
- Select the Desired Version from the Dropdown Menu: This is a critical step. Locate the “Version” dropdown menu within the “Create new installation” window. Click on it, and a long list of available Minecraft: Java Edition versions will appear. Scroll through the list and select the specific previous game version you wish to play.
- (Optional) Configure Advanced Settings (for very old versions):
- If you are attempting to downgrade to a version older than 1.6, you might encounter an option to select a different game directory. This is often not necessary for newer downgrades but can be useful for keeping very old game files completely separate.
- For truly historical versions, such as Alpha or Beta releases, you may need to enable a setting called “Historical Versions.” This option is usually found under the “More Options” or “Advanced Settings” section within the installation creation window, or sometimes within the general launcher settings. Enabling it will make these very old versions appear in the “Version” dropdown list.
- Click “Create” or “Save”: Once you have named your installation and selected the desired version (and adjusted any optional settings), click the “Create” or “Save” button at the bottom of the window. This action finalizes your new installation, adding it to your list of profiles.
- Go Back to the “Play” Tab: After creating the installation, return to the “Play” tab at the top of the launcher window. This is where you launch your games.
- Select Your New Installation from the Dropdown Menu: To the left of the large “Play” button, you will see a dropdown menu that displays your currently selected game profile. Click on this dropdown menu. A list of all your created installations will appear. Select the name of the installation you just created (e.g., “Minecraft 1.7.10 Mods”).
- Click the “Play” Button: With your newly configured installation selected, click the prominent “Play” button. The launcher will now download any necessary files for that specific version (if it’s the first time you’re launching it) and then launch Minecraft in your chosen older version.
Important Tips for a Smooth Downgrade Experience
While the process is generally straightforward, keeping these tips in mind will help prevent potential issues and ensure a better experience.
- Always back up your Minecraft worlds: This is arguably the most critical piece of advice. Before attempting to open any existing Minecraft world with a downgraded version of the game, create a complete backup of that world save. Downgrading a world can have severe and irreversible consequences. It can lead to complete corruption of the world data, permanent removal of items, blocks, and entities that do not exist in the older version, and even drastic changes to biomes or the complete erasure of structures that rely on newer game mechanics. Protect your valuable creations by backing them up before any version change.
- Restart the launcher if issues arise: If you are currently playing a game or have just closed one and are experiencing issues with switching versions or creating new installations, it’s often a good idea to quit the Minecraft Launcher entirely and then restart it. This can refresh its state and resolve minor glitches that prevent proper version switching.
- Enable “Historical Versions” for Alpha/Beta: As mentioned in the step-by-step guide, if your goal is to delve into the very early days of Minecraft (Alpha or Beta versions), you might need to manually enable “Historical Versions” within the launcher’s settings or during the installation creation process. Without this option enabled, these ancient versions may not appear in the dropdown list, limiting your choices to more modern releases.
Common Mistakes to Avoid
Being aware of these common errors can save you a lot of frustration and potential data loss.
- Not backing up existing worlds: This cannot be stressed enough. One of the most common and devastating mistakes is opening a world that was created or last played in a newer version of Minecraft with an older version of the game. The consequences are dire: permanent damage, data corruption, loss of progress, removed blocks, and broken mechanics are all highly likely. Always make a separate copy of your world saves before attempting to load them in a downgraded game version.
- Attempting to downgrade Minecraft Bedrock Edition using this method: The in-launcher method described in this guide for reverting game versions is specifically designed for and typically only works for Minecraft: Java Edition. Minecraft Bedrock Edition (available on Windows 10/11, consoles, and mobile devices) handles updates and versions differently, and this guide’s steps will not apply to it. Attempting to use this method for Bedrock will be unsuccessful.
- Forgetting to select the newly created installation: After meticulously going through the steps to create a new installation for your desired older version, it’s easy to forget the final crucial step. Many users create the installation but then immediately click “Play” without checking the dropdown menu next to the play button. This will often launch the default or last-played version. Always remember to actively choose your newly created installation from the dropdown menu on the “Play” tab before clicking “Play.”
- Expecting all features, items, and world data from a newer version to transfer seamlessly to an older version: Minecraft development involves continuous additions and changes. When you downgrade, any elements (blocks, items, mobs, biomes, game mechanics, structures) that were introduced in a newer version but do not exist in the older version you are playing will simply be removed or may cause significant issues. For example, if you load a world with a Netherite pickaxe in Minecraft 1.15, the pickaxe will likely disappear or turn into an unrecognizable item because Netherite didn’t exist in 1.15. This can lead to unexpected world generation changes or the loss of valuable items and structures.
By following this guide and paying close attention to the important tips and common mistakes, you can confidently navigate the process of reverting your Minecraft: Java Edition game to a previous version, opening up new possibilities for gameplay and exploration.

