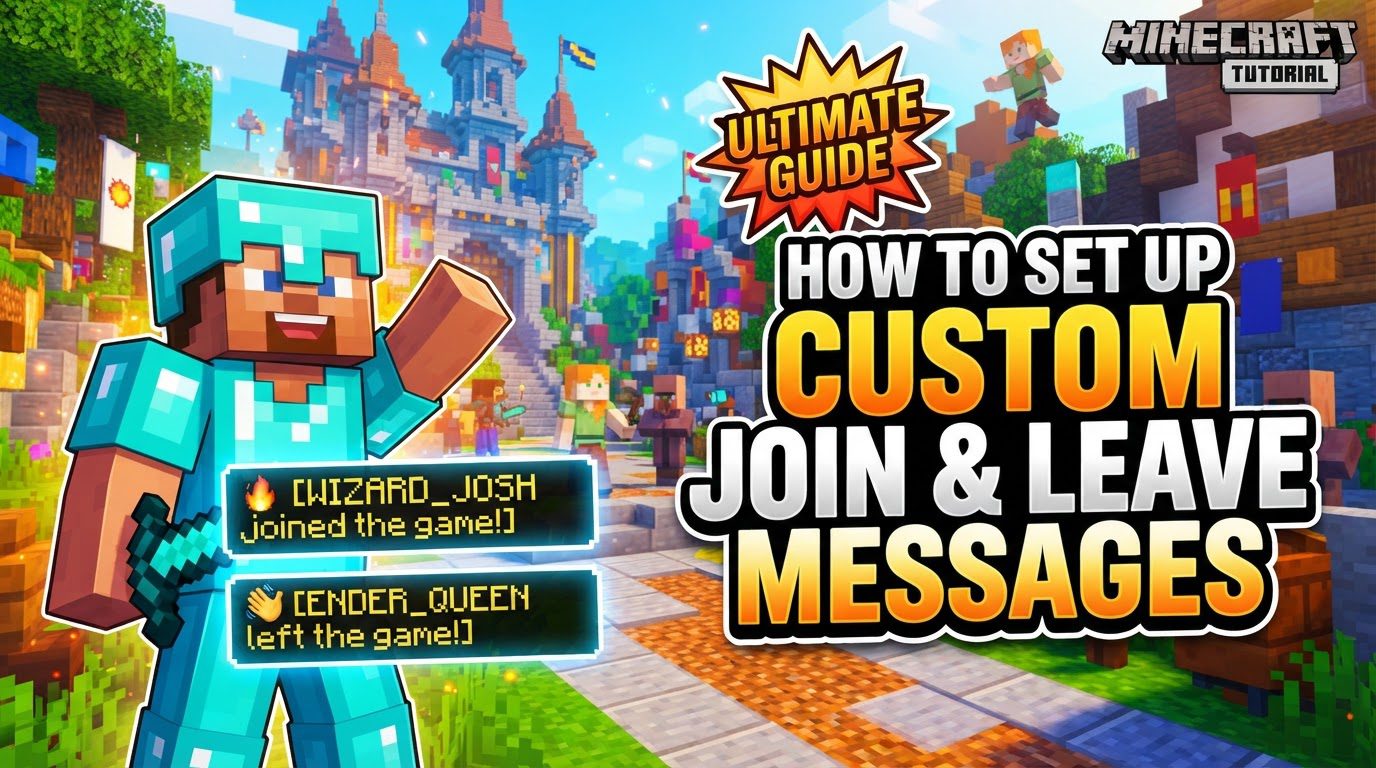
Setting Up Custom Join and Leave Messages (Step by Step)
Setting up custom join and leave messages on your Minecraft server significantly enhances the player experience, allowing for a personalized and branded environment. These messages serve as a welcoming greeting for new and returning players and a polite farewell, contributing to a more professional and engaging server atmosphere. While vanilla Minecraft offers limited options in this regard, server-side plugins provide the robust functionality needed to fully customize these interactions.
Key Mechanics of Custom Join and Leave Messages
The primary method for implementing custom join and leave messages in Minecraft is through the use of server-side plugins. These plugins are specifically designed for server platforms like Spigot or Paper, which are popular for their extensive modding capabilities and performance enhancements. Without such plugins, particularly for custom leave messages, your options are severely limited. Vanilla Minecraft, or even command blocks coupled with scoreboards, can only partially manage custom join messages, typically for first-time or returning players, but they fall short for dynamic leave messages.
- Plugin-driven customization: Plugins empower server administrators to define exactly what appears when players connect to or disconnect from the server. This centralized control ensures consistency and allows for complex message structures.
- Dynamic content with placeholders: A core feature of these plugins is the support for placeholders. These are special tags (e.g.,
%player-name%,%server-name%) that the plugin automatically replaces with dynamic information at the time the message is displayed. This allows for personalized greetings that include the player’s name, the server’s name, or other relevant data. - Visual appeal with color codes: To make messages stand out and be more readable, plugins support Minecraft color codes. These can be traditional formatting codes like
&a(for green) or&l(for bold), or even modern hex colors (e.g.,&#RRGGBB) for a wider spectrum of visual styles. - Rank-based messages: Many advanced plugins offer the ability to configure different join and leave messages based on a player’s permission group or rank. This means VIPs, staff members, or other special roles can have unique, perhaps more elaborate, messages that reflect their status.
- First-time player messages: A common and valuable feature is the ability to set a distinct welcome message specifically for players joining the server for the very first time. This creates a special introduction and can include essential server information or a warm greeting.
- Player-set custom messages: Some plugins extend functionality to individual players, allowing them to set their own custom join or leave messages using in-game commands. This adds a layer of personal expression for players, provided the server administrator has enabled and configured this option.
Step-by-Step Process for Setting Up Custom Messages (Using Plugins)
Implementing custom join and leave messages typically follows a straightforward process once you’ve chosen the right plugin. This general guide applies to most custom message plugins.
- Download a suitable plugin: The first step is to select a plugin that fits your server’s needs. Popular choices include “CustomJoinLeaveMessages,” “EssentialsX” (which often includes this functionality among many others), or “Custom Join & Leave Messages.” These can usually be found on reputable Minecraft plugin distribution platforms like CurseForge, SpigotMC, or Modrinth. Always ensure the plugin is compatible with your server software and version.
- Install the plugin: Once downloaded, you will receive a
.jarfile. This file needs to be placed directly into your Minecraft server’splugins/folder. This is the standard location for all server-side plugins. - Restart or reload the server: After placing the plugin file, you must either restart your entire Minecraft server or use a server command to reload all plugins. Restarting is generally recommended as it ensures all plugin components initialize correctly and generates the necessary configuration files.
- Edit the configuration file: Upon the first successful startup with the new plugin, it will generate a folder within your
plugins/directory (e.g.,plugins/CustomJoinLeaveMessages/). Inside this folder, you will find its configuration file, typically namedconfig.yml. Use a plain text editor (like Notepad++, VS Code, or Sublime Text) to open and edit this file. - Define your messages: Within the
config.yml, locate the sections dedicated to join and leave messages. These might be labeled asjoin-message,leave-message,first-time-message, or similar. Here, you will input your desired text. Remember to incorporate placeholders (e.g.,%player-name%,{PLAYER}) to make the messages dynamic, and use Minecraft color codes (e.g.,&a,&l) or hex colors to add visual flair. - Apply the changes: After making your edits, save the
config.ymlfile. For the changes to take effect, you will either need to restart your server again or, if the plugin supports it, use a specific in-game or console command to reload its configuration (e.g.,/jlm reloadfor a “Join Leave Messages” plugin or/reloadConfigif that’s the command defined by the plugin). - For individual player messages (if supported): If the plugin you’ve chosen allows players to set their own custom messages, they typically do so via in-game commands. Examples might include
/join-msg set [message]or/leave-msg set [message]. Ensure players have the necessary permissions to use these commands.
Important Tips for Effective Custom Messages
To maximize the impact of your custom join and leave messages, consider these best practices:
- Utilize placeholders for personalization: Always include placeholders like
%player-name%or{PLAYER}in your messages. This makes each message feel uniquely addressed to the player, fostering a more personal connection and a stronger sense of community. - Employ Minecraft color codes for visual appeal: Strategic use of color and formatting codes (e.g.,
&afor green,&lfor bold, or hex codes for specific hues) can make your messages pop in the chat. This improves readability and draws attention to important information, making the server feel more vibrant and professional. - Differentiate messages for first-time players: Crafting a special message for new players is crucial. This can serve as a warm welcome, provide quick links to server rules or a website, or simply make them feel valued from their very first moment on your server. It sets a positive initial impression.
- Implement rank-based messages: If your server has a hierarchy (e.g., VIPs, Moderators, Builders), using rank-based messages can acknowledge these roles publicly. It adds a sense of prestige for higher ranks and clearly identifies staff members, which can be useful for community management.
- Consider private welcome messages: Some plugins allow for a message to be sent directly and privately to the joining player, in addition to the public broadcast. This is an excellent opportunity to provide specific instructions, personal greetings, or a summary of server features without cluttering the public chat.
- Leverage chat protection features: Many plugins that handle custom messages also offer chat protection. This feature can prevent players from using prohibited words or inappropriate content in their custom messages, maintaining a safe and respectful server environment.
Common Mistakes to Avoid
Even with a clear process, certain pitfalls can prevent your custom messages from working as intended. Being aware of these common mistakes can save you significant troubleshooting time:
- Plugin conflicts: A frequent issue arises when multiple plugins or custom scripts (like Skripts) on your server are attempting to manage or override join and leave messages simultaneously. This can lead to unexpected behavior, where your intended messages are not shown, or default messages reappear. Always check for conflicting plugins if your custom messages aren’t displaying correctly.
- Incorrect configuration syntax: Configuration files, especially
config.yml, use YAML formatting. Any error in indentation, missing colons, or incorrect value types can render the file unreadable by the plugin. This will prevent your messages from loading and might even cause the plugin to fail. Always double-check your YAML syntax. - Not reloading or restarting: Changes made to the
config.ymlfile will not take effect until the plugin (or the server) is properly reloaded or restarted. Forgetting this step is a very common oversight and will lead to frustration when your new messages don’t appear. - Missing permissions: If your plugin allows players to set their own custom messages, they will need specific permissions to use the associated commands. If players report being unable to set their messages, verify that their permission group has been granted the necessary nodes.
- Expecting custom leave messages without plugins: It’s important to reiterate that vanilla Minecraft or command blocks alone are generally incapable of producing custom leave messages effectively. These messages require server-side event listening, which is a core function of plugins. Attempting to achieve this without a plugin will likely be unsuccessful.
- Using incompatible plugin versions: Always ensure that the version of the plugin you download is compatible with your specific Minecraft server version (e.g., Spigot 1.19.4, Paper 1.20.1). Using an outdated or too-new plugin version can lead to errors, crashes, or the plugin simply not loading.
By following this comprehensive guide and being mindful of potential issues, you can successfully implement custom join and leave messages that enhance your Minecraft server’s identity and player engagement.
Tags:
YOU MAY ALSO LIKE...