

Converting a Potion Into a Splash Potion
Understanding Splash Potions
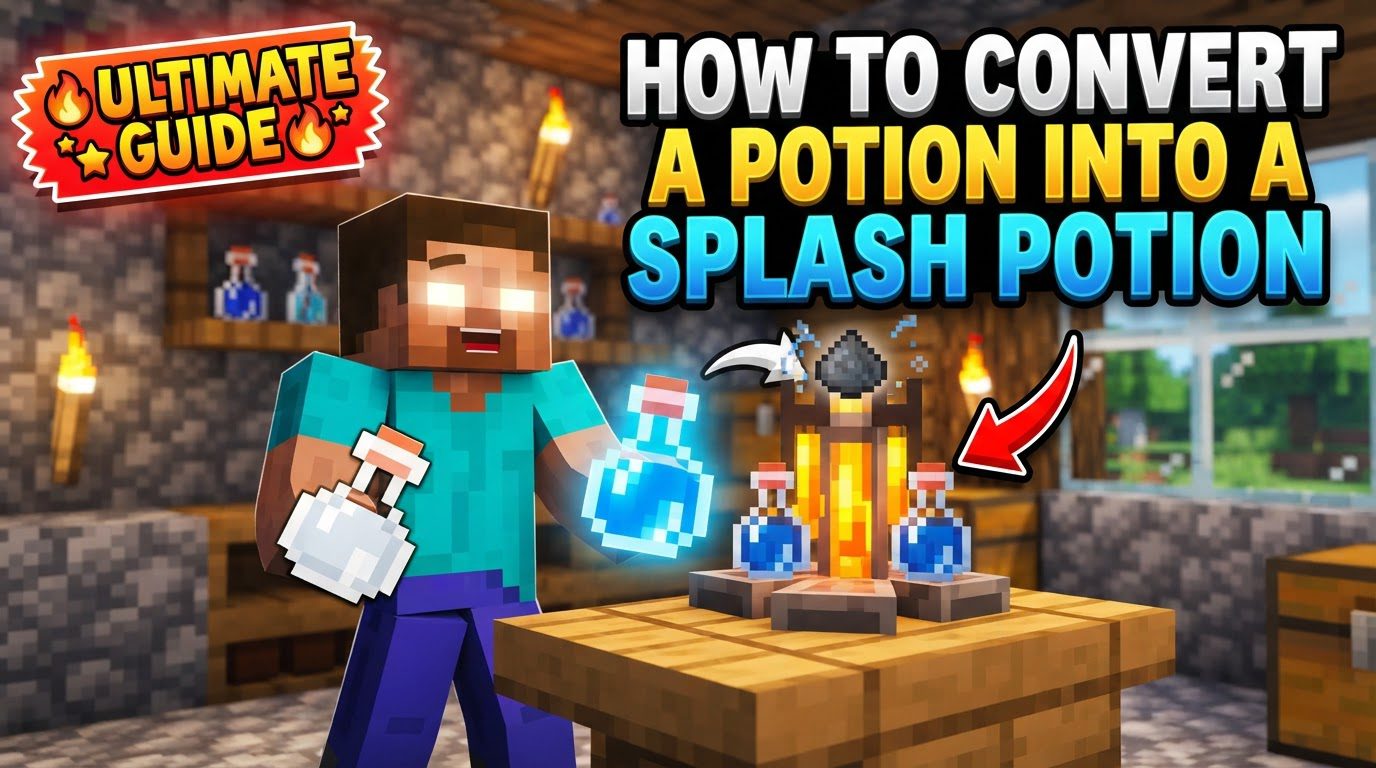
In the expansive world of Minecraft, potions offer a wide array of temporary enhancements and detriments, from increasing your speed to healing your wounds or harming your enemies. While drinkable potions provide these effects directly to the user, splash potions introduce a dynamic and tactical dimension to potion usage. These throwable variants allow players to apply status effects to multiple entities within an area, making them invaluable for combat, support, and various utility purposes. Converting a regular potion into a splash potion is a straightforward process that significantly enhances its versatility, transforming a personal buff or debuff into an area-of-effect tool.
Key Mechanics of Splash Potions
Splash potions are fundamentally throwable versions of their regular, drinkable counterparts. This core characteristic unlocks new strategic possibilities in Minecraft gameplay.
- Area-of-Effect Application: When a splash potion is thrown, it will explode upon impact with a block or an entity. This explosion applies its status effects to all entities, including players, mobs, and even certain blocks, within a specific radius of the impact point. This makes them ideal for crowd control, healing allies, or debuffing groups of enemies simultaneously.
- Bottle Consumption: It’s important to note that once a splash potion is used, the glass bottle is consumed. Unlike regular potions which return an empty glass bottle, splash potions do not leave behind any recoverable items after being thrown.
- Effect Duration Differences: The duration of a splash potion’s effect can vary depending on the game edition:
- In Java Edition, splash potions retain the exact same effect duration as their drinkable forms. If a regular Potion of Healing II heals instantly, its splash counterpart also heals instantly. If a Potion of Swiftness lasts 3 minutes, the splash version will also last 3 minutes for anyone affected.
- In Bedrock Edition, there’s a notable difference. Splash potions typically have three-fourths (75%) of the duration of the drinkable form. For example, a Potion of Swiftness that normally lasts 3 minutes when drunk will only last 2 minutes and 15 seconds when applied via a splash potion in Bedrock Edition. This reduction is a crucial factor to consider when planning your potion usage in this edition.
- Potency for Instant Effects: For potions that grant instant effects, such as instant Healing or Harming, the potency of the effect is not uniform across the entire splash radius. Instead, it reduces linearly. Entities directly hit by the splash potion or those very close to the impact point will receive 100% of the effect’s potency. As the distance from the impact point increases, the potency diminishes, reaching 0% at 4 blocks’ distance from where the potion landed. This means for maximum healing or damage, precise aiming is beneficial.
Step-by-Step Process: Converting Potions to Splash Potions
The conversion of a regular potion into a splash potion is performed using a brewing stand, a fundamental utility block for any alchemist in Minecraft. The process is straightforward and requires only one additional ingredient: gunpowder.
- Obtain a Brewing Stand:
The first and most crucial step is to acquire a brewing stand. This essential block serves as your primary tool for all potion-making endeavors, including the conversion to splash potions. To craft a brewing stand, you will need three blocks of cobblestone and one Blaze Rod. Cobblestone is readily available by mining stone, while Blaze Rods are dropped by Blazes, hostile mobs found exclusively in Nether Fortresses within the Nether dimension. Once you have the materials, place the Blaze Rod in the center top slot of a crafting table, with three cobblestone blocks placed horizontally in the middle row below it. This will yield one brewing stand.
- Power the Brewing Stand:
A brewing stand, unlike a crafting table, requires fuel to operate. This fuel comes in the form of Blaze Powder. To power your brewing stand, open its interface by right-clicking on it. You will see a dedicated slot on the far left of the interface, specifically designed for fuel. Place at least one piece of Blaze Powder into this slot. One piece of Blaze Powder can power the brewing stand for multiple brewing operations, typically enough for several rounds of potion conversions or creations. Without Blaze Powder, the brewing stand will not function, and no brewing process will initiate.
- Place Potion(s):
With your brewing stand powered, the next step is to introduce the potion(s) you wish to convert. At the bottom of the brewing stand interface, there are three individual slots. These slots are where you will place your regular, drinkable potions. You can convert one, two, or even three potions simultaneously in a single brewing cycle, provided you have enough gunpowder for each. Simply drag and drop your desired potions into these bottom slots.
- Add Gunpowder:
Gunpowder is the catalyst that transforms a standard potion into a throwable splash potion. You will need one piece of gunpowder for each potion you intend to convert. Place a single piece of gunpowder into the top ingredient slot of the brewing stand interface. This slot is located directly above the three potion slots. Gunpowder can be obtained by defeating Creepers, Ghasts, or by looting chests found in various structures such as desert temples, dungeons, and shipwrecks.
- Wait for Brewing:
Once the brewing stand is powered, the regular potion(s) are in the bottom slots, and gunpowder is in the top ingredient slot, the brewing process will automatically begin. You will observe a progress bar, indicated by an arrow, filling up as the brewing stand works its magic. During this time, the gunpowder will be consumed, and the liquid in the potions will visibly change to reflect their new splash properties. The process typically takes a few seconds per potion. Once the brewing is complete, your regular potion(s) will be replaced by their splash potion counterpart(s) in the bottom slots, ready for you to retrieve and utilize.
Important Tips for Using Splash Potions
Mastering the use of splash potions involves more than just brewing them; it also includes understanding their optimal application and unique interactions.
- Versatility of Conversion: Almost any potion in Minecraft can be successfully turned into a splash potion. This includes basic potions like Healing and Poison, as well as more advanced ones like Invisibility or Slow Falling. This wide range of convertibility makes splash potions incredibly adaptable to various situations.
- Maximizing Self-Application Duration: When applying a splash potion to yourself, particularly for effects with a duration, it’s beneficial to throw it straight up into the air. By doing so, the potion will land directly on your head, ensuring you receive the maximum possible effect duration. Throwing it at your feet or a nearby wall might result in a slightly reduced duration due to the splash mechanics.
- Targeting for Maximum Effect: Similarly, when aiming a splash potion at a mob or another player, try to aim directly for their head. This precision helps ensure that the target receives the full potency and duration of the potion’s effect, especially crucial for instant effects like Healing or Harming where potency diminishes with distance.
- Utility of Splash Water Bottles: While not a traditional potion, splash water bottles can be crafted by brewing water bottles with gunpowder. These have unique utility functions: they can extinguish fires, deal damage to Endermen, Strays, and Blazes, and also damage Snow Golems, making them surprisingly useful in specific scenarios.
- Curing Zombie Villagers: Splash potions of weakness are a critical component in the process of curing zombie villagers. When combined with a golden apple, a splash potion of weakness can transform a zombie villager back into a regular villager, providing significant benefits in terms of trading discounts.
- Unique Interaction with Undead Mobs: Undead mobs, such as zombies, skeletons, husks, and strays, exhibit an inverse reaction to healing and harming potions. While splash potions of healing will harm these creatures, splash potions of harming will actually heal them. This provides a strategic advantage for players, allowing them to use healing potions offensively against undead foes.
- Dispenser Compatibility: For automation and trap design, splash potions can be launched from dispensers. This allows for the creation of automated defensive systems or complex traps that can apply effects to intruders or mobs without direct player intervention.
Common Mistakes to Avoid
While the process of creating splash potions is relatively simple, there are a few common pitfalls that new or even experienced players might encounter.
- Forgetting to Power the Brewing Stand: This is perhaps the most frequent mistake. A brewing stand will not function without Blaze Powder in its fuel slot. If your potions aren’t converting, always double-check that you’ve supplied it with sufficient Blaze Powder. The absence of the brewing animation or progress bar is a clear indicator of this issue.
- Improper Throwing Technique: When self-applying a splash potion, throwing it directly at your feet instead of straight up can lead to a loss of some effect duration. This is due to the splash radius and how the game calculates effect application. Always aim for an overhead throw for maximum personal benefit.
- Ignoring Bedrock Edition Duration Differences: Players switching between Java and Bedrock Editions, or those primarily playing Bedrock, must remember that splash potions in Bedrock Edition have a shorter duration (three-fourths) compared to their drinkable counterparts. Failing to account for this can lead to effects wearing off sooner than expected in critical situations.
- Attempting to Convert Unconvertible Potions: In Bedrock Edition and Minecraft Education Edition, there are certain “curative” potions that cannot be turned into splash potions. These include Antidotes, Elixirs, Eye Drops, and Tonics. Attempting to brew these with gunpowder will not yield a splash version, as their intended use is typically personal and immediate. It’s important to be aware of these specific exceptions to avoid wasting gunpowder.
By understanding these mechanics and following the straightforward brewing process, players can effectively convert regular potions into splash potions, opening up a new realm of strategic possibilities and enhancing their Minecraft experience.

