

Baiting an Opponent Into a Critical Hit Trap (Step by Step)
Baiting an Opponent into a Critical Hit Trap
In the dynamic world of Minecraft PvP, gaining an advantage over your opponent is paramount. One highly effective, albeit complex, strategy involves baiting an opponent into a critical hit trap. This method leverages specific game mechanics to force enemies into vulnerable positions, allowing you to deliver devastating critical damage. Mastering this technique requires a deep understanding of Minecraft’s combat system and ingenious trap design.
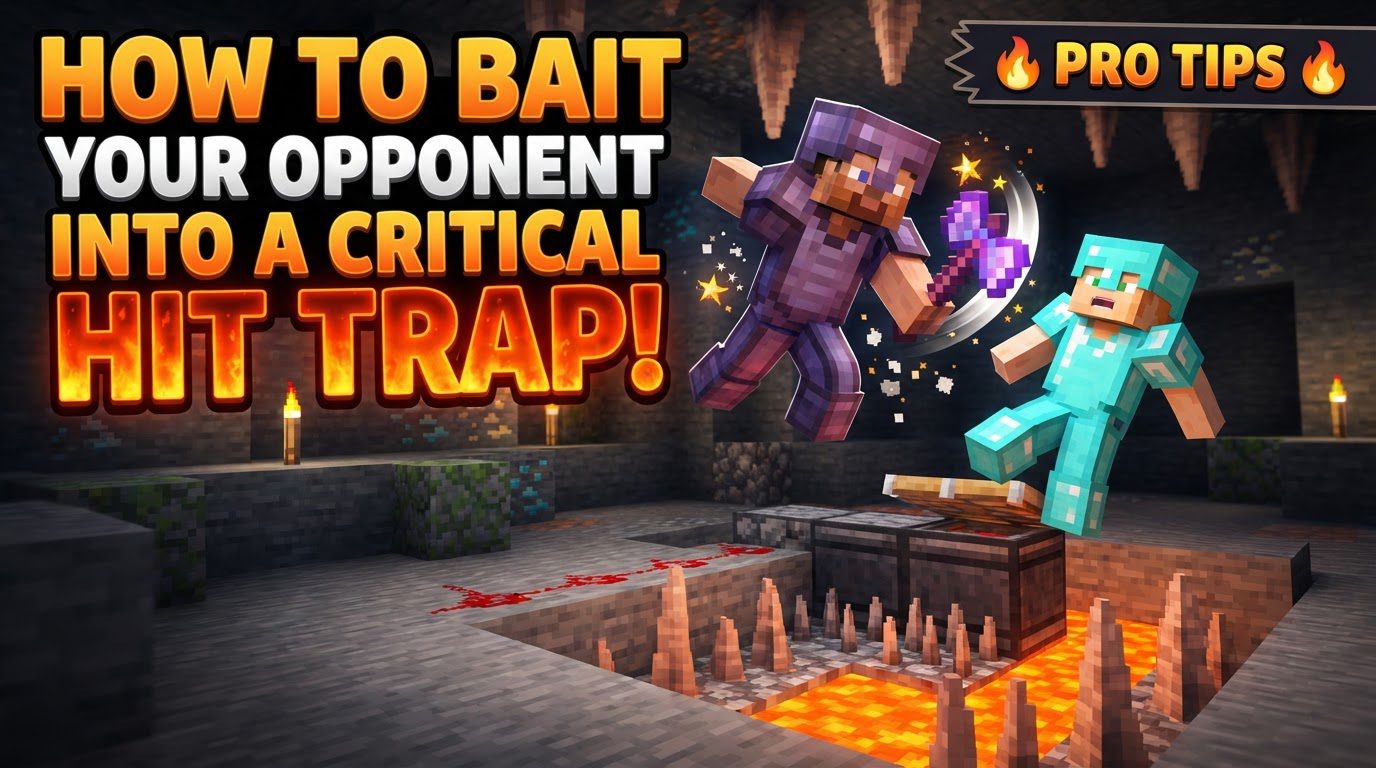
Key Mechanics for Critical Hit Traps
To successfully execute a critical hit trap, it’s crucial to understand the foundational mechanics at play:
- Critical Hits: A melee critical hit is a powerful attack that deals 150% of the weapon’s base damage. This significant damage boost can be the difference between winning and losing a fight. The key to performing a critical hit is striking a mob with a melee weapon while you are falling.
- Requirements for a Critical Hit: Achieving a critical hit is not as simple as just jumping. Specific conditions must be met:
- The player must be falling, not merely jumping.
- The player must not be on the ground.
- The player must not be on a ladder or vine.
- The player must not be in water.
- The player must not be affected by blindness or slow falling status effects.
- The player must not be riding an entity.
- The player must not be moving faster than walking speed.
- Additionally, the attack recharge meter must be above 84.8%.
- Trap Components: Effective traps are composed of several integrated elements:
- Bait: Something to lure the target into the trap area.
- Trigger: A mechanism to activate the trap once the opponent is in position.
- Complication: Elements that make the trap more efficient, often by restricting movement or increasing damage.
- Method to Dispatch the Target: The primary means of dealing damage, frequently involving fall damage or suffocation.
- Concealment: For a trap to be truly effective, it must be hidden. Undetectable traps are often most effective, as opponents cannot avoid what they cannot see, preventing them from bypassing or disarming it.
Step-by-Step Process: General Trap Design
Designing a critical hit trap involves a systematic approach, starting from identifying vulnerabilities and culminating in a hidden, deadly mechanism:
- Identify Vulnerability: The initial step is to determine how you can maneuver an opponent into a falling state where they are susceptible to your critical strikes. This often involves creating a situation where they inadvertently step onto a trap or are pushed into one.
- Choose a Bait: Luring your target is crucial. This can be achieved by:
- Placing valuable items, such as chests filled with rare loot, to attract attention.
- Creating an enticing structure that piques curiosity.
- Using a distraction to draw the opponent into the trap area.
- More advanced strategies include deploying a “decoy trap” to make an opponent feel safe, or even intentionally dying to make them let their guard down, thinking they have won.
- Construct the Trap Mechanism: This is where the engineering comes in. You need to build a system that forces the opponent to fall into a specific area, ideally where you can land your critical hits. Common mechanisms include:
- False Floors: A classic and effective method to drop targets into a pit, often activated by a pressure plate or tripwire.
- Pistons: These versatile blocks can be used to push players into holes, or even upwards into areas that trigger fall damage or other damaging mechanisms like cobwebs, which slow them down for easier targeting.
- Water Elevators: Can strategically lift opponents to a significant height. Upon release from the water column, they will take substantial fall damage, or be positioned for a critical hit.
- Incorporate Critical Hit Opportunity: The trap must be designed so that you, or another mechanism, can land critical hits. This means positioning yourself to strike as the opponent falls or is incapacitated by the trap. For instance, you might be positioned at the bottom of a fall, or have armor stands firing arrows from a height.
- Conceal the Trap: Secrecy is vital. All components, including redstone wiring, pistons, and other mechanical elements, must be meticulously hidden. The trap should appear as an innocuous part of the environment, making it virtually impossible for an opponent to detect until it’s too late.
- Activate the Trap: Once the opponent is in the ideal position, the trap needs to be triggered. This can be done via:
- Pressure plates: Blending seamlessly into the floor, they activate when stepped upon.
- Tripwires: Invisible strings that trigger when broken, often used across doorways or pathways.
- Hidden buttons: Requiring manual activation, these offer more control but also require precise timing.
Important Tips for Trap Effectiveness
Beyond the basic design, several tips can significantly enhance the effectiveness and lethality of your critical hit traps:
- Exploit Curiosity: People are naturally drawn to valuable items, rare blocks, or seemingly easy targets. Use this psychological aspect to your advantage to guide them into your trap.
- Consider Mob AI: While this guide focuses on players, understanding how mobs pathfind can inspire trap designs. Players often follow predictable routes, similar to mob AI, especially when focused on a goal.
- Disguise the Trigger: Make triggers blend into the environment. A pressure plate could be part of a grand entrance, or a button could appear to open a normal door, masking its true purpose.
- Combine Methods: Maximize damage by integrating multiple damaging elements. For example, combining fall damage with suffocation, hostile mobs, or arrows can quickly dispatch an opponent. A particularly potent combination mentioned is placing dripstone spikes under an End Portal, which can cause immense damage when a player goes through, combining fall damage with environmental hazards.
- Use Indestructible Blocks: For high-stakes traps, construct them using blocks that cannot be easily mined or destroyed by opponents, preventing escape or disarming.
- Silence is Key: For complex arrow traps or other redstone mechanisms, ensuring they operate silently can prevent detection, allowing the trap to remain concealed until activation.
Common Mistakes to Avoid
Even the most well-intentioned trap can fail if common pitfalls are not avoided:
- Obvious Triggers: A visible pressure plate in an unusual spot or exposed redstone wiring will immediately alert experienced players, allowing them to bypass or disarm the trap.
- Insufficient Damage: A trap that doesn’t deal enough damage allows opponents to escape, retaliate, or simply shrug off the attack, rendering your efforts futile. The goal is to eliminate, not merely annoy.
- Lack of Escape Prevention: Opponents may carry Ender Pearls or Golden Apples, which can be used to escape or mitigate damage. Your trap design must account for these possibilities, perhaps by incorporating suffocation mechanics or rapid, unavoidable damage to prevent such escapes.
- Predictable Bait: Always using the same bait or trap design makes it easy for players to recognize and avoid. Vary your strategies and designs to keep opponents guessing.
- Not Testing: An untested trap is a flawed trap. Always test your designs thoroughly to identify any weaknesses or glitches that could allow opponents to survive or disarm it.
- Ignoring Game Updates: Minecraft’s mechanics can change with updates, potentially rendering older trap designs ineffective. Stay informed about game changes to ensure your traps remain viable.
By understanding these mechanics, carefully planning your design, and meticulously testing your creations, you can construct devastating critical hit traps that will give you a significant strategic advantage in Minecraft.

