

Building an Underwater Base Without Drowning
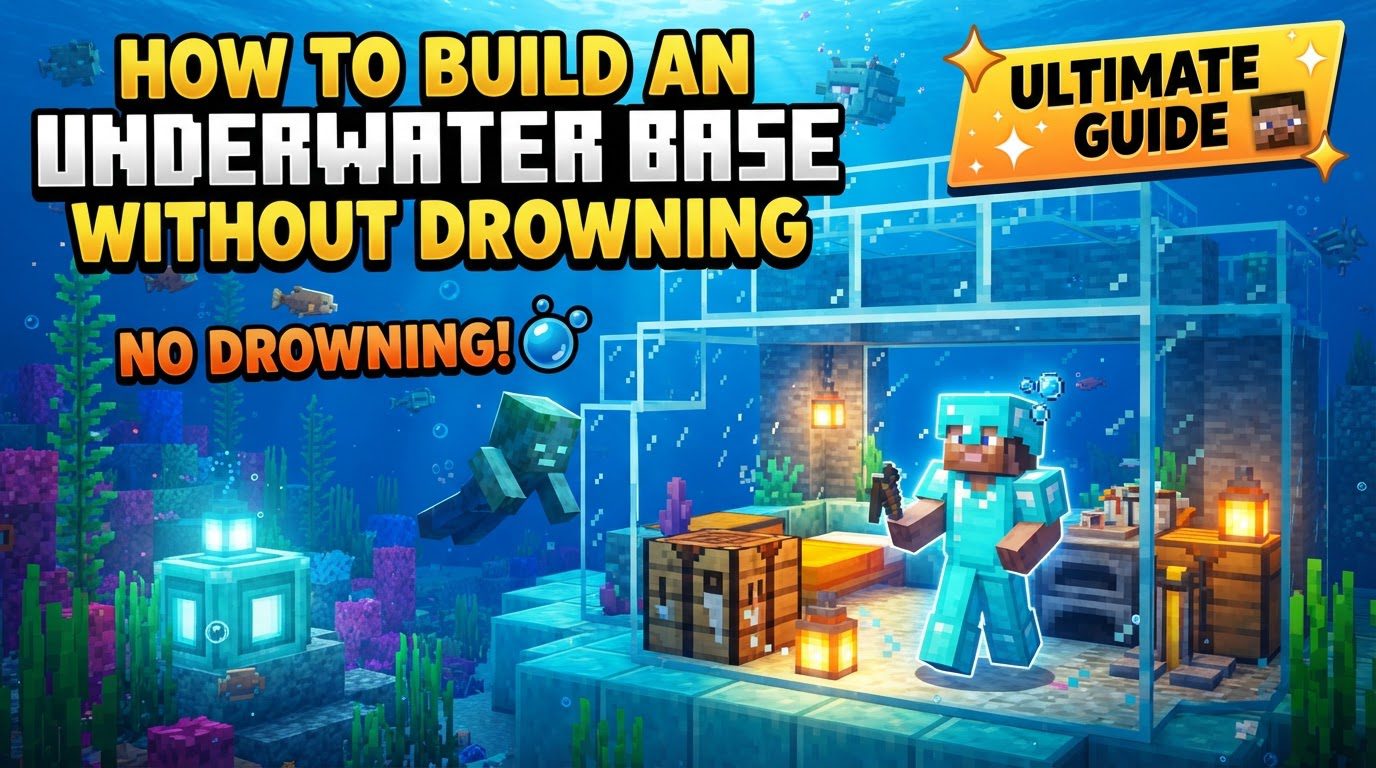
Building an underwater base in Minecraft presents a unique and exciting challenge, transforming the vast ocean into a canvas for your architectural ambitions. The primary hurdles are managing your oxygen supply and effectively clearing large volumes of water. With the right strategies, tools, and a solid understanding of game mechanics, you can construct a magnificent and functional underwater dwelling without the constant threat of drowning.
Understanding Key Mechanics for Underwater Construction
Success in underwater building hinges on utilizing specific game features designed to counteract the ocean’s hostile environment. Mastering these mechanics will make your construction process significantly smoother and safer.
- Conduit Power: This powerful beacon of underwater utility is a game-changer. A Conduit provides permanent water breathing, night vision, and haste effects to players within a 96-block radius. Additionally, it actively attacks nearby hostile underwater mobs, creating a safe zone. To craft this invaluable item, you will need eight Nautilus Shells and one Heart of the Sea. Prioritizing a Conduit is highly recommended for any large-scale underwater project.
- Enchantments: Specific enchantments on your gear can dramatically improve your efficiency and survival underwater.
- Respiration III (Helmet): This enchantment significantly extends the duration of your underwater breath meter, giving you more time to work before needing to surface or find an air pocket.
- Aqua Affinity (Helmet): Applied to your helmet, Aqua Affinity allows you to mine blocks at your normal speed underwater, circumventing the usual mining speed penalty. This is crucial for efficient excavation and construction.
- Depth Strider III (Boots): Equipping boots with Depth Strider III drastically increases your movement speed while submerged, making it comparable to walking on land. This enchantment reduces the tediousness of navigating the ocean floor.
- Air Pockets: In the early stages of underwater construction, or when you need a quick breath, non-full blocks can be your best friend. Placing items like doors, signs, or ladders creates temporary air pockets that you can duck into to replenish your oxygen.
- Bubble Columns: These natural elevators and breathing spots are essential for vertical travel and oxygen management.
- Soul Sand: When placed underwater, Soul Sand generates upward-flowing bubble columns. These columns will push you towards the surface, providing a quick and easy way to ascend.
- Magma Blocks: Conversely, Magma Blocks placed underwater create downward-flowing bubble columns, pulling you towards the ocean floor. If you crouch on a Magma Block within its bubble column, you can safely breathe without taking damage, though standing on it without crouching will cause damage.
- Water Removal: Clearing water from your base is arguably the most time-consuming part of underwater construction.
- Sponges: These are the most efficient tools for water removal. Sponges absorb water in a spherical area around them. Once saturated, they become wet sponges and must be dried in a furnace or by placing them in the Nether before they can be reused. Sponges are primarily obtained by defeating Elder Guardians in Ocean Monuments.
- Temporary Blocks: If sponges are unavailable, you can clear water by filling the desired area with easily breakable blocks like sand, gravel, or dirt. Once the area is completely filled, you can then remove these blocks, displacing the water and leaving an empty air space.
Step-by-Step Guide to Building Your Underwater Base
Follow these steps to systematically construct your underwater sanctuary.
- Select a Location: Begin by scouting a suitable site. Look for a relatively flat area underwater, ideally close to land for easier access to resources. A location offering good views, such as a vibrant coral biome, can enhance your base’s aesthetics.
- Gather Resources: Before diving in, collect all necessary materials. This includes sturdy building blocks (e.g., stone, glass), materials for initial air sources (doors, signs, ladders), and if possible, sponges for water removal. If aiming for a Conduit, ensure you have eight Nautilus Shells and a Heart of the Sea.
- Establish Initial Air Source: Your first priority underwater is a reliable oxygen supply. Place temporary air pockets using doors, signs, or ladders strategically around your construction area. These will serve as crucial breathing spots as you work.
- Construct the Outer Shell: Begin building the frame or outer walls of your base. Use robust blocks that can withstand the pressure and define the shape of your structure. Glass is an excellent choice for walls, offering panoramic views of the underwater world.
- Clear the Water: This is where your base truly takes shape.
- With Sponges: If you have sponges, place them strategically within your enclosed base to absorb water. For larger areas, it’s often more efficient to section off the space with temporary blocks, clear one section at a time, and then remove the dividers. Remember to dry wet sponges to reuse them.
- Without Sponges: If sponges are not an option, you’ll need to fill the entire interior of your base with temporary blocks such as sand, gravel, or dirt. Once completely filled, start from the top layer and systematically remove these blocks. As you remove them, the water will be displaced, leaving an empty, air-filled space.
- Create an Entrance/Exit: Design a safe and efficient way to enter and exit your base. A common and effective method is a glass tube extending from the surface, incorporating bubble column elevators. A Magma Block elevator at the bottom will pull you down into your base, while a Soul Sand elevator will push you up to the surface. Doors at the top and bottom of the elevator system can prevent water from leaking into your main base.
- Install Lighting: Torches will not work underwater. To illuminate your base and prevent hostile mob spawns, use reliable underwater light sources. Excellent choices include Sea Lanterns, Glowstone, Froglights, Soul Lanterns, or Sea Pickles. Proper lighting is essential to keep your base safe from Drowned and other threats.
- Power Up (Optional but Recommended): Once your base is clear and illuminated, consider placing a Conduit. Position it centrally within or near your base to ensure its beneficial effects-water breathing, night vision, haste, and mob defense-cover your entire operational area.
- Furnish and Decorate: With the hard part done, you can now furnish your base. Add essential survival features like storage chests, crafting tables, furnaces, and a bed. Decorate with items that fit the underwater theme, such as vines, kelp, or other blocks that complement your aesthetic.
Important Tips for a Smooth Build
- Prioritize a Conduit: Seriously, a Conduit is invaluable. Its continuous buffs eliminate the constant worry of drowning and significantly speed up construction.
- Enchant Your Gear: Don’t underestimate the power of enchantments. Helmets with Respiration III and Aqua Affinity, and boots with Depth Strider III, transform the challenging underwater environment into a manageable workspace.
- Lighting is Key: Always ensure your base is well-lit. Drowned mobs can spawn in dark underwater areas, posing a significant threat to your base and your safety.
- Plan Your Block Palette: Colors appear dimmer underwater due to light absorption. Choose blocks that will maintain their desired aesthetic even in the muted underwater light.
- Utilize Elevators: Magma Block and Soul Sand elevators are not just efficient; they are crucial for quick and safe travel between your base and the surface.
- Early Game Air: Before you have advanced gear, remember the simple trick of placing a door or sign to create a temporary air pocket. It’s a lifesaver.
Common Mistakes to Avoid
- Drowning: The most obvious danger. Always keep an eye on your breath meter and know where your nearest air source is. Panic can lead to mistakes.
- Lack of Proper Gear: Attempting large-scale underwater builds without adequate enchantments (Respiration, Aqua Affinity, Depth Strider) will be frustratingly slow and dangerous. Invest in your gear first.
- Underestimating Water Clearing: Clearing water, especially without sponges, is a time-consuming and tedious process. Plan for it, and don’t rush.
- Mob Spawns: Neglecting to adequately light your underwater base is an open invitation for Drowned and other hostile mobs to spawn inside, turning your sanctuary into a battleground.
- Placing Water-Sensitive Blocks: Be mindful of blocks that react to water. Buttons, levers, and redstone components placed directly in water will be washed away.
- Accidental Flooding: Breaking the wrong block in an already sealed and cleared base can cause significant flooding, requiring you to re-clear sections and potentially disrupting your progress. Always double-check before breaking blocks.
With careful planning, the right tools, and a good understanding of Minecraft’s mechanics, building an underwater base is not just possible, but an incredibly rewarding experience. Your subaquatic haven will stand as a testament to your building prowess and provide a unique perspective on the world of Minecraft.

