

Building a Floating Island Base, Explained
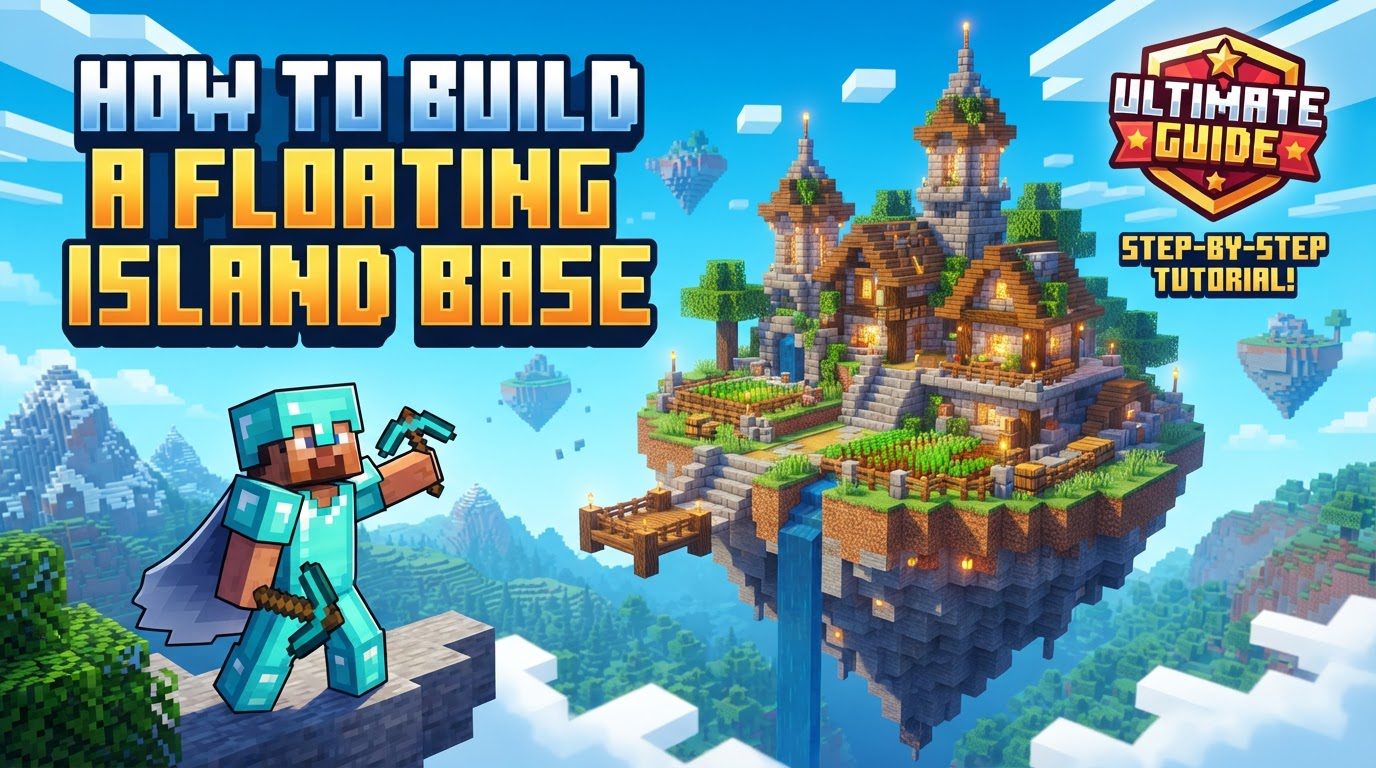
Building a floating island base in Minecraft is an ambitious and rewarding project that allows for stunning architectural and landscape design high above the game world. These magnificent structures are typically constructed in the sky, offering unparalleled views over oceans, vast valleys, or towering mountain ranges. Crafting such a base requires a strategic approach, a keen eye for aesthetics, and an understanding of key Minecraft mechanics to ensure both beauty and functionality.
Key Mechanics of Floating Island Construction
Understanding the fundamental mechanics is crucial before embarking on your sky-high endeavor. These principles guide everything from initial ascent to the final decorative touches of your island.
- Location and Vertical Access: Floating islands are designed to be high above the ground. Selecting a suitable location with an open sky is paramount for dramatic views. Reaching these lofty heights typically involves constructing temporary dirt pillars, which are later removed, or utilizing scaffolding. Scaffolding is a versatile block for both vertical and some horizontal movement, especially in Survival mode, though its horizontal reach is limited. Alternatively, players in Creative mode can simply fly to their desired altitude.
- Core Construction Principles: The island’s foundation begins from a central point and expands outwards. To achieve a natural and realistic appearance, builders should utilize a variety of stone blocks such as stone, cobblestone, and andesite. These blocks, when combined, create diverse textures and shapes that mimic natural terrain. The underside of the island is particularly important; it should be sculpted to be uneven and pointy, further enhancing the illusion of a naturally formed landmass.
- Aesthetics and Lighting: Water buckets are indispensable tools for creating cascading waterfalls that flow gracefully from the island’s edges, adding significant aesthetic appeal. These waterfalls can also sometimes serve as unique transport systems. Beyond aesthetics, proper lighting is absolutely essential. Both within the base structures and across the entire island surface, sufficient lighting prevents hostile mob spawns, ensuring the safety and peacefulness of your sky haven.
Step-by-Step Guide to Building Your Floating Island Base
Constructing a floating island is a multi-stage process that combines planning, sculpting, and detailing. Follow these steps to bring your aerial vision to life.
- 1. Select a Location: Begin by carefully choosing a spot in your Minecraft world. Look for an area that offers an open sky and promises dramatic, expansive views. The chosen location should be high above the ground, whether it overlooks an ocean, a deep valley, or a majestic mountain range.
- 2. Reach Altitude: Once your location is set, ascend to your desired height. In Survival mode, this is commonly done by building a temporary pillar of dirt blocks directly upwards. As you build, place a block beneath you, jump, and place another, repeating until you reach the desired elevation. Scaffolding can also be used for a more convenient ascent. Once at your target height, mark your central block – this will be the heart of your island.
- 3. Form the Island Base: Start constructing the island’s foundation from your central block. Begin to sculpt a rough, organic shape, aiming for something like a teardrop or an inverted cone. Focus on making the underside of this initial structure uneven and pointy, as this mimics the natural erosion and formation of real islands and adds significant visual interest from below. Use basic stone blocks for this foundational layer.
- 4. Add Texture and Volume: With the basic frame established, it’s time to add depth and detail. Layer in different types of stone blocks, such as cobblestone and andesite, alongside the primary stone. This variety prevents the island from looking monotonous and contributes to a more natural, weathered appearance. Continue to fill out the frame, ensuring the overall shape remains organic and irregular.
- 5. Create the Surface: Once the stone base is sculpted, place dirt blocks on the top surface of the island. This layer will eventually support vegetation. Allow grass to spread naturally across the dirt, which will significantly enhance the island’s realism. For added greenery and a touch of ancient or overgrown feel, incorporate moss blocks and leaf blocks.
- 6. Incorporate Natural Features: Enhance the island’s natural appeal by adding water features. Use water buckets to create beautiful cascading waterfalls that flow from the island’s edges down into the void below. These add dynamic movement and sound to your build. Further detail the surface with additional dirt blocks and vibrant flowers to create a lush, living environment.
- 7. Build Structures: With the island itself largely complete, you can now construct your desired base elements. This might include houses, farms, or other functional buildings. Utilize materials like logs, planks, and glass to create diverse and appealing structures that complement your floating island.
- 8. Add Details and Accessibility: The final touches involve adding decorative elements and ensuring easy access. Incorporate features such as lanterns for ambient lighting and decoration, fence posts, trapdoors, and slabs to add intricate details and architectural flair. For vertical movement within your base, consider building elegant spiral staircases or other creative access points.
Important Tips for a Superior Floating Island
To elevate your floating island from good to exceptional, keep these important tips in mind throughout the building process.
- Start from the Top: For achieving a more realistic and natural-looking island, it can often be easier to begin sculpting from the top surface and work your way downwards, shaping the underside as you go. This allows for better control over the visible contours.
- Vary Block Palettes: Avoid monotony by using a wide variety of blocks for different sections of your build. This applies to the island’s foundation, the walls of your structures, and any supporting elements. A diverse palette adds significant depth and visual interest.
- Organic Shapes: Strive for irregular and natural forms rather than perfectly geometric designs. Real-world islands and rock formations are rarely perfect squares or circles, and mimicking this irregularity enhances realism.
- Wireframing: For larger or more complex island designs, it can be incredibly helpful to create a basic outline or “wireframe” first. This initial skeletal structure allows you to visualize the overall shape and scale before committing to filling in all the blocks.
- Hollow Interior: Consider making the island hollow during its construction. This allows for the possibility of creating underground rooms, hidden storage areas, or even secret passages within the island itself, adding functionality and exploration.
- Natural Details: Incorporate subtle natural details to further enhance realism. This can include adding elements like ores on the underside of the island, making it appear as if it was torn from the ground. Also, carefully blend block transitions, for example, from stone to dirt, to create a seamless and natural appearance.
Common Mistakes to Avoid
Being aware of common pitfalls can save you time and prevent your floating island from looking artificial or unappealing.
- Flat Walls and Boxy Structures: Avoid building with entirely flat walls or simple square/boxy shapes for your structures. Instead, add depth, incorporate different angles, and design varied roof styles to create more dynamic and appealing buildings.
- Lack of Block Variation: Using only one type of block for large sections of your island or structures can make the entire build look monotonous and uninspired. Embrace variety in your block palette.
- Unnatural Transitions: Abrupt changes between different block types, such as grass meeting stone without any blending or transition blocks, can detract significantly from the realism of your island. Use blending techniques to smooth these transitions.
- No Lighting: Failing to properly light the entire island, both on its surface and within any enclosed structures, is a critical mistake. Insufficient lighting will lead to hostile mob spawns, making your base unsafe.
- Unsupported Overhangs: Avoid creating sections of your island or structures that appear to float without any visible support. This can look unnatural and break the illusion of a solid, albeit floating, landmass. Ensure all overhangs have believable structural support.
- Neglecting Terraforming: Do not simply build on a perfectly flat, cut-off surface. Instead, focus on integrating the base with the terrain around it, even if it’s just the ‘air terrain’ of the island itself. This means sculpting the island’s form rather than just stacking blocks.

