

Building a Rail Network Connecting Distant Bases — A Quick Guide
Building an Efficient Minecraft Rail Network Between Distant Bases
Establishing a robust rail network in Minecraft is an excellent way to connect your distant bases, facilitating swift travel for players and efficient transportation of goods. This comprehensive guide will walk you through the essential mechanics, a step-by-step construction process, crucial tips, and common pitfalls to avoid, ensuring your rail system is both effective and reliable.
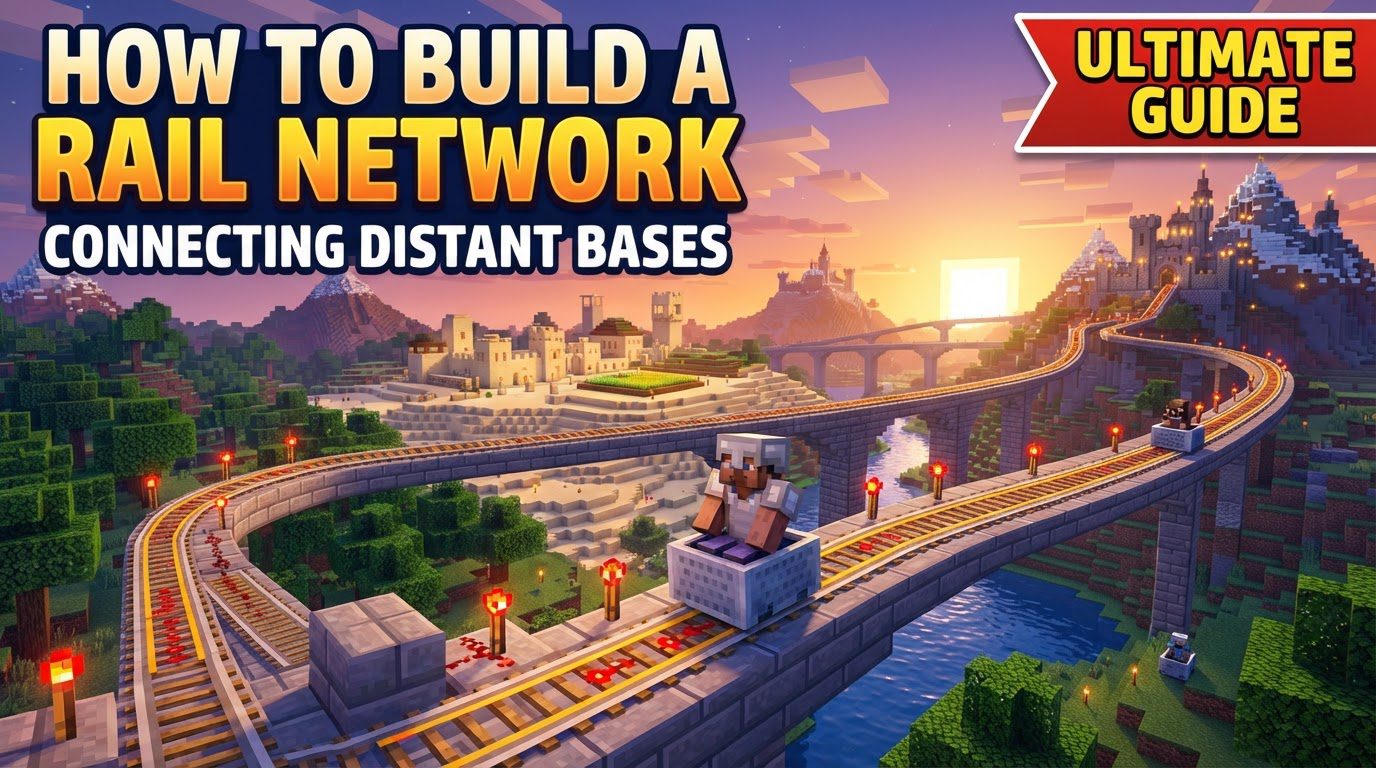
Key Mechanics of a Rail Network
Understanding the different types of rails and minecarts, along with Redstone power, is fundamental to designing an effective rail system.
- Rails
- Standard Rails: These form the backbone of any rail network. They are versatile, capable of turning corners automatically when placed adjacent to other rails, and can ascend or descend single-block inclines. They are the most basic and frequently used rail type.
- Powered Rails: Crucial for maintaining momentum, powered rails boost minecart speed significantly when activated by a Redstone source. Conversely, if unpowered, they act as a brake, slowing or even stopping minecarts. They are crafted using gold ingots, a stick, and Redstone dust, highlighting their value in a network.
- Detector Rails: These rails function much like pressure plates. When a minecart passes over a detector rail, it emits a Redstone signal. This property makes them invaluable for automation, such as activating powered rails ahead or triggering other Redstone mechanisms.
- Activator Rails: Activator rails offer specialized functionalities when powered. They can eject players from minecarts, providing a convenient disembarking mechanism at stations. They can also open or close hopper minecarts, useful for automated loading or unloading systems. Furthermore, when a TNT minecart passes over a powered activator rail, it will be activated, a feature useful for specific demolition tasks.
- Minecarts
- Standard Minecart: This is the primary vehicle for player transportation, allowing for quick and comfortable travel across your rail network.
- Minecart with Chest: Designed for logistics, this minecart allows for the transportation of items between bases, acting as a mobile storage unit.
- Minecart with Furnace: This unique minecart acts as a locomotive. When fueled, typically with coal, it can push other minecarts along the track, making it useful for moving trains of cargo.
- Minecart with Hopper: An essential tool for automated item collection, the minecart with hopper collects items from above it. It can also be emptied by another hopper placed directly underneath the track, allowing for automated loading and unloading stations.
- Redstone Power: Powered rails require a consistent Redstone signal to operate effectively and boost minecarts. Various Redstone sources can provide this power, including Redstone torches, levers, buttons, and Redstone blocks. A particularly useful tip is that a Redstone torch can power a powered rail from directly underneath the block the rail rests on, allowing for discreet and compact power sources.
- Speed and Momentum: A critical aspect of rail travel is understanding momentum. Minecarts naturally lose speed over long distances, and this effect is significantly amplified when traveling uphill. To counteract this loss and maintain optimal travel speed, the strategic placement and activation of powered rails are absolutely necessary.
Step-by-Step Process for Building Your Network
Constructing a rail network involves several key stages, from initial planning to the final touches of automation.
- 1. Plan Your Route: Before laying a single rail, take time to map out the most efficient and direct path between your bases. Consider the terrain carefully; while rails can overcome obstacles, minimizing extreme elevation changes or large bodies of water can save significant resources and construction time. A well-planned route is the foundation of an effective network.
- 2. Gather Resources: A rail network is resource-intensive. You will need a substantial amount of iron ingots for crafting standard rails and minecarts. Gold ingots are essential for creating powered rails, which are vital for speed. Redstone dust is required for crafting powered rails and for all Redstone mechanisms used to power the system. Additionally, collect sticks and cobblestone, the latter being useful for crafting levers or basic building blocks for your track supports.
- 3. Lay Basic Track: Begin by placing standard rails along your planned route. As you place them, observe how they automatically curve to connect with adjacent rails, simplifying the process of creating turns. This initial track defines the main pathway for your network.
- 4. Integrate Powered Rails: Once the basic track is laid, strategically place powered rails along its length. These are especially critical on any inclines to prevent minecarts from stalling and on long straight sections to maintain high speeds. Proper placement ensures continuous momentum throughout the journey.
- 5. Power the System: Activate all your powered rails by providing a Redstone signal. This can be achieved by placing Redstone torches next to or underneath the block supporting the powered rail, or by using levers, buttons, or Redstone blocks. Ensure every powered rail segment that needs to be active receives a consistent Redstone signal.
- 6. Build Stations and Intersections: Designate clear starting and stopping points at each base, known as stations. For more complex networks, you may need intersections where tracks diverge. These junctions can be controlled by levers connected to Redstone, allowing you to switch the direction of the track and guide minecarts to different destinations.
Important Tips for Optimization
To ensure your rail network operates at peak efficiency, consider these valuable tips.
- Optimal Powered Rail Spacing:
- Flat Ground (Player in Minecart): For a player in a minecart on flat ground, a powered rail placed approximately every 38 blocks is sufficient to maintain top speed. To ensure minimal speed loss and a very consistent ride, placing one powered rail every 33 blocks is even better. A common and highly efficient pattern used by many players is to place one powered rail followed by four regular rails, and then repeat this sequence. This balance provides excellent speed with reasonable resource usage.
- Flat Ground (Empty Minecart): Empty minecarts require more frequent boosts due to their lower momentum. After an initial boost to get them moving, you’ll find that empty minecarts typically need a powered rail roughly every 8 blocks to keep them moving at a good pace. This tighter spacing is crucial for item transport systems.
- Inclines: When traveling uphill, minecarts rapidly lose momentum. To counteract this, powered rails need to be placed much more frequently. Ideally, aim for one powered rail every two blocks on an incline to maintain consistent speed. If a slight slowdown is acceptable to conserve resources, you might get away with one powered rail every four blocks, but this will result in a noticeable reduction in speed on the ascent.
- Redstone Automation: Leverage Redstone for smarter rail systems. Detector rails are excellent for activating powered rails only when a minecart approaches, conserving Redstone power and resources compared to constantly powered rails. More advanced automated stations can utilize Redstone logic for features like automatic starting, stopping, and track switching, enhancing convenience and efficiency.
- Diagonal Tracks: While rails are typically placed orthogonally, you can create diagonal tracks. This is achieved by laying rails in a zig-zag pattern, where each rail segment alternates between moving one block forward and one block to the side. When a minecart travels over this zig-zag, it will move in a straight diagonal line, offering more direct routes across your world.
- Efficient Turns: Remember that only standard rails possess the ability to turn corners. Powered rails, detector rails, and activator rails are rigid and can only function in a straight line. When designing turns, always use standard rails, and ensure that any specialized rails are placed on straight sections leading into or out of the curve.
- Mob Transport: Minecarts are surprisingly effective for transporting mobs. This is because most mobs typically do not cross over rails, making it easy to guide them into a minecart and then transport them to a desired location without them wandering off the track.
Common Mistakes to Avoid
Being aware of common errors can save you time and resources during construction.
- Insufficient Powered Rails: One of the most frequent mistakes is not placing enough powered rails. Without adequate boosting, especially on long stretches or inclines, minecarts will inevitably slow down to a crawl or even come to a complete stop, disrupting your travel or transport.
- Unpowered Powered Rails: An unpowered powered rail does not boost a minecart; instead, it acts as a significant brake. Ensure all powered rails intended for boosting are consistently supplied with a Redstone signal, otherwise, they will impede progress.
- Incorrect Rail Placement on Slopes/Curves: Rails have specific limitations. You cannot place a rail that turns and goes upwards simultaneously. Similarly, powered rails, detector rails, and activator rails cannot be placed in circular configurations; they must always be straight. Attempting to force these placements will lead to broken tracks or non-functional segments.
- Rails Not Connecting: Sometimes, rails can connect unexpectedly to adjacent tracks, especially in tight spaces or when building parallel lines. This can lead to minecarts taking unintended detours. Careful placement and, if necessary, temporarily removing nearby rails to ensure correct connections, is crucial.
- Obstructions: Always ensure that your tracks are completely clear of any blocks or entities that could impede minecart movement. Even a single block placed too high or too close to the track can cause a minecart to stop or derail, leading to frustrating delays.
By following these guidelines and understanding the nuances of Minecraft’s rail mechanics, you can construct a highly functional and efficient rail network that seamlessly connects your distant bases, greatly enhancing your gameplay experience.

