Using Waypoints to Navigate Large Worlds — A Quick Guide
Navigating the expansive landscapes of Minecraft is a core aspect of gameplay, and as worlds grow larger, effective location tracking becomes crucial. While dedicated waypoint systems are predominantly found in community-made modifications, vanilla Minecraft provides robust alternatives to help players mark and return to important locations. This guide will explore both modded and vanilla approaches to waypoint usage, offering a comprehensive overview for mastering world navigation.
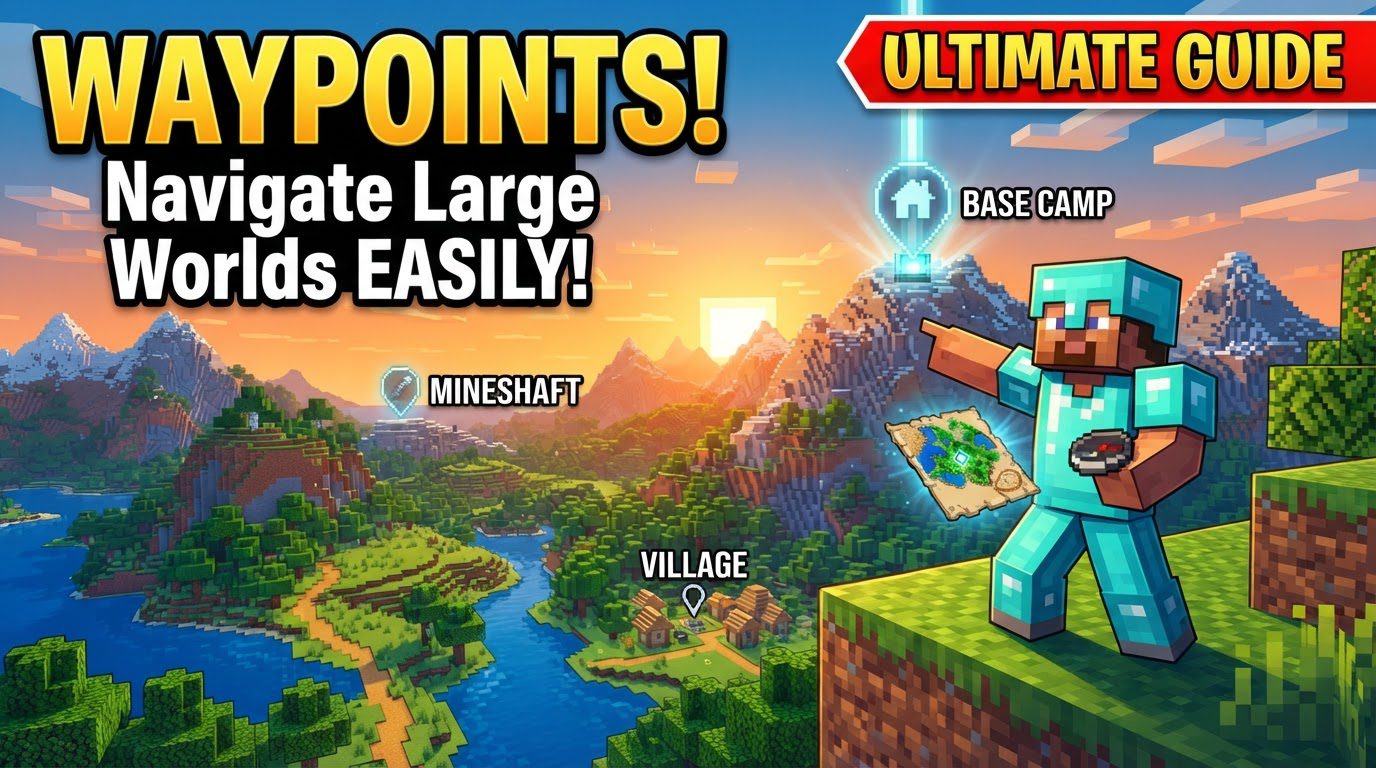
Key Mechanics for Waypoint Navigation
Understanding the fundamental tools available, whether from mods or the base game, is the first step to efficient navigation.
- Modded Waypoints: These systems are designed to offer a streamlined navigational experience.
- They enable players to mark specific coordinates that are typically displayed on an in-game minimap, providing a constant visual reference.
- Waypoints can also manifest as visible indicators directly within the game world, guiding players to their destination.
- Customization is a common feature, allowing players to assign unique names, colors, and icons to their waypoints for easy identification.
- Many mods incorporate advanced functionalities such as automatic death point markers, which save the player’s location upon death, facilitating item recovery.
- Some mods even offer the ability to teleport directly to saved waypoints, though this feature’s availability often depends on server settings.
- Organizational tools like categorizing waypoints or distinguishing between local (area-specific) and global (world-spanning) markers further enhance usability.
- Vanilla Minecraft Alternatives: The base game offers several creative methods to achieve similar navigational assistance without mods.
- Maps: These craftable items provide a top-down view of explored terrain. They can be expanded multiple times to cover increasingly larger areas, making them indispensable for charting your surroundings.
- Banners as Markers (Java Edition): A unique feature in Java Edition allows players to place named banners in the world. When a map is used on such a banner, it creates a custom marker on that map, displaying the banner’s name.
- Coordinates: The F3 debug screen in Java Edition, or the HUD display in Bedrock Edition, shows your current X, Y, and Z coordinates. This provides precise numerical location information, essential for recording important sites.
- Compass: A basic navigational tool, the compass points to the world’s original spawn point. Its utility expands significantly when combined with a lodestone.
- Lodestone: When a compass is used on a lodestone block, it will thereafter point to that specific lodestone, regardless of distance or even dimension (except in the Nether, where regular maps and compasses behave differently unless pointing to a lodestone within the Nether).
- Locator Bar (Java Edition – experimental/commands): A more recent, command-driven feature that allows certain entities, such as armor stands, to be designated as waypoints. These then appear on the player’s locator bar, which replaces the experience bar, offering a constant directional indicator.
Step-by-Step Process for Waypoint Utilization
Here’s how to set up and manage waypoints using both modded and vanilla methods.
- Using Waypoint Mods:
- Install a Preferred Mod: Begin by installing a client-side waypoint mod like Xaero’s Minimap, JourneyMap, or wWaypoints. Ensure it is compatible with your Minecraft version.
- Access Waypoint Interface: Once installed, open the mod’s waypoint creation interface. This is typically done via a hotkey, often ‘B’ or ‘U’ for Xaero’s Minimap, or through a key assigned to the mod’s main menu.
- Input Details and Customize: Provide a descriptive name for your waypoint and choose visual customization options such as its color and icon. This helps in distinguishing different locations at a glance.
- Save Waypoint: Confirm the creation to save the waypoint at your current location. Some mods also allow manual input of coordinates if you wish to mark a distant spot.
- Manage Waypoints: Utilize the mod’s dedicated menu to manage your saved waypoints. Here, you can edit their properties, hide them from your display, or remove them entirely when no longer needed.
- Using Vanilla Maps and Banners (Java Edition):
- Craft an Empty Map: Combine 8 sheets of paper around a compass in a crafting grid to create an empty map.
- Explore to Fill Map: Hold the empty map in your hand and explore the desired area. As you move, the map will fill in with the terrain you traverse.
- Expand Map for Coverage: To cover larger areas, place the filled map into a Cartography Table along with additional paper. This can be repeated up to four times, increasing the map’s scale to cover a maximum area of 2048×2048 blocks.
- Craft and Name a Banner: Craft a banner using wool and a stick. For clear identification, rename the banner using an anvil, giving it a custom label that describes the location (e.g., “Iron Farm,” “Village”).
- Place Banner: Position the named banner at the exact location you wish to mark on your map.
- Mark Map with Banner: While holding the filled map in your hand, right-click on the placed banner. A marker bearing the banner’s custom name will then appear on your map, indicating that specific location.
- Using Vanilla Coordinates and Locator Bar (Java Edition – Commands):
- View Coordinates: Press F3 to open the debug screen and view your current X, Y, and Z coordinates. These precise numbers are vital for noting down important locations for future reference.
- Place Entity for Locator Bar: For a locator bar waypoint, place an entity, such as an armor stand, at the desired location you wish to mark.
- Activate Locator Bar Waypoint: Use the following command to designate the entity as a waypoint:
/attribute @e[type=armor_stand,distance=..2] minecraft:waypoint.transmit_range base set <range>. Adjust the<range>value to control how far away the waypoint is visible on your locator bar, and refine the entity selector (e.g.,type=armor_stand,distance=..2) to target the correct entity.
Important Tips for Effective Navigation
To maximize the utility of your waypoint systems, consider these helpful tips.
- Modded Waypoints:
- Descriptive Naming: Always use clear and descriptive names for your waypoints, such as “Main Base,” “Diamond Mine,” or “Nether Portal.” This prevents confusion when managing many markers.
- Color-Coding: Utilize color-coding features to visually categorize waypoints. For instance, use red for dangerous areas, green for resource veins, and blue for water sources.
- Automatic Death Waypoints: Take full advantage of automatic death waypoints, a common feature in many mods. These save your exact death location, making it significantly easier to recover lost items.
- Local vs. Global: If your mod supports it, use local waypoints for areas you frequently visit within a small radius and global waypoints for significant distant locations to prevent your map from becoming cluttered.
- Multiplayer Sharing: In multiplayer environments, leverage mod-specific sharing functions to easily share important waypoint locations with your teammates, improving group coordination.
- Vanilla Navigation:
- Map Walls: Create impressive “map walls” by arranging multiple adjacent, filled maps in item frames. This constructs a large-scale, interactive representation of your explored world.
- Visible Landmarks: Construct unique and tall structures or towers at key locations. These serve as visible landmarks that can be spotted from a great distance, aiding in visual navigation.
- Smoke Signals: Place campfires with hay bales underneath them to create tall, distinctive smoke signals. These are visible from afar and can act as temporary or permanent beacons.
- Sun and Moon: Remember that the sun and moon consistently rise in the east and set in the west, providing a basic, reliable directional guide throughout your world.
- Compass and Lodestone: A compass is invaluable for returning to your world’s spawn point. To customize its destination, attach it to a lodestone, and it will then point to that specific block, even across dimensions like the Nether (though regular maps won’t work in the Nether).
- F3 Debug Screen: For Java Edition players, regularly checking the F3 debug screen provides precise coordinates, which should be noted down for future reference to mark important natural features or build sites.
Common Mistakes to Avoid
Being aware of potential pitfalls can save you time and frustration during your explorations.
- Modded Waypoints:
- Keybind Conflicts: Be mindful of default keybinds. Some waypoint mods might use keys that conflict with other game functions or other installed mods. Always check and reconfigure your keybinds to avoid issues.
- Teleportation Assumptions: Never assume that waypoint teleportation is always enabled. Server administrators often disable this feature, even if the mod supports it, to maintain gameplay balance.
- Outdated Client Mods: Forgetting to update your client-side mods when playing on multiplayer servers can lead to functionality issues or prevent waypoints from displaying correctly.
- Optifine Display Issues: Some users have reported that Optifine, a popular optimization mod, can occasionally cause problems with waypoints rendering correctly in the game world. If you encounter rendering issues, consider checking mod compatibility or adjusting Optifine settings.
- Vanilla Navigation:
- Neglecting Map Expansion: Initial maps cover only small areas. Failing to expand them for large-world exploration will limit your navigational perspective significantly.
- Excessive Map Expansion: While larger maps cover more ground, they show less detail. Avoid excessively expanding maps for areas where precise detail is required; instead, keep smaller, detailed maps for critical locations.
- Nether Map Usage: Regular maps become distorted and largely unusable in the Nether dimension. Do not rely on them there, unless you are using a compass specifically linked to a lodestone within the Nether.
- Unnamed Banners: Placing banners without renaming them will result in generic markers on your map, making it difficult to identify specific locations at a glance. Always name your banners for clarity.
- Bedrock Edition Limitations: Be aware that the banner-on-map waypoint feature is not as robust or natively available in Bedrock Edition as it is in Java Edition, so Bedrock players will need to rely on other methods.
By understanding and applying these techniques, you can transform the daunting task of navigating vast Minecraft worlds into an efficient and enjoyable experience, ensuring you always find your way back to your most important creations and discoveries.
Tags:
YOU MAY ALSO LIKE...