

Interpreting Chunk Boundaries Using F3 Grid
Understanding the underlying structure of your Minecraft world is a crucial skill for any experienced player. The world is not a single, continuous entity but rather a collection of discrete units known as “chunks.” Interpreting these chunk boundaries, especially with the help of the F3 debug screen, can significantly enhance gameplay, particularly for technical builds, resource gathering, and structure location.
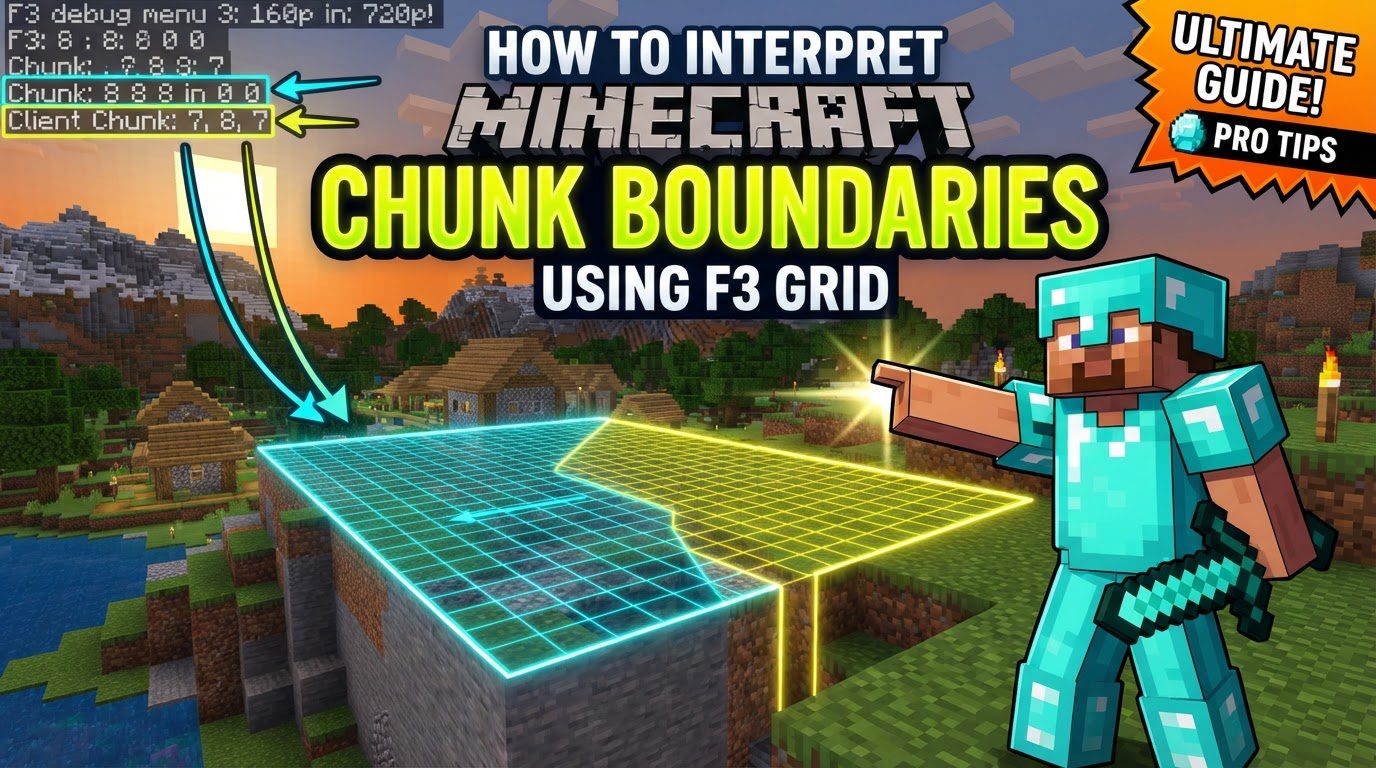
Minecraft worlds are fundamentally divided into these “chunks,” which are precisely defined as 16 blocks wide by 16 blocks long areas. These areas extend vertically throughout the entire buildable height of the world, from bedrock (Y=0) up to the sky limit (which is Y=255 in older versions or Y=320 in more recent updates). This consistent, grid-like division forms the backbone of how the game loads, saves, and processes the world around you.
The F3 debug screen is an invaluable tool that provides a wealth of real-time information about your game environment. Among its many displays, it shows your current coordinates, the direction you’re facing, light levels, and, most importantly for this guide, your current chunk coordinates and local position within that chunk. While the F3 screen provides numerical data, activating the chunk border display offers a direct visual representation of these 16×16 block sections within the game world itself. When toggled on, a grid of lines appears on the ground, clearly outlining the boundaries of these chunks. A key visual cue to note is that the chunk you are currently standing in will have its borders highlighted more prominently than the surrounding chunks, making it easy to identify your immediate operational area. Typically, red lines indicate the edges of surrounding chunks, while other colors like yellow and light blue might form a finer grid within the chunk, potentially indicating vertical sub-chunks or other internal divisions, though the primary focus remains on the 16×16 horizontal segments.
Activating the Chunk Border Display: A Step-by-Step Process
To begin interpreting chunk boundaries, you first need to activate their visual display. This process is straightforward in Minecraft Java Edition:
- First, load into any world in Minecraft Java Edition. This can be a single-player world or a multiplayer server.
- Once in-game, you need to press two keys simultaneously: the
F3key and theGkey on your keyboard. Pressing these together will toggle the chunk borders on or off. - For players using a laptop or a keyboard where the F-keys (F1-F12) have secondary functions (e.g., volume control, screen brightness), you might need an additional step. In such cases, you will typically need to press the
Fnkey in combination withF3 + G(for example,Fn + F3 + G). Some systems might require a slightly different sequence: pressingFn + F3first, then releasing theFnkey before pressingG. Experiment with these combinations if the initial simultaneous press doesn’t work. - Once successfully activated, a distinctive grid of lines will appear on the ground, visually delineating the boundaries of each 16×16 block chunk. As you move around the world, the prominently highlighted chunk (your current chunk) will dynamically change to reflect your current location, providing continuous feedback on which chunk you are occupying.
Why Understanding Chunk Boundaries is Essential
Knowing how to interpret and utilize chunk boundaries is not just a cosmetic feature; it’s a fundamental aspect of advanced Minecraft gameplay. Here are several reasons why this knowledge is crucial:
- Redstone and Farms: For players involved in complex Redstone contraptions or efficient mob farms, understanding chunk boundaries is paramount. These intricate builds often rely on specific game mechanics that are tied to chunk loading and unloading. To function correctly and avoid common issues like parts of the contraption breaking or mobs despawning prematurely, Redstone devices and mob farms frequently need to be entirely contained within a single chunk. If a farm or Redstone circuit crosses a chunk boundary, parts of it might unload while other parts remain active, leading to unpredictable behavior or complete failure. By observing the F3 grid, builders can ensure their creations are perfectly aligned within a single chunk, guaranteeing optimal performance and reliability.
- Structure Finding: Chunk mechanics can also be a significant aid in locating various in-game structures. For instance, when searching for strongholds, the Eyes of Ender that players throw often tend to land on or near chunk borders. Observing these patterns in relation to the F3 grid can help narrow down search areas. Similarly, when hunting for buried treasure, understanding specific chunk coordinates can be invaluable. Some treasure maps or community-discovered patterns might direct players to specific chunk coordinates, which can be precisely identified using the F3 debug screen in conjunction with the visual grid.
- The F3 Debug Screen’s “Chunk” Line: Beyond the visual grid, the F3 screen itself provides crucial numerical information. Look for the line labeled “Chunk” or similar. This line displays your local coordinates within the current chunk (ranging from 0 to 15 for both the X and Z axes) as well as the chunk’s global coordinates. For example, if your local X coordinate is 0, you are on the westernmost edge of the chunk, and if it’s 15, you are on the easternmost edge. This detailed information allows you to pinpoint your exact position within a chunk with block-level precision, which is vital for precise building or positioning.
-
Reload Chunks (`F3 + A`): While not directly related to interpreting boundaries, the ability to reload chunks is a useful supplementary command. By pressing
F3 + A, you can force the game to reload all chunks around your current position. This can be beneficial for resolving visual glitches, updating chunk-related information that might not have refreshed automatically, or ensuring that all game mechanics within loaded chunks are properly re-initialized.
Common Mistakes to Avoid
While activating and using the F3 chunk grid is generally straightforward, players can sometimes encounter issues. Being aware of these common mistakes can help troubleshoot problems quickly:
-
Incorrect Keybinds: The most frequent issue is not pressing
F3andGat the exact same time, or overlooking the need to use theFnkey on specific keyboards (e.g., laptops). If the chunk borders don’t appear, double-check your key press technique and consider the `Fn` key if applicable to your hardware. - “Reduced Debug Info”: If the chunk borders or other detailed information from the F3 screen isn’t showing up as expected, it’s possible that “Reduced Debug Info” is enabled. This setting limits the amount of information displayed on the F3 screen. To resolve this, you need to check your game’s chat settings or accessibility options to ensure “Reduced Debug Info” is turned off. Additionally, on multiplayer servers, a server-side gamerule could be set to disable this detailed information for all players, in which case you would need to contact the server administrator.
-
Mod Conflicts: Many Minecraft players use client-side mods to enhance their experience. If you are using mods, it’s possible that another mod might be displaying its own version of chunk borders. These mod-specific displays might appear on a different keybind (such as `F9` for some popular utility mods) and could be confused with the vanilla
F3 + Gfunctionality. Always ensure you are using the correct keybind for the vanilla chunk border display if that is what you intend to use, and be mindful that modded overlays might override or interfere with the default display.
By mastering the use of the F3 debug screen and its chunk border overlay, players gain a deeper understanding of their Minecraft world, unlocking new possibilities for efficient building, exploration, and technical gameplay.

