

Building a Bridge in Minecraft Using Slabs and Stairs — A Quick Guide
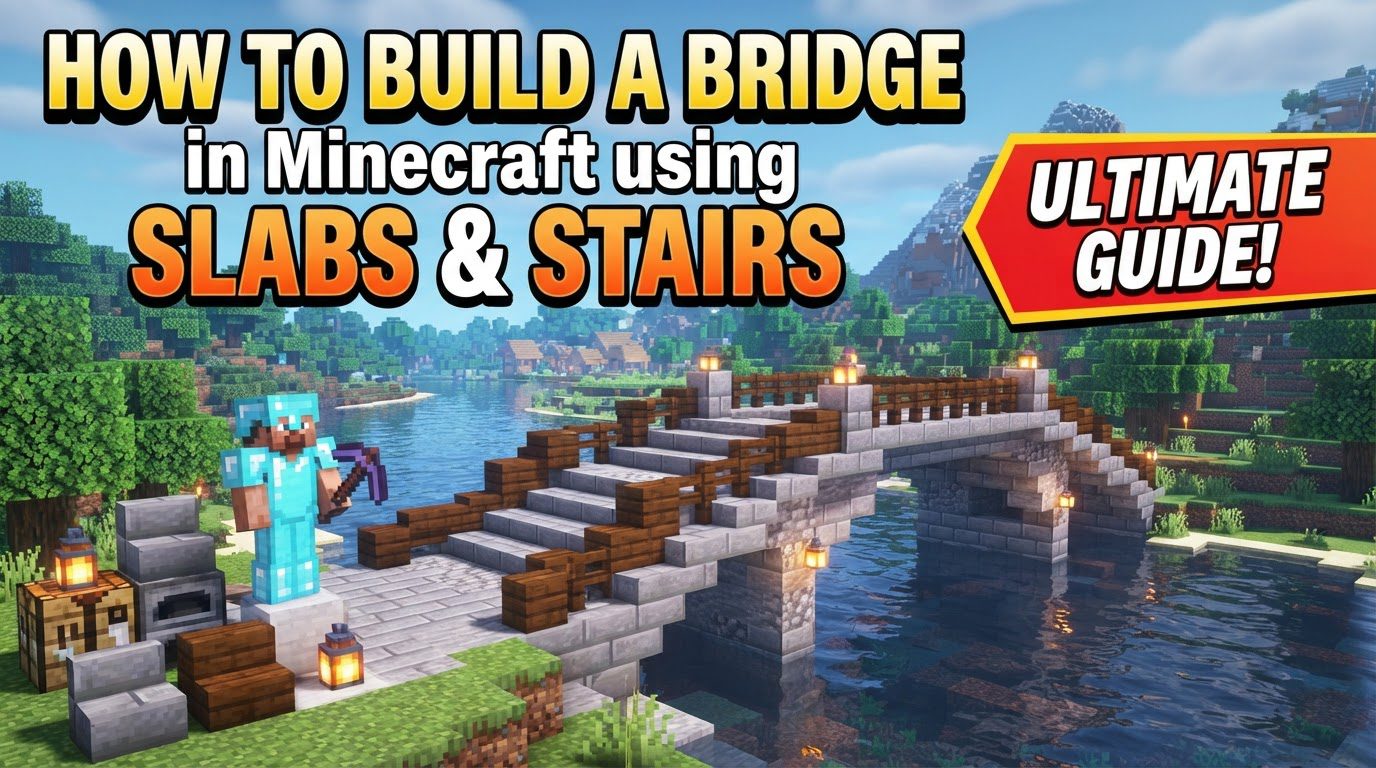
Building functional and aesthetically pleasing bridges in Minecraft is a rewarding endeavor that significantly enhances your world’s traversability and visual appeal. While simple bridges can be constructed with full blocks, true architectural artistry and realism come from mastering the use of slabs and stairs. These versatile blocks are indispensable tools for any builder looking to transcend basic designs and create structures that seamlessly integrate with their environment.
Understanding Key Mechanics
The secret to crafting intricate and visually engaging bridges lies in the unique properties of slabs and stairs. These blocks offer unparalleled flexibility, allowing for designs that are both structurally sound and visually dynamic.
-
Slabs: Slabs are half-block height variations, enabling smoother inclines, gradual curves, and more detailed pathways than full blocks. Their reduced height allows for finer control over the bridge’s profile, making it less bulky and more refined.
-
Stairs: Stairs provide angled blocks, crucial for creating sloped effects and elegant arches. They add depth and texture to a bridge’s structure and railings, offering varied patterns and dimensions that full blocks cannot replicate, thus enhancing visual complexity.
-
Combination Power: The real power emerges when slabs and stairs are combined. This synergy allows for intricate architectural details that would be impossible with full blocks alone. By leveraging their different shapes and placement options, builders can craft more realistic, less blocky designs, moving beyond the game’s inherent cuboid nature to suggest curves and complex forms.
-
Versatile Placement: Both slabs and stairs boast excellent placement versatility. They can be placed in various orientations, such as upside down, which is particularly useful for creating diverse shapes, supports, and effects. Upside-down stairs, for instance, are perfect for forming the underside of arches, while upside-down slabs can extend the base of a support beam or create subtle overhangs.
Step-by-Step Bridge Construction
Building a bridge using slabs and stairs involves a methodical approach, starting with foundational planning and progressing to fine detailing. Follow these steps to construct your next masterpiece:
-
Plan Location and Length: Before placing a single block, carefully consider where your bridge will span. Determine the exact length required to connect two points, taking into account any elevation changes. Visualizing the final structure in your mind or even sketching a rough plan can save time and resources later. This initial planning phase is crucial for ensuring the bridge serves its purpose effectively and fits harmoniously within its surroundings.
-
Lay Foundation/Pillars: Begin by establishing the foundational supports for your bridge. For shorter spans, this might just involve starting the pathway. For longer or more elaborate bridges, you’ll need to construct sturdy pillars. These pillars should extend down to the ground or water level, providing visible and aesthetic support. The material chosen for these foundations can set the tone for the entire bridge, so select wisely, considering strength and visual appeal.
-
Create the Pathway: With the foundation in place, construct the main walking surface of your bridge. This often begins with full blocks to establish the primary width and stability. However, to achieve a smoother path or to introduce a gentle arch, start incorporating slabs. By placing slabs at different heights, you can create a gradual incline or a subtle curve that is far more pleasing to traverse than a series of abrupt full-block steps. Consider the primary material for the pathway here, as it will be the most visible part of the bridge.
-
Add Arches/Supports (Optional): For bridges that aim for structural integrity and visual grandeur, adding arches or additional supports underneath the main pathway is highly recommended. This is where stairs and slabs truly shine. Use stairs to form the primary curve of an arch, placing them right-side up and then upside down to create a smooth, continuous arc. Slabs can then be used to fill in gaps or extend the arch’s base, connecting it seamlessly to the pillars. This technique provides significant visual support, making even very long bridges appear stable and well-engineered.
-
Build Railings: Safety and aesthetics go hand-in-hand when it comes to railings. Incorporate fences, walls, or a creative combination of stairs and slabs to create a secure barrier that prevents accidental falls. Stairs can be placed upright or upside down to create varied patterns, while slabs can form a lower lip or a cap for the railing. Experiment with different materials and designs to ensure the railings complement the overall style of your bridge and provide sufficient protection.
-
Detail and Decorate: The final stage involves adding the finishing touches that elevate your bridge from functional to fantastic. Enhance the structure with additional blocks such as different types of wood, stone, or even glazed terracotta for unique patterns. Trapdoors can be used for intricate decorative elements on railings or supports. Crucially, integrate lighting elements like torches, lanterns, or glowstone at regular intervals. This not only ensures safety by illuminating the path at night but also significantly enhances the bridge’s appearance, making it a prominent feature in your Minecraft world.
Important Tips for Bridge Building
Beyond the core construction steps, several expert tips can help you refine your bridge designs and avoid common pitfalls, leading to truly exceptional creations.
-
Vary Block Types: A common mistake is to use a single material throughout the entire bridge. To add texture, depth, and visual interest, consciously incorporate a mix of block types. For instance, combine different wood types (oak planks for the path, spruce logs for supports) or stone variants (cobblestone for pillars, stone bricks for the pathway, andesite for details). This variation breaks up monotony and provides a more realistic, weathered, or ornate appearance.
-
Add Depth: Flat, two-dimensional designs often look uninspired. Actively strive to add depth to your bridge by incorporating blocks that stick out or are set back from the main structure. Utilize the different planes offered by stairs and slabs; an upside-down stair under a regular stair can create a subtle overhang, or slabs can be used to create recessed panels along the side. This technique adds shadows and highlights, making the bridge feel more robust and three-dimensional.
-
Ensure Symmetry: For a balanced and aesthetically pleasing look, especially with complex arched designs, aim for symmetry. Build both ends of the bridge simultaneously or at least frequently compare them to ensure they mirror each other. This is vital for arches, where a slight deviation can make the entire structure appear lopsided. While perfect symmetry isn’t always necessary for organic builds, for bridges, it often conveys stability and thoughtful design.
-
Consider the Surroundings: A bridge should not exist in isolation. Integrate it seamlessly with the landscape by terraforming the land around its approaches. Smooth out jagged edges, add natural-looking slopes, or even plant trees and foliage to make the bridge feel like a natural extension of its environment rather than an abrupt intrusion. This attention to context significantly enhances the overall appeal of your build.
-
Lighting: Proper lighting serves both functional and aesthetic purposes. Place torches, lanterns, or other light sources at regular intervals along the pathway, on railings, or at the base of pillars. This ensures safety by illuminating the path and deterring hostile mobs at night. Aesthetically, lighting can highlight architectural details and create a warm, inviting glow, making the bridge an attractive feature even after dark.
-
Experiment: Minecraft is a sandbox game, and building is an iterative process. Don’t be afraid to change elements during construction. If a design choice isn’t working, break it down and try something new. It doesn’t need to be perfect on the first try, and often, the most creative solutions come from trial and error. Save your world often, or even make copies, to allow for bold experimentation without fear of permanent mistakes.
-
Trapdoors for Detail: Trapdoors are surprisingly versatile for adding intricate details. Utilize them for decorative railings, creating a more open or intricate barrier than solid blocks. They can also add extra detail to arches, acting as small braces or decorative patterns. When placed strategically, trapdoors can create a more integrated and polished look, breaking up large surfaces and adding visual complexity.
Common Mistakes to Avoid
Even experienced builders can fall into certain traps. Being aware of these common mistakes can help you create more sophisticated and engaging bridge designs from the outset.
-
Flat Builds: One of the most prevalent errors is creating a bridge that lacks depth and dimension. Not adding enough variation in block placement, where elements stick out or are set back, results in a structure that appears two-dimensional and uninteresting. This makes the bridge look less like a robust structure and more like a simple flat path, failing to leverage the 3D nature of Minecraft.
-
Monotonous Materials: Relying solely on one type of block for the entire bridge is another common pitfall. A bridge constructed entirely from, for example, oak planks, will look bland and simplistic. This lack of material variation prevents the bridge from having texture, contrast, or visual interest, making it forgettable. Incorporating different materials adds layers of detail and realism.
-
Lack of Structural Support (Visual): While Minecraft physics don’t always require realistic support, a bridge that appears to float without any visible means of support can look unrealistic and jarring. This is especially true for longer spans. Even if not functionally necessary, adding pillars, arches, or suspension elements provides visual credibility and makes the bridge feel more grounded and believable within the game world.
-
Ignoring Context: Building a magnificent bridge that completely clashes with its surrounding terrain or the established architectural style of your base is a significant oversight. A high-tech, futuristic bridge in a medieval village, or a rustic wooden bridge spanning a futuristic city, will look out of place. Always consider the biome, the existing structures, and the overall aesthetic you’re aiming for to ensure your bridge enhances, rather than detracts from, your world.
By thoughtfully integrating slabs and stairs into your bridge designs, you unlock a new realm of creative possibilities in Minecraft. These blocks are not merely decorative; they are fundamental to crafting structures that are not only functional but also rich in architectural detail, depth, and character. Embrace experimentation, pay attention to context, and leverage the unique properties of these versatile blocks, and you’ll soon be building bridges that are truly masterpieces of engineering and design within your Minecraft world.

