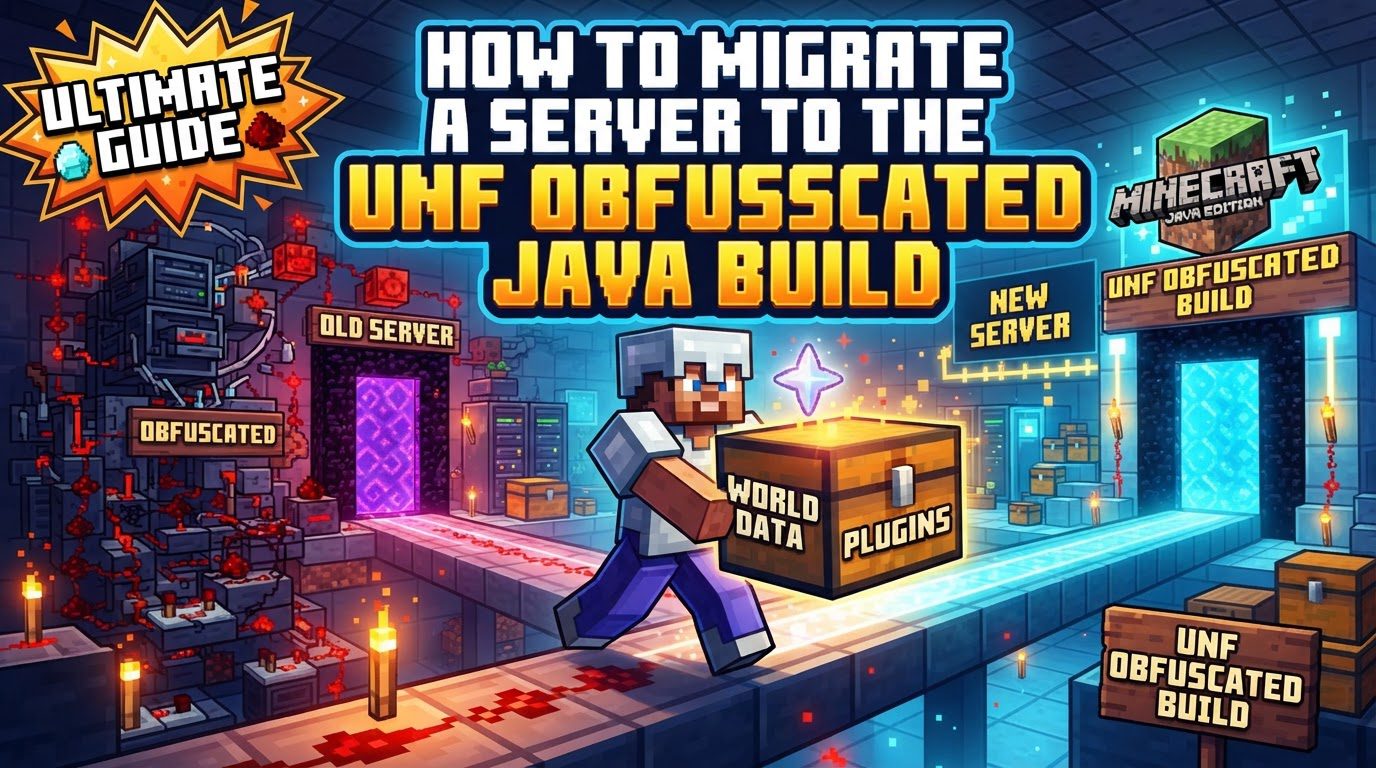
Migrating a Server to the Unobfuscated Java Build (Step by Step)
Migrating a Minecraft server to a new host or even just a new directory can seem like a daunting task, but it primarily involves careful file management and configuration. The recent shift by Mojang towards releasing Minecraft: Java Edition with unobfuscated code introduces an exciting new era for modding and server development. While this change profoundly impacts how server software and mods are created and interact with the game’s code, the fundamental process of moving your existing server’s data – including your cherished worlds, player data, and configurations – remains largely consistent with traditional Minecraft server migration. This guide will walk you through the essential steps to ensure a smooth transition for your server, keeping in mind the broader context of the unobfuscated Java build.
Key Mechanics of the Unobfuscated Java Build
The release of Minecraft with unobfuscated Java code represents a significant development for the community, particularly for those involved in server management and mod development. Understanding these underlying changes helps contextualize why certain migration steps are crucial, especially for modded servers.
- Unobfuscated Code: Mojang is now releasing Minecraft: Java Edition with its original, human-readable names for variables, fields, methods, and classes. This means that instead of cryptic, shortened names, developers will see clear, descriptive identifiers directly from Mojang. This transparency makes understanding and interacting with the game’s internal workings significantly easier for mod developers and server software creators.
- Impact on Modding Tools: Historically, modding tools like Fabric and Forge relied heavily on community-maintained mappings (such as Yarn or Intermediary) to translate the obfuscated, hard-to-read code back into something understandable. With unobfuscated code, these tools will adapt to directly use Mojang’s official, human-readable names. This streamlines the development process for mod loaders and the mods themselves, reducing the complexity involved in maintaining compatibility across game versions.
- Simplified Development: A major benefit for modders is the elimination of the need to “de-obfuscate” the game’s code. This step previously added a layer of complexity and delay to mod development. Now, modders can work directly with clear code, leading to quicker updates for mod loaders and APIs following new game releases. Furthermore, crash logs will become far more readable, providing clearer insights into issues and accelerating debugging efforts for both server administrators and mod developers.
- No Direct Server Change (for vanilla): It is crucial to understand that for a vanilla Minecraft server, the “unobfuscated Java build” does not fundamentally alter the server migration process itself. The core steps of moving your world, player data, and configuration files remain identical to any other server migration. The change is primarily about the underlying game code that the server runs, which becomes relevant when discussing mod compatibility and server software development, rather than the physical transfer of files.
Step-by-Step Process: General Server Migration
Regardless of the underlying obfuscation status of the Java build, the process of migrating your server’s data is a critical operation that requires careful execution. These steps are designed to ensure the integrity of your server’s valuable data during transfer.
- Backup Everything: Before initiating any changes or file transfers, the absolute first and most critical step is to create a complete and comprehensive backup of your existing server files. This includes not only your world folders but also all configuration files, plugin/mod directories, and any custom scripts. This backup serves as your ultimate safety net, allowing you to restore your server to its previous state should any unforeseen issues arise during the migration.
- Stop the Old Server: To prevent data corruption, it is imperative that your current Minecraft server is completely shut down before you begin copying or transferring any files. Running a server actively writes and modifies files, and attempting to copy them while in use can lead to incomplete or corrupted data. Announce scheduled downtime to your player community in advance to minimize disruption and manage expectations.
- Identify Key Files: Successfully migrating your server hinges on identifying and including all essential directories and files. Focus on these core components:
- World Folders: These are typically named
world,world_nether, andworld_the_endfor vanilla servers, or variations thereof depending on your server software (e.g., Paper, Spigot) or multi-world plugins. These folders contain all your map data, player builds, and inventories. - Plugins/Mods Folder: This directory holds all your custom features and modifications. For Bukkit/Spigot/Paper servers, it’s usually named
plugins. For Forge or Fabric servers, it’s typically namedmods. Ensure you gather all relevant files within this folder. - Configuration Files: Essential server settings are stored in files such as
server.properties, which controls server-wide settings,whitelist.jsonandops.jsonfor player permissions, and any specific configuration files for your plugins or mods. These define how your server operates. - Player Data: While often located within the world folders (e.g., in the
playerdatasubfolder), some server setups or plugins might store player-specific information in separate files. Ensure all player-related data, including inventories, statistics, and advancements, are included.
- World Folders: These are typically named
- Compress Files: Once all necessary files and folders have been identified and gathered, archive them into a single compressed file, such as a
.zipor.tar.gz. This step is crucial because transferring one large compressed file is significantly faster, more reliable, and less prone to errors than moving thousands of individual small files, especially over network connections. - Set Up New Environment: Prepare your new server host or Virtual Private Server (VPS). It is critical to ensure that the new environment has the exact same Minecraft server version and Java version installed as your old server. Discrepancies can lead to startup failures or instability. If you are running a modded server, explicitly select and install the correct mod loader version (e.g., Forge, Fabric) and the specific mod pack version that matches your existing setup on the new host.
- Transfer Files: Upload the compressed archive (the
.zipfile you created) from your local machine or old server to your new server environment. For larger files, especially those exceeding 500MB, using a secure file transfer protocol (SFTP) client is highly recommended due to its efficiency and reliability compared to standard FTP. - Extract Files: Once the compressed file has been successfully transferred to your new server, unarchive or extract its contents. Ensure that the files are extracted into the appropriate directory, typically the root directory where your server executable (e.g.,
server.jar) will reside, or into a designated server folder. - Configure New Server: After extraction, take the time to configure your new server instance.
- First, verify that the
level-nameproperty within yourserver.propertiesfile precisely matches the name of your uploaded world folder. An exact match is essential for the server to load your existing world rather than generating a new one. - Secondly, adjust any other server settings as needed for the new environment. This might include updating the server’s port, memory allocation, or, if you are self-hosting, configuring port forwarding on your router to allow external players to connect.
- First, verify that the
- Start and Test: With configurations in place, start your new Minecraft server. Closely monitor the server console for any error messages during startup. Look for a “done” message, which indicates that the server has successfully loaded. Once it’s running, log in to the server using an administrator account. Thoroughly test key functionalities: check your inventory, verify that your builds and world structures are intact, and ensure that plugins and mods are loading and functioning correctly.
- Update Players: After you have thoroughly tested the server and confirmed that everything is working as expected, provide your player base with the new IP address or domain name. Clearly communicate the successful migration and any changes they might need to be aware of.
Important Tips
Adhering to these best practices will significantly reduce the risk of issues during your server migration.
- Create Backups Regularly: Beyond the migration-specific backup, make it a habit to back up your server data frequently. Regular backups are your best defense against data loss due to corruption, accidental deletion, or hardware failure, not just during migrations.
- Match Versions: Always ensure that the Minecraft server version (e.g., 1.20.1) and the Java Development Kit (JDK) version (e.g., Java 17) are identical on both your old and new hosts. For modded servers, consistency extends to the mod loader versions (Forge/Fabric) and the specific versions of all installed mods and mod packs. Mismatched versions are a leading cause of server startup failures.
- Stop the Server: This cannot be stressed enough: never, under any circumstances, attempt to copy or move server files while the server process is still running. Doing so can lead to corrupted files, incomplete transfers, and ultimately, an unplayable world or server instance. Always perform a clean shutdown.
- Use Compression: Leveraging compression tools to zip or tar your server files before transfer is highly beneficial. It dramatically speeds up the upload and download process, especially over slower internet connections, and helps maintain file integrity by bundling all relevant data into a single package.
- Check
server.properties: After transferring your files, meticulously double-check thelevel-nameproperty in yourserver.propertiesfile. This name must exactly match the folder name of your world. If there’s a mismatch, the server will assume no world exists with that name and will proceed to generate a brand new, empty map, causing significant data loss. - Console Monitoring: During the initial startup of your migrated server, keep a close eye on the server console. It provides real-time feedback on the loading process, highlighting any errors or warnings. A “done” message typically signifies a successful startup, but any preceding errors should be investigated.
- Update Mods/Plugins: If you are migrating to a new Minecraft version that aligns with the unobfuscated Java build, your existing mods and plugins might require updates. Mod developers will be adapting their creations to be compatible with the new code structure. Check for updated versions from their respective developers, as older versions might not function correctly or might cause crashes on the new game build. Modding tools themselves are also being updated to support this transition seamlessly.
- Consider a Maintenance Window: To minimize negative impact on your player base, plan your server migration during a period of low player activity. Announce a maintenance window in advance, giving players ample notice of the expected downtime. This professional approach helps manage expectations and reduces frustration.
Common Mistakes to Avoid
Being aware of potential pitfalls can help you steer clear of common issues that arise during server migration.
- Not Backing Up: This is unequivocally the most critical mistake. Without a recent and complete backup, any error during migration, such as accidental deletion or corruption, can result in irreversible data loss. Always prioritize creating a backup.
- Copying Files While Server is Running: As previously mentioned, attempting to transfer files from an active server is a recipe for disaster. It frequently leads to corrupted worlds, incomplete plugin data, and other critical errors that can prevent your server from starting or functioning correctly.
- Incorrect World Name in
server.properties: A common oversight is failing to ensure thelevel-nameinserver.propertiesprecisely matches your world folder’s name. This mistake will cause the server to generate a new, empty world instead of loading your existing one, effectively losing all your progress. - Forgetting Plugins/Mods/Config Files: Only moving the world folder means you will lose all your custom features, server-wide settings, and player permissions. Always remember to include the
pluginsormodsfolder and all relevant configuration files specific to your server setup. - Mismatched Minecraft/Java Versions: Running your server on an incompatible Minecraft version or Java environment is a frequent cause of startup failures or severe instability. Always verify and match these versions between your old and new server hosts.
- Not Opening Ports: If you are self-hosting your Minecraft server, a common mistake is neglecting to correctly configure port forwarding on your router. Without the appropriate ports (default is 25565) open and directed to your server’s local IP address, external players will be unable to connect.
- Insufficient RAM: Minecraft servers, especially modded ones or those hosting many players, can be memory-intensive. Failing to allocate enough RAM (Random Access Memory) to the Java Virtual Machine (JVM) running the server can lead to startup failures, frequent crashes, or extremely poor performance and lag for players.
Tags:
YOU MAY ALSO LIKE...