Setting Up a Heated Basin for Create Recipes
The Create mod for Minecraft introduces a vast array of intricate automation possibilities, and among its most powerful components is the Basin system, particularly when enhanced with heat. A Heated Basin is indispensable for a variety of advanced crafting recipes, allowing for complex mixing and processing that would otherwise be impossible. This guide will walk you through the comprehensive setup of a Heated Basin, detailing its mechanics, necessary components, and best practices to ensure your automated production lines run smoothly and efficiently.
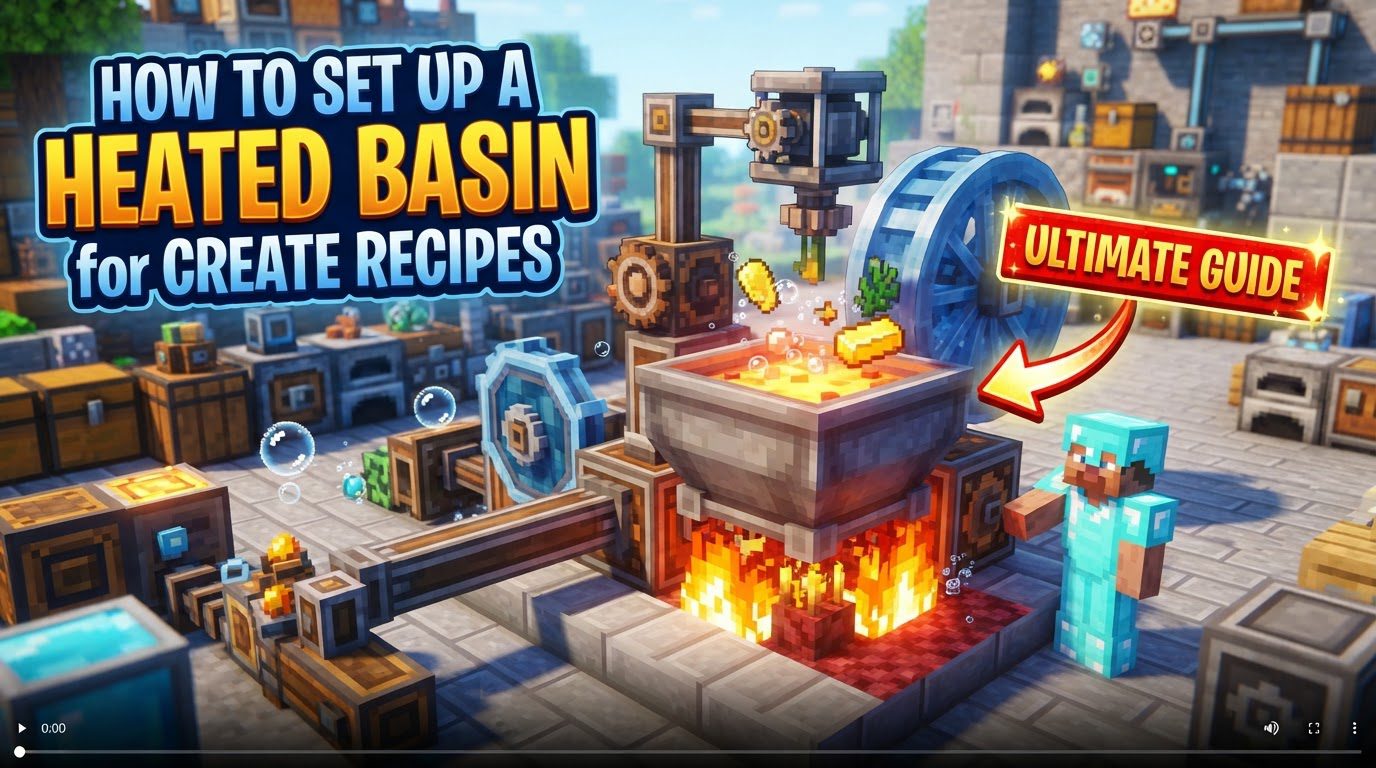
Understanding the Core Mechanics of a Heated Basin
At its heart, a Heated Basin functions as a specialized crafting station that requires an external heat source to perform certain recipes. The primary and most common method for imparting heat to a Basin is by placing a Blaze Burner directly underneath it. This synergistic placement allows the Blaze Burner to transfer its thermal energy upwards, enabling the Basin to process recipes that specifically call for heat.
Blaze Burners themselves are dynamic entities with three distinct operational states, each dictating the level of heat provided to the Basin:
- Smouldering: This is the default state of a Blaze Burner when it contains a Blaze but has not been fueled. In this state, it provides no active heat for mixing recipes, rendering it unsuitable for any heat-dependent processes.
- Heated/Kindled: To achieve this state, the Blaze Burner must be fed with any standard furnace fuel. Once heated, the Basin above it can perform recipes that specifically require a ‘Heated’ environment. This unlocks a significant portion of Create’s advanced mixing capabilities.
- Super-Heated/Seething: This is the highest heat state, attained by feeding the Blaze Burner a Blaze Cake. A Super-Heated Blaze Burner enables all possible mixing recipes, including those that demand extreme temperatures, such as the crucial process for creating Brass. This state is essential for end-game automation.
Beyond the fundamental Blaze Burner, an alternative heating mechanism exists for those utilizing the “Create: Power Grid” addon. This addon introduces the Basin Heater, an electrical component that offers a more automated and potentially scalable heating solution. The Basin Heater activates and begins providing heat to the Basin when supplied with at least 162 Volts of electricity. To reach the powerful Super-Heated state, it requires a higher input of 231 Volts. This electrical option provides a distinct advantage for players who have established robust power grids within their Minecraft worlds.
Regardless of the heating method, the Basin itself operates in conjunction with other Create machinery. For mixing recipes, a Mechanical Mixer is typically positioned two blocks directly above the Basin. For compacting or packing recipes, a Mechanical Press would be used in a similar overhead configuration. The focus of this guide, however, is primarily on the heated mixing processes.
Step-by-Step Setup of Your Heated Basin System
Constructing an efficient Heated Basin system involves several key steps, ensuring each component is correctly placed and configured for optimal performance:
-
Place the Basin: Begin by placing a Basin in your desired location. Consider its accessibility for input and output mechanisms, as well as its integration into your broader automation network.
-
Position the Blaze Burner: Directly beneath the newly placed Basin, place a Blaze Burner. This precise vertical alignment is crucial for heat transfer. Ensure there are no intervening blocks between the Burner and the Basin.
-
Populate the Blaze Burner: A Blaze Burner is inert without a Blaze residing within it. To achieve this, right-click an Empty Blaze Burner (crafted previously) on a live Blaze mob or a Blaze Spawner. The Blaze will be captured, and the Burner will activate, initially in a Smouldering state.
-
Fuel the Blaze Burner for Heat: To enable heated recipes, you must fuel the Blaze Burner. For the ‘Heated’ state, simply feed it any standard furnace fuel, such as coal, charcoal, or wood. For the ‘Super-Heated’ state, which is vital for advanced recipes like Brass, you must provide a Blaze Cake. The chosen fuel will determine the maximum heat level the Basin can achieve.
-
Install the Mechanical Mixer (for Mixing Recipes): If your intention is to perform mixing recipes, place a Mechanical Mixer two blocks directly above the Basin. This ensures it can correctly interact with the Basin’s contents. The Mixer’s arms should hang down into the Basin area.
-
Provide Rotational Power to the Mixer: The Mechanical Mixer requires rotational power to operate. Connect a kinetic source (such as gearboxes, shafts, or directly from a water wheel or steam engine) to the Mixer. For most mixing recipes, a speed of at least 128 Stress Units (SU) is required. Insufficient power will prevent the Mixer from functioning correctly or at all.
-
Add Ingredients to the Basin: Finally, introduce the necessary ingredients for your recipe into the Basin. Create offers a multitude of input methods:
- Hoppers: Simple item input from above or the sides.
- Funnels: More controlled item input, often used for filtering.
- Chutes: Gravity-fed item input from above.
- Fluid Pipes: Essential for transferring liquids into the Basin.
- Deployers: Can be configured to place items or blocks into the Basin, offering precise control.
Important Tips for Optimization and Control
To maximize the efficiency and reliability of your Heated Basin setup, consider these valuable tips:
- Automated Fueling: Manually fueling Blaze Burners can be tedious. Automate this process by using Deployers or Mechanical Arms to feed furnace fuel or Blaze Cakes into the Blaze Burner. Deployers can be placed adjacent to the burner and configured to right-click with fuel, while Mechanical Arms offer more flexibility in picking up and placing items.
- Basin Storage Capacity: Be mindful of the Basin’s internal storage limits. Each Basin can hold up to 16 individual stacks of items and up to 1000 mB (millibuckets) of any given fluid. Plan your input rates accordingly to prevent backups or overflows.
- Output Direction Control: Basins have a default output direction, but this can be easily modified. Use a Wrench on the Basin to rotate its output direction. This is particularly useful when you have multiple potential destinations for processed materials, allowing you to direct outputs precisely where they are needed.
- Recipe Filtering: To prevent unintended recipes from being performed, or to dedicate a Basin to a specific process, utilize the Basin’s filter slot. Right-click on the filter slot with the desired output item of your intended recipe. This will restrict the Basin to only attempting that specific recipe, enhancing reliability in complex setups.
- Basin Heater Power Delivery: If you are using the “Create: Power Grid” addon’s Basin Heater, ensure it receives consistent power. Connect it to your electrical grid using a Device Connector or directly with a Cord to provide the necessary Volts for its operation.
Common Mistakes to Avoid and Troubleshooting
Even seasoned players can encounter issues. Being aware of common pitfalls can save you significant debugging time:
- Incorrect Heat Source: Do not attempt to use passive heat sources like regular fire blocks or lava for recipes that explicitly require a Blaze Burner. These methods do not provide the specific ‘Heated’ or ‘Super-Heated’ properties necessary for Create recipes, especially critical ones like making Brass. Always use a properly fueled Blaze Burner or a Basin Heater.
- Insufficient Rotational Stress: A common oversight is providing inadequate rotational power to the Mechanical Mixer. Ensure your power train is robust enough to deliver at least 128 SU to the Mixer. If the mixer appears to be struggling or not operating, use Engineering Goggles (worn by the player or placed on an encased fan) to inspect the Stress Units (SU) and speed of your rotational network. This will quickly identify bottlenecks.
- Misconfigured Filters: Incorrectly set filters on the Basin can lead to recipes failing to start, even if all ingredients are present. If a recipe isn’t activating, double-check that the filter is set to the correct output item, or remove it entirely if you want the Basin to attempt any possible recipe. Unwanted outputs can also occur if filters are too broad or not set at all.
- Fluid System Issues: When working with fluid-based recipes, fluid input and output can be problematic. Verify that fluid pumps are oriented correctly, pushing fluid in the intended direction. Additionally, ensure that all fluid transport mechanisms are within loaded chunks; chunk loading problems can halt fluid flow and consequently, your Basin recipes.
- Handling Non-Consumed Items: Some recipes in Create involve items that are not fully consumed in the process. Standard output methods might cause the system to jam if these items accumulate. To manage this, consider using filtered funnels, such as Brass Funnels, for output. Configure these funnels to only allow specific output items, while automatically returning any unconsumed ingredients back into the Basin for reuse in the next cycle. This creates a closed-loop system for efficiency.
By meticulously following these guidelines and understanding the nuances of each component, you can establish a highly effective and reliable Heated Basin setup in your Minecraft world. This will unlock a new realm of automated possibilities, from basic mixing to the creation of advanced materials like Brass, propelling your Create contraptions to new heights of complexity and automation.
Tags:
YOU MAY ALSO LIKE...