Using a Mechanical Arm to Transfer Items Between Blocks (Step by Step)
The Mechanical Arm, a sophisticated device from the Create mod in Minecraft, stands as a cornerstone for advanced item automation. It offers unparalleled flexibility in transferring items between various blocks, making it an indispensable component for complex contraptions, automated crafting arrays, and intricate sorting systems. Understanding its mechanics and proper setup is crucial for any aspiring automation engineer in the world of Create.
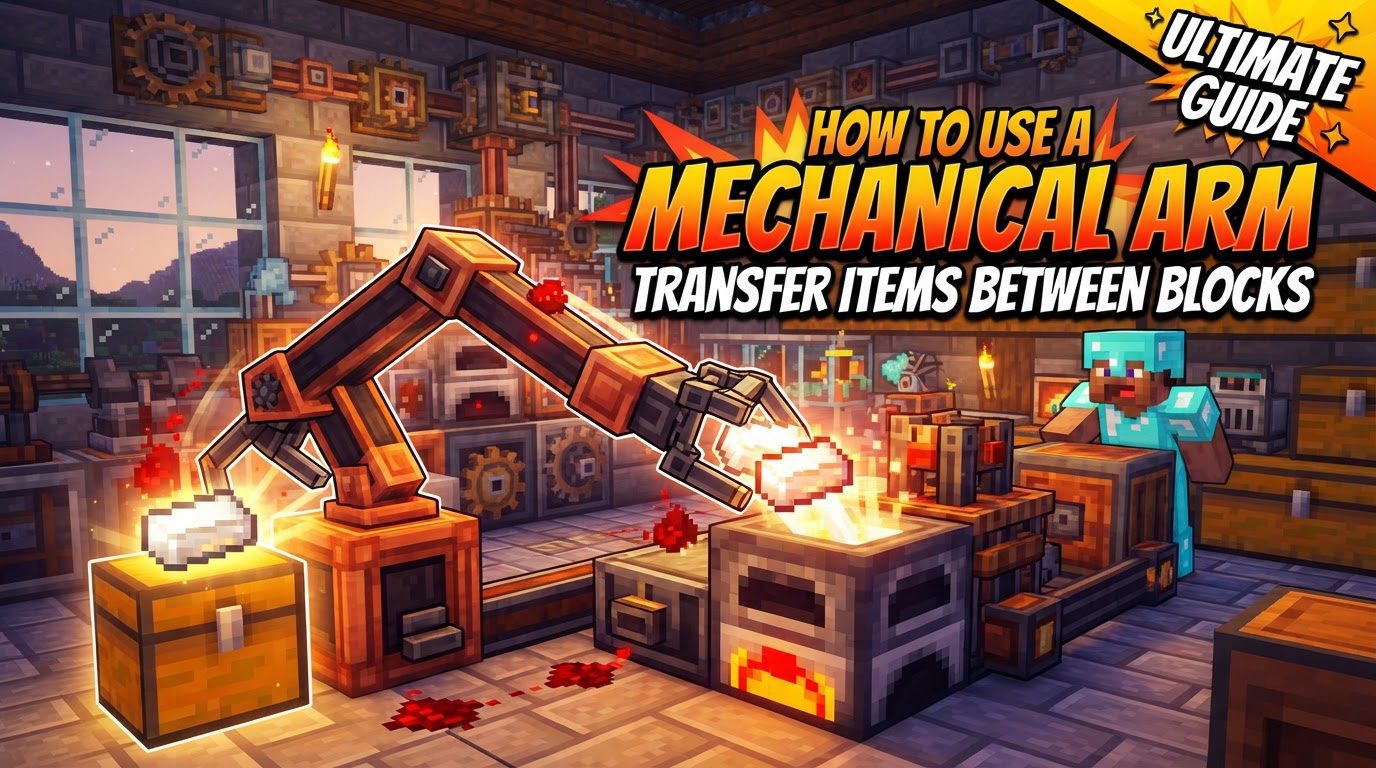
Key Mechanics of the Mechanical Arm
The Mechanical Arm is designed for precise and efficient item handling. Its core functionalities revolve around its range, transfer capacity, operational logic, and interaction capabilities.
- Operational Radius: The arm can pick up and deposit items within a 5-block radius from its placed position. This range is a fundamental constraint that dictates the placement of the arm relative to its intended input and output inventories. It’s worth noting that this radius can be adjusted in the mod’s configuration files, offering greater flexibility for those who wish to customize their gameplay experience.
- Transfer Capacity: When active, the Mechanical Arm is capable of transferring up to a full stack of items at once. This high throughput makes it efficient for moving large quantities of materials quickly, reducing bottlenecks in high-volume production lines.
- Operation Order: A critical aspect of the arm’s behavior is how it prioritizes its tasks. The sequence in which interaction points (input and output blocks) are selected during the initial setup directly determines the arm’s operational order. This means careful planning during selection is vital for ensuring items flow precisely as intended through your automated systems.
- Power Requirement: Like many devices in the Create mod, the Mechanical Arm requires rotational power to function. This power is typically supplied by attaching it to a Cogwheel or another compatible power source within your contraption. Without adequate rotational force, the arm will remain inert.
- Configurable Modes: The Mechanical Arm offers three distinct operating modes, allowing for nuanced control over item distribution:
- Round Robin: In this mode, the arm places items into its designated output inventories in a cyclical order. Once it places an item in the first output, the next item will go to the second, and so on, returning to the first after the last output has been served. This ensures an even distribution across multiple destinations.
- Forced Round Robin: Similar to Round Robin, this mode also attempts to distribute items cyclically. However, a key difference is that it will stall and cease operation if the next output in its sequence is unavailable or full. This mode is useful when you absolutely need items to be distributed evenly and want the system to pause if an output cannot accept items.
- Prefer First: This mode prioritizes the first available inventory in the order of selection. The arm will continuously attempt to fill the first output until it is full or unavailable, only then moving on to the second, and so forth. This is ideal for scenarios where certain inventories should be filled before others.
- Block Interaction: The Mechanical Arm boasts broad compatibility with various blocks. It can directly interact with many Create mod specific blocks, including Mechanical Belts, Chutes, Depots, Basins, Funnels (both Andesite and Brass variants), Mechanical Crafters, and Blaze Burners. For standard Minecraft inventories, such as chests, barrels, or dispensers, direct interaction is not possible. To bridge this gap, an Andesite or Brass Funnel must be placed on the inventory block, allowing the arm to interface with it indirectly.
Step-by-step Guide to Setup
Setting up a Mechanical Arm involves a sequence of precise actions, from crafting to configuration. Follow these steps to integrate it effectively into your automated systems:
- Craft the Mechanical Arm: The Mechanical Arm is a mid-to-late game item, reflecting its advanced capabilities. Its crafting recipe typically requires brass and precision mechanisms, signaling a commitment to a more complex automation infrastructure. Ensure you have these materials on hand before proceeding.
- Select Interaction Points (Input): Begin by holding the crafted Mechanical Arm in your hand. Right-click on the block(s) from which you intend for the arm to pick up items. As you select these input points, a distinct blue outline will appear around them, visually confirming their designation as inputs. You can select multiple inputs if your system requires pulling items from various sources.
- Define Output Points: After selecting your input(s), proceed to define where the arm should deposit items. Right-click again on a selected block to toggle it as an output. Output points are visually indicated by a yellow outline. Just like inputs, you have the flexibility to select multiple output destinations, allowing for item distribution to several inventories or machines. Remember, the order in which you select these points (both inputs and outputs) will dictate the arm’s operational priority.
- Place the Arm: Once all desired input and output interaction points have been meticulously set, right-click on the block where you wish to place the Mechanical Arm itself. Upon successful placement, a confirmation message will appear, detailing the number of inputs and outputs the arm has registered. This serves as a quick verification of your setup.
- Provide Power: For the Mechanical Arm to function, it requires rotational power. Attach a Cogwheel, Encased Cogwheel, or any other suitable rotational power source directly to the arm. Ensure the power source is active and providing sufficient speed for the arm’s operations.
- Configure Behavior (Optional): The arm’s default behavior might not always align with your specific automation needs. To adjust its operating mode, equip a Wrench. Right-click on the side of the placed Mechanical Arm, and then use the scroll wheel to cycle through its available modes: Round Robin, Forced Round Robin, and Prefer First. Select the mode that best suits your item distribution strategy.
- Apply Filters (Optional): For precise item control, especially in sorting or crafting setups, filters are invaluable. Utilize Brass Funnels at either your input or output points. By placing specific items within the Brass Funnel’s filter slot, you can dictate exactly which items the arm is allowed to pick up or deposit at that location, preventing unwanted items from entering or leaving a system.
Important Tips for Optimization
Mastering the Mechanical Arm goes beyond basic setup; it involves understanding nuances that can significantly optimize your automation:
- Prioritization through Selection Order: Always remember that the order in which you select input and output blocks directly influences the arm’s priority for item transfer. Plan your selections carefully to ensure critical items are handled first or distributed in a specific sequence.
- Precision with Brass Funnel Filters: Filters, particularly when used with Brass Funnels, are your best friends for precise item sorting and management. They act as gatekeepers, preventing the arm from picking up or depositing unintended items, thus avoiding system clogs or contamination.
- Relative Inventory Locations: The arm saves inventory locations relative to its own position. This is a powerful feature because if you relocate the Mechanical Arm (e.g., by moving the block it’s placed on with a Gantry or other contraption), its target locations will automatically update accordingly, maintaining its functionality without needing to be reconfigured.
- Redstone Control: Mechanical Arms are responsive to Redstone signals. This allows for dynamic control over your automation. You can use Redstone to pause the arm’s operation or activate it only when specific conditions are met, integrating it seamlessly into larger, conditional systems.
- Compact Automation: For compact and intricate setups, especially those involving automated crafting or ingredient management, Mechanical Arms are exceptionally useful. Their ability to reach into multiple inventories within a small footprint makes them ideal for optimizing space.
Common Pitfalls and How to Avoid Them
Even experienced players can encounter issues with Mechanical Arms. Being aware of common mistakes can save you considerable time and frustration:
- Not Using Funnels for Standard Inventories: This is perhaps the most frequent oversight. The Mechanical Arm cannot directly pull items from or push them into vanilla Minecraft chests, barrels, dispensers, or similar blocks. You absolutely must place an Andesite or Brass Funnel on these inventories for the arm to interact with them.
- Incorrectly Setting Input/Output Points: Pay close attention to the visual cues. A single right-click on a block designates it as an input (blue outline). A second right-click on an already selected block toggles it to an output (yellow outline). If you accidentally select the wrong block or need to deselect one, simply left-click it while holding the arm.
- Exceeding the 5-Block Range: The arm’s reach is finite. Any input or output points that are more than 5 blocks away from the arm’s final placement location will not be saved or recognized. Always ensure your target inventories are within this crucial radius.
- Ignoring Operating Modes: If your arm isn’t distributing items as you expect, such as items piling up in one output while others remain empty, chances are you’re using the wrong operating mode. Use a Wrench to check and adjust the mode between Round Robin, Forced Round Robin, or Prefer First to match your desired distribution logic.
- Lack of Item Filtering: Without proper filters, especially at output points, the arm will indiscriminately pick up and deposit any item it encounters. This can lead to unwanted items contaminating inventories or clogging production lines. Utilize Brass Funnels with specified filters to maintain precise control over item flow.
- Mismanaging Furnace Interaction: When setting up an arm to interact with a furnace, remember its specific input/output slots. Fuel typically goes into the side of the furnace, materials for smelting go into the top, and the smelted results are taken from the bottom. Your Funnels and arm setup must reflect these specific interaction points.
- Assuming Infinite Input for Burnables: For blocks that consume items over time, such as Blaze Burners, the arm will not continuously feed them if they are already fueled to capacity. If you have a constant input of fuel but the burner is full, the fuel items will backlog, potentially causing issues elsewhere in your system. Design your inputs to only provide items when needed.
Tags:
YOU MAY ALSO LIKE...