

Using a Spout to Fill Containers Automatically, Explained
Understanding the Spout: Your Automatic Fluid Filler
The Spout, a versatile device introduced by the Create mod, is an indispensable tool for automating the process of filling various containers with liquids in Minecraft. Essentially, it serves as the counterpart to the Item Drain, reversing its function to apply fluids to items rather than extracting them. This guide will walk you through the essential mechanics, a step-by-step setup process, crucial tips for optimization, and common pitfalls to avoid, ensuring your automated fluid filling system operates smoothly and efficiently.
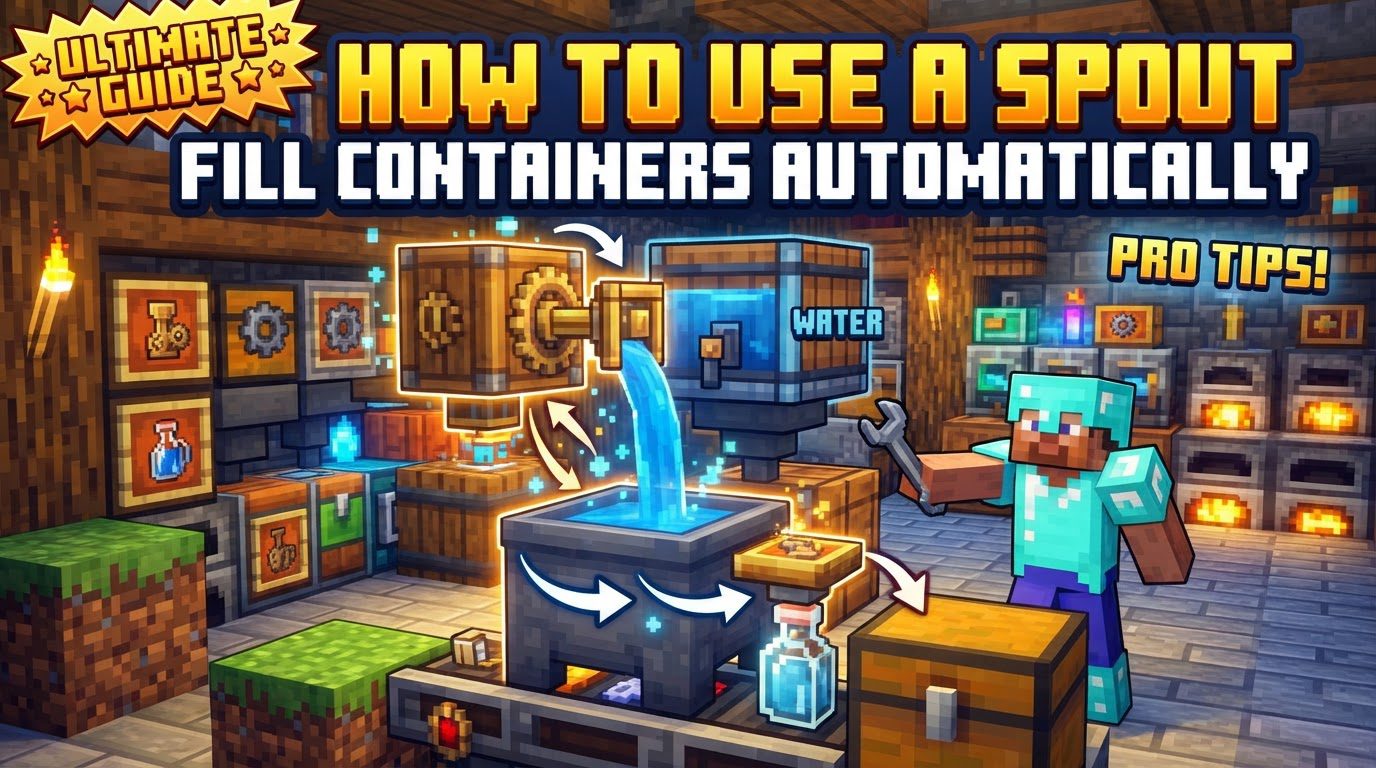
Key Mechanics of the Spout
At its core, a Spout is designed to refill fluid containers such as bottles or buckets, and to apply specific filling recipes using a variety of liquids. It acts as a dedicated station for fluid application, making it a cornerstone for many automated production lines involving liquids.
- Fluid Storage Capacity: Each Spout possesses an internal reservoir capable of holding up to 1000 millibuckets (mB) of any fluid. This capacity is equivalent to one full bucket of liquid.
- Fluid Supply Requirement: For the Spout to function, its internal reservoir must be continuously supplied with the desired fluid. This vital task is exclusively performed by a Mechanical Pump, which draws fluid from a source and pushes it into the Spout.
- Automatic Processing: The Spout is engineered for automation. It will automatically apply its stored fluid to compatible container items that pass directly underneath it. This interaction can occur in two primary ways: either the containers are transported on a Mechanical Belt, moving beneath the Spout, or they are placed stationary on a Depot positioned directly below the Spout.
- Processing Speed: Regardless of the specific fluid being used or the amount required for a recipe, each individual item takes approximately 1 second to process. This consistent processing time allows for predictable throughput in your automated systems.
Step-by-Step Guide to Setting Up Your Spout System
Implementing an automated fluid filling system with a Spout involves several distinct stages, from crafting the Spout itself to ensuring all components are properly connected and powered. Follow these steps carefully to construct a reliable and efficient setup.
1. Craft a Spout
The first step is to craft the Spout. The recipe is straightforward, requiring a few common Create mod components:
- Recipe: Combine 1 Copper Nugget, 1 Dried Kelp, and 1 Fluid Tank.
2. Set Up Your Fluid Source
Before you can fill containers, you need a source of the fluid you intend to use. This could be anything from infinite water or lava pools to tanks containing honey or various potions. Ensure your fluid source is readily accessible and can provide a continuous supply.
3. Install a Mechanical Pump
The Mechanical Pump is critical for transferring fluids. It will draw the fluid from your chosen source and push it towards the Spout.
- Placement: Place the Mechanical Pump so that one of its ends is submerged in or adjacent to your fluid source.
- Direction: Pay close attention to the pump’s directional arrow, which indicates the flow of fluid. This arrow must point away from the fluid source and towards where your fluid pipes will be connected.
4. Connect with Fluid Pipes
Fluid Pipes are the conduits that transport the liquid from the Mechanical Pump to the Spout.
- Connection: Use Fluid Pipes to create a path from the output side of your Mechanical Pump directly to the Spout. Ensure a secure connection at both ends.
5. Place the Spout
The Spout’s placement is crucial for its interaction with containers.
- Positioning: Place the Spout directly above the path where your empty containers will travel. There must be an open block space, or “gap,” underneath the Spout for the containers to pass through or rest upon.
6. Set Up Item Transport
To automatically present containers to the Spout, you need a method of item transport directly beneath it.
- Mechanical Belt: A Mechanical Belt can be used to continuously move empty containers under the Spout. The Spout will process items as they pass by.
- Depot: Alternatively, a Depot can be placed directly beneath the Spout. Items placed on the Depot will be filled, and then can be moved off by another automation system.
7. Power the System
Finally, ensure that your Mechanical Pump receives sufficient rotational force (RPM) to operate. Without power, the pump will not be able to transfer fluid, and your Spout will remain empty.
- Power Source: Connect a power source (e.g., a Water Wheel, Windmill Bearing, or other rotational power generators) to your Mechanical Pump.
Important Tips for Optimal Performance
To maximize the efficiency and reliability of your Spout-based filling station, consider these expert tips:
- Utilize a Wrench: The Create mod’s Wrench is an invaluable tool for system management. Use it to adjust the direction of Mechanical Pumps if you need to reconfigure fluid flow. Additionally, you can use the Wrench on Fluid Pipes to make them transparent, allowing you to visually inspect the fluid flow within the pipes for troubleshooting purposes. This transparency can quickly reveal blockages or incorrect connections.
- Understand Fluid Pipe Range: Fluid pipes have practical range limitations. While they can extend indefinitely, Mechanical Pumps are most effective at pushing or pulling fluids over a distance of approximately 16 blocks. For longer fluid transport distances, you may need to strategically place multiple Mechanical Pumps in sequence to maintain adequate fluid pressure and flow. Furthermore, ensure that all chunks containing your fluid pipelines, especially the fluid source and pumps, are loaded to prevent the system from halting due to unloaded areas. Consider using chunk loaders for extensive setups.
- Container Compatibility: Spouts are intelligent enough to only fill items with fluids they are designed to hold. For instance, you cannot attempt to fill a regular bucket with a strength potion; the Spout will simply ignore the bucket. Always ensure that the container type matches the fluid’s intended use.
- Handling Multi-Spray Recipes: Some filling recipes might require multiple applications (sprays) from the Spout to fully process an item. For such cases, you have a couple of options:
- Multiple Spouts in Sequence: Place several Spouts consecutively along a Mechanical Belt. An item requiring multiple sprays will pass under each Spout, receiving one spray per Spout until fully processed.
- Brass Funnels with Filters: For more controlled processing, use Brass Funnels with filters. These can hold an item on a Depot until it has received the required number of sprays from a single Spout before releasing it to the next stage of your automation.
Common Mistakes to Avoid
Even experienced players can encounter issues when setting up complex automation. Being aware of these common mistakes can save you significant troubleshooting time:
- Incorrect Pump Direction: This is one of the most frequent errors. Always double-check that the Mechanical Pump’s arrow is pointing in the correct direction – away from the fluid source and towards the Spout. A pump facing the wrong way will either draw no fluid or push it in the opposite direction of your intended flow.
- Insufficient Fluid Supply: An intermittent or insufficient fluid source will cause your Spout to run dry, halting your production. Ensure your fluid source is consistent and that the Mechanical Pump can continuously supply the Spout’s 1000 mB capacity as items are processed.
- Improper Item Placement: For automatic filling, containers must be positioned correctly. They need to be either directly on a Mechanical Belt passing underneath the Spout or stationary on a Depot placed immediately below it. Items not in this specific position will not be recognized or filled by the Spout.
- Unloaded Chunks: Long fluid pipelines are susceptible to problems if parts of the system, particularly the fluid source or the Mechanical Pumps, are in unloaded chunks. If a chunk unloads, the fluid flow will cease, and the Spout will eventually stop receiving fluid. Use chunk loaders to keep all critical components active.
- Incompatible Containers: Attempting to fill a container with a fluid it cannot hold is a common oversight. For example, trying to fill a water bottle with lava will not work. The Spout will simply not process the item, leading to a backlog or stalled system. Always match the container type to the fluid it’s designed to carry.
- Spout Not Updating: Occasionally, a Spout or pump might appear to be correctly connected but fails to function. In such cases, a simple fix is often to remove the problematic Spout or pump and then replace it. This action can force the block to re-evaluate its connections and state, resolving the issue.
By understanding these mechanics, following the setup steps, and heeding the important tips and warnings, you can master the use of the Spout to create robust and efficient automated fluid filling systems in your Minecraft world.

