

Building a Train Station Using Create’s Train System — A Quick Guide
Understanding the Create Train System Foundation
The Create mod introduces a sophisticated train system to Minecraft, allowing players to construct intricate rail networks and automated transportation solutions. At the core of this system is the Train Station block, which serves as the central hub for all train operations. This block is indispensable for creating new trains, disassembling existing ones, and guiding their movement. Crucially, any train arriving at a Train Station will automatically come to a stop at its designated location.
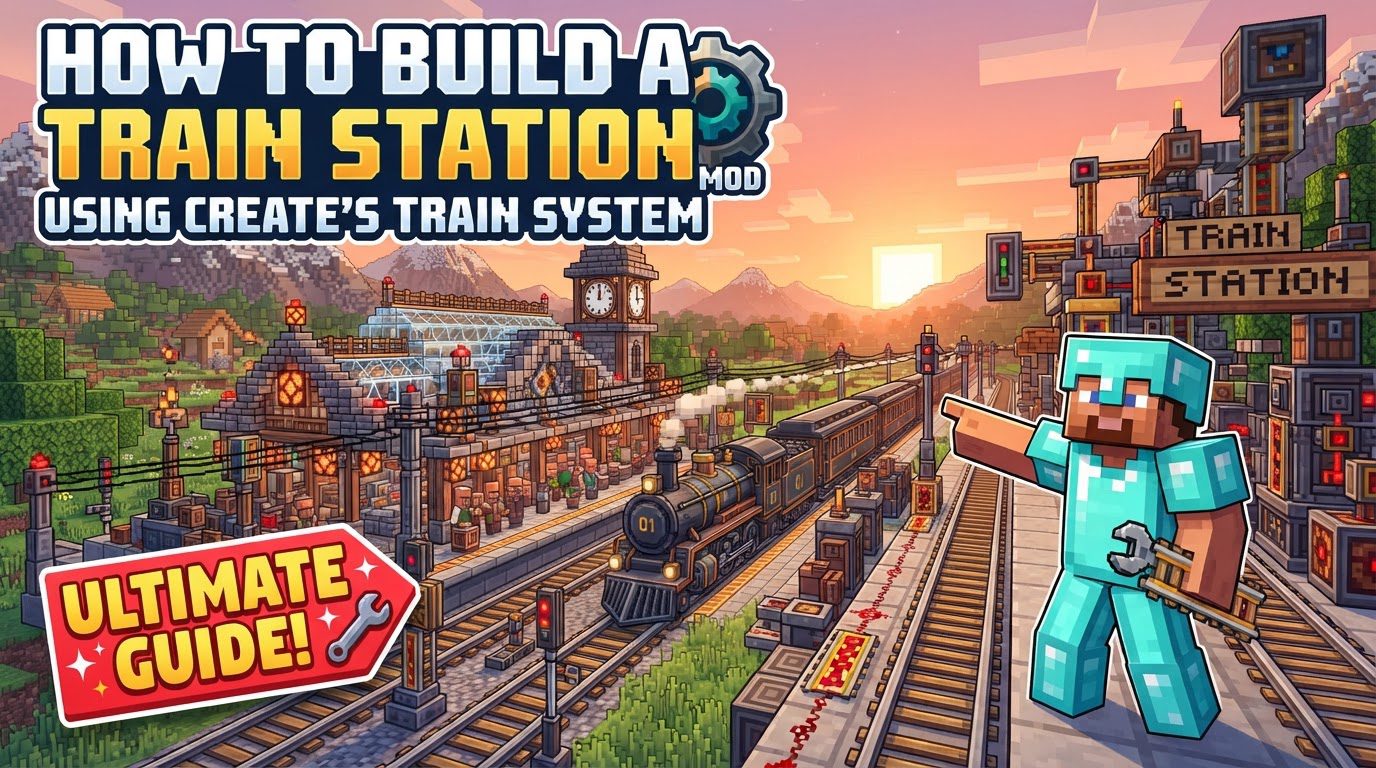
The physical backbone of any rail system is the Train Tracks. Create’s tracks offer convenient features such as bulk placement, enabling swift construction of long stretches of railway. Additionally, the system can automatically place supporting blocks underneath the tracks as you lay them, streamlining the building process.
Trains themselves are modular constructs. Their foundational elements, known as Bogeys, are formed by placing Train Casings onto blue-highlighted sections of track during the train assembly process. To control a train, a Train Controls block is essential; this block must be placed facing the intended direction of travel to function correctly.
For trains to operate autonomously, a Conductor is required. This can be a friendly mob, such as a chicken or a bat, or even a Blaze Burner, which must be seated near the Train Controls. The conductor is the interface through which automated commands are given.
Automation is further powered by Train Schedules, which allow players to define precise routes and actions for trains to follow between multiple stations. These schedules dictate when and where a train travels, waits, or performs other tasks.
For real-time monitoring and player interaction, Display Links and Display Boards can be integrated into your station setup. These components are capable of showing vital information, such as estimated arrival times or current schedules, enhancing the usability and realism of your network.
To enable dynamic interactions with other Redstone contraptions, a Redstone Comparator can be attached directly to a Train Station. This comparator will emit a Redstone signal upon a train’s arrival, allowing for automated gates, signals, or other mechanisms to be triggered.
Finally, the physical integrity of your train’s structure is maintained by Super Glue. This item is used to physically connect all individual components of your train, ensuring they move as a single, cohesive unit.
Step-by-Step Guide to Building Your Train Station and Train
Constructing a functional train station and train in Create involves a series of logical steps, starting with the track layout and culminating in an assembled, potentially automated, vehicle.
Laying the Tracks
- Begin by constructing your desired train line. Remember that Create’s track system allows for bulk placement, making long stretches easier to manage. For smoother curves, hold sprint while placing tracks. Additionally, if you hold a block in your off-hand, the system will automatically place supports underneath your tracks, saving you time and effort.
Placing the Train Station
- Locate a straight section of your track where you wish to establish your station. Right-click on this track to mark the station’s binding point.
- Next, place the Train Station block itself within 15 blocks of the marked spot. It’s crucial to ensure that the arrow displayed on the Train Station block points in the intended direction of train travel. An incorrect direction can lead to operational issues.
Naming Your Station
- Once placed, right-click the Train Station block to access its Graphical User Interface (GUI). Here, you can rename your station. Naming stations clearly is highly recommended, especially as your network grows, to prevent confusion.
Entering Assembly Mode
- Within the station’s GUI, click the button labeled “Create New Train.” This action will highlight a section of the track in blue, indicating the area where your new train can be assembled.
Building Your Train
- Forming Bogeys: Place Train Casings onto the blue-highlighted track. Note that this requires at least three straight blocks of track to form the bogeys, which are the wheeled bases of your train.
- Constructing the Structure: Build the body of your train on top of the bogeys. This can be as simple or as complex as you desire.
- Adding Train Controls: Integrate at least one Train Controls block into your train’s structure. This block must be placed facing the intended forward direction of travel.
- Ensuring Automation (Optional): If you plan for automated operation, place a seat on your train. Then, place a Conductor (which can be a mob like a chicken or a bat, or a Blaze Burner) into that seat. The conductor must be near the Train Controls.
- Connecting Components with Super Glue: Once all parts of your train are in place, use Super Glue to connect every individual block. This ensures that the entire structure functions as a single entity when the train moves.
Assembling the Train
- After your train is built and glued, return to the Train Station’s GUI and click “Assemble Train.” This action will finalize the train’s construction, turning your individual blocks into a functional vehicle.
Automating Your Train (Optional)
- Craft a Train Schedule: Begin by crafting a Train Schedule item.
- Define Travel Actions and Conditions: Right-click the Train Schedule to open its interface. Here, you can define specific travel actions, such as “Travel to Station,” and set conditions, like “Wait 5 seconds.” It is important to remember that a minimum of two stations is required to create a meaningful route or loop within a schedule.
- Assign the Schedule: To activate the automation, give the crafted schedule to your train’s conductor by right-clicking them while holding the schedule.
Important Tips for Optimal Operation
- Always verify the direction of the arrow on the Train Station block. This arrow must align with your train’s intended travel path to prevent issues with movement or assembly.
- For any automated routes, a minimum of two or more stations are absolutely necessary. Train schedules cannot be created for a single destination.
- A conductor, whether a mob or a Blaze Burner, is an indispensable component for any automated train movement. Without one, your train will not follow a schedule.
- Utilize Display Links and Display Boards for efficient monitoring of your train network. These can provide real-time updates on train statuses, schedules, and arrival times.
- Integrate Redstone comparators with your stations. A comparator attached to a Train Station can emit a Redstone signal upon a train’s arrival, allowing you to trigger automated systems like gates, lights, or cargo loaders.
- To disassemble a train, first align it perfectly at a station. You can often achieve this by holding the jump key. Then, use the station’s interface to initiate the disassembly process.
- For more complex automation, explore advanced scheduling conditions. These can include criteria based on the time of day or the current cargo levels of the train, enabling sophisticated operational logic.
- Always rename stations. This simple step can significantly reduce confusion, especially in expansive multi-station networks where many stations might look similar.
- When laying tracks, hold sprint to create smoother curves, which can improve train aesthetics and sometimes performance. Also, holding a block in your off-hand will automatically place supports under the tracks, which is a great time-saver.
Common Mistakes to Avoid
- Incorrect station arrow direction is a frequent oversight. If the arrow does not match the train’s intended travel path, trains may attempt to drive the wrong way or fail to operate entirely.
- Attempting to assemble a train on curved or diagonal tracks, or without at least three straight blocks of track for the bogeys, will result in failure. Train assembly requires specific track conditions.
- Forgetting to include forward-facing Train Controls, or neglecting to apply Super Glue to all train components, are common errors that will prevent your train from functioning correctly.
- Trying to automate a train with only one station will not work. Train schedules require at least two distinct destinations to define a route.
- Failing to properly align the train at the station before attempting disassembly or reassembly can lead to errors and frustration. Ensure the train is perfectly positioned.
- Receiving the error message “Frontmost Bogey must be at Station Marker” indicates incorrect bogey placement relative to the station’s binding point. Double-check your train’s position during assembly.
- Placing train signals within an intersection is a critical mistake that can cause traffic jams, deadlocks, and general chaos on your rail network. Signals should be placed strategically before or after intersections, not within them.

