

Rail Powering Distance Reference
A single redstone power source can illuminate a line of up to 17 powered rails. This often-overlooked detail is the cornerstone of efficient minecart transportation in Minecraft, allowing players to create extensive rail networks with minimal power infrastructure. Understanding this propagation distance, alongside optimal spacing for various scenarios, is crucial for any aspiring railway tycoon.
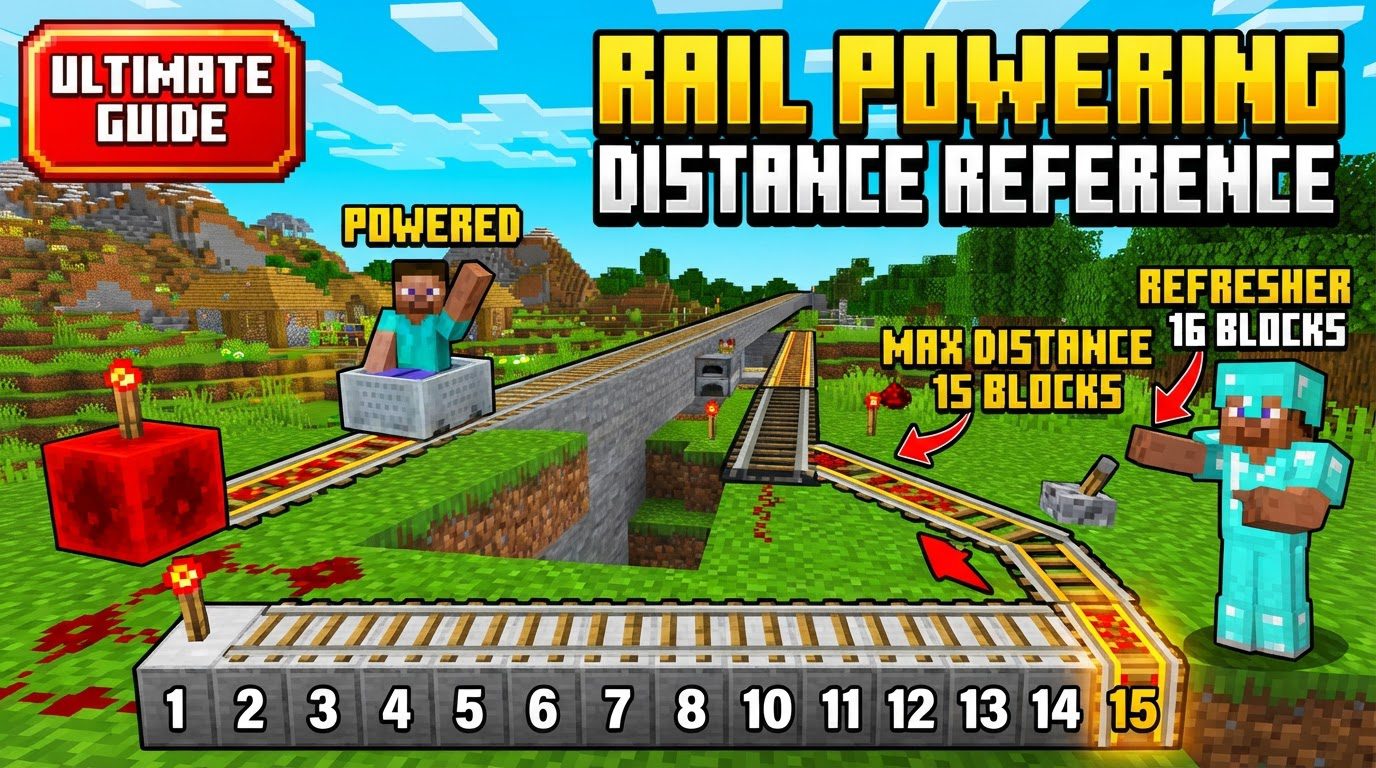
Powered rails are indispensable components for creating rapid and reliable minecart systems. Unlike their standard counterparts, these special rails actively influence a minecart’s speed, either accelerating it to impressive velocities or bringing it to a complete halt. Mastering their mechanics means the difference between a sluggish, stop-and-go journey and a smooth, high-speed ride across your blocky world.
Core Mechanics of Powered Rails
At their heart, powered rails are sophisticated redstone mechanisms. When activated by a redstone signal, they propel moving minecarts forward, ensuring consistent momentum. Conversely, an unpowered rail acts as a brake, drastically reducing a minecart’s speed or stopping it entirely. This dual functionality makes them versatile for both propulsion and controlled stops within your systems.
- Redstone Dependence: Every powered rail requires an active redstone signal to function as an accelerator. Without it, it becomes a decelerator.
- Power Sources: A variety of redstone components can power these rails. Common choices include redstone torches (placed next to or two blocks underneath), levers (on an adjacent block), redstone blocks (next to or underneath), and even detector rails, which activate when a minecart passes over them.
- Crafting Essentials: Crafting six powered rails requires six gold ingots, one stick, and one piece of redstone dust. Gold is the primary resource, making large-scale rail systems a significant investment.
- Placement Rules: Powered rails are inherently straight; they do not form curves like regular rails. They can be placed on any full solid opaque block, hoppers, or upside-down slabs/stairs, offering flexibility in track design.
The Art of Power Propagation
One of the most critical mechanics for large-scale rail systems is power propagation. An activated powered rail doesn’t just boost carts; it also transmits its power to adjacent powered rails it’s connected to. This propagation extends up to eight blocks away from the original power source. This means a single redstone power source, such as a redstone torch or block, can effectively activate a continuous line of up to 17 powered rails – the central rail directly powered, and eight additional rails extending in each direction.
Understanding this 1:17 ratio is key to minimizing the number of redstone power sources needed for long tracks, thereby saving resources and simplifying your redstone circuitry. Strategic placement of a power source every 17th block will ensure continuous acceleration along flat sections of your railway.
Building Your Track: A Step-by-Step Guide
Setting up an effective minecart system with powered rails involves a few straightforward steps, ensuring your design is both functional and efficient.
- Gather Your Materials: Begin by collecting the necessary resources. For every six powered rails, you’ll need six gold ingots, one stick, and one redstone dust.
- Lay Your Foundation: Start by placing standard rails to define the overall path and layout of your minecart system. This initial track helps visualize the route.
- Strategic Placement of Powered Rails: Identify areas where speed boosts are most needed. These typically include long, flat stretches, and especially inclines. Replace standard rails with powered rails at these critical points.
- Connect to Power Sources: Ensure each segment of powered rails receives a redstone signal. This can be a redstone torch placed directly next to or two blocks beneath a rail, a lever on an adjacent block, a redstone block, or a detector rail. For automatic systems, detector rails are excellent as they power adjacent rails only when a minecart passes over them.
- Test and Refine: Once your system is laid out, send a minecart along the track. Observe its speed and identify any sections where momentum is lost. Adjust the placement of powered rails or power sources as needed to achieve optimal performance.
Optimizing Your Track: Spacing for Efficiency
The “powering distance” isn’t just about how far a redstone signal propagates, but also how frequently powered rails need to be placed to maintain a minecart’s speed. Optimal spacing varies significantly based on terrain and the type of minecart being used.
Flat Ground Dynamics
- Occupied Minecarts: For a minecart carrying a player or mob, a powered rail approximately every 38 blocks on flat ground is generally sufficient to maintain maximum speed (8 blocks per second). For a more cost-effective approach that still ensures movement, one powered rail every 25-30 blocks can suffice, though with slight speed fluctuations.
- Empty Utility Carts: Empty minecarts, such as those with chests or hoppers that are currently empty, require more frequent boosts. Ideally, place a powered rail every 27 blocks to maintain consistent movement.
- Full Utility Carts: Minecarts with chests or hoppers that are completely full are the heaviest and thus require the most frequent boosts. For these, a powered rail as often as every 6 blocks is necessary to prevent them from slowing down significantly or stopping.
Conquering Inclines
Slopes are the biggest challenge for minecart momentum, as gravity constantly works against them.
- Maximum Speed on Slopes: To maintain maximum speed while climbing an incline, a powered rail every two blocks (alternating powered and normal rails) is recommended.
- Cost-Effective Inclines: If resource conservation is a priority and a slight speed reduction is acceptable, placing one powered rail every four blocks can still get minecarts up a slope, albeit slower. General recommendations for slopes suggest a powered rail every 2 to 3 blocks to effectively counteract gravity.
Launch and Momentum
- Starting Boost: To launch a stationary minecart to maximum speed quickly, place three consecutive powered rails at the beginning of your track. This provides the necessary initial acceleration.
- Momentum with Curves: While powered rails themselves are straight, a minecart navigating a curved track effectively covers two blocks per segment. This can lead to higher perceived speeds (up to 11.31 m/s) compared to straight tracks (8 m/s). When designing for curves, this increased effective speed should be considered for optimal spacing.
- Specialized Carts: Minecarts with chests or hoppers, regardless of their content, generally have similar momentum characteristics to an empty minecart when it comes to base movement. For consistent propulsion, especially when full, they require powered rails approximately every 8 blocks.
Advanced Powering Techniques
- Automated Activation: Incorporate detector rails before powered rail segments. When a minecart passes over a detector rail, it activates adjacent powered rails, conserving power and ensuring boosts only when needed.
- Hidden Power Sources: For a cleaner aesthetic, redstone torches can be placed underneath the block supporting a rail. This provides power without visible redstone components cluttering the track.
- Two-Way Systems: For tracks designed for travel in both directions, place detector rails on both sides of a powered rail. This allows the system to activate appropriately regardless of the minecart’s approach direction.
Pitfalls to Avoid: Common Mistakes
Even seasoned players can make errors with powered rails. Being aware of these common mistakes can save you time and frustration.
- Lack of Redstone Connection: The most frequent mistake is simply not connecting powered rails to a redstone power source, leaving them as brakes rather than accelerators.
- Incorrect Spacing: Placing powered rails too far apart is a common pitfall. This leads to minecarts losing momentum, stalling, or even stopping completely, especially on inclines.
- Unpowered Inclines: Minecarts lose speed rapidly on inclines. Failing to place enough powered rails on slopes will inevitably lead to carts stopping halfway up.
- Confusing Activator Rails: Activator rails have distinct functions-ejecting passengers, activating TNT minecarts, or deactivating hopper minecarts. They do not provide propulsion and should not be used as substitutes for powered rails.
- Stationary Minecart on Powered Rail: A minecart placed directly on an active powered rail will not move on its own. It requires an initial push or placement next to a solid block for acceleration.
- Redstone Dust in Water: Redstone dust itself does not function underwater. For submerged rail systems, alternative power sources like redstone torches or blocks must be used.
Mastering powered rails transforms your Minecraft world, enabling fast, reliable, and aesthetically pleasing transportation. By understanding the core mechanics, optimal spacing, and common pitfalls, you can construct rail networks that efficiently move players and items across any terrain.
Tags:
YOU MAY ALSO LIKE...


