

Custom Advancement JSON Format Reference
One of the most persistent traps new custom advancement creators fall into is confusing where their advancement files belong. Despite the game having an “advancements” folder in your world save, your custom JSON files for new advancements belong exclusively within a data pack, specifically in data/<namespace>/advancements/, not directly in the world’s player-specific progress directory. Understanding this foundational distinction is key to harnessing the power of Minecraft’s data-driven custom content.
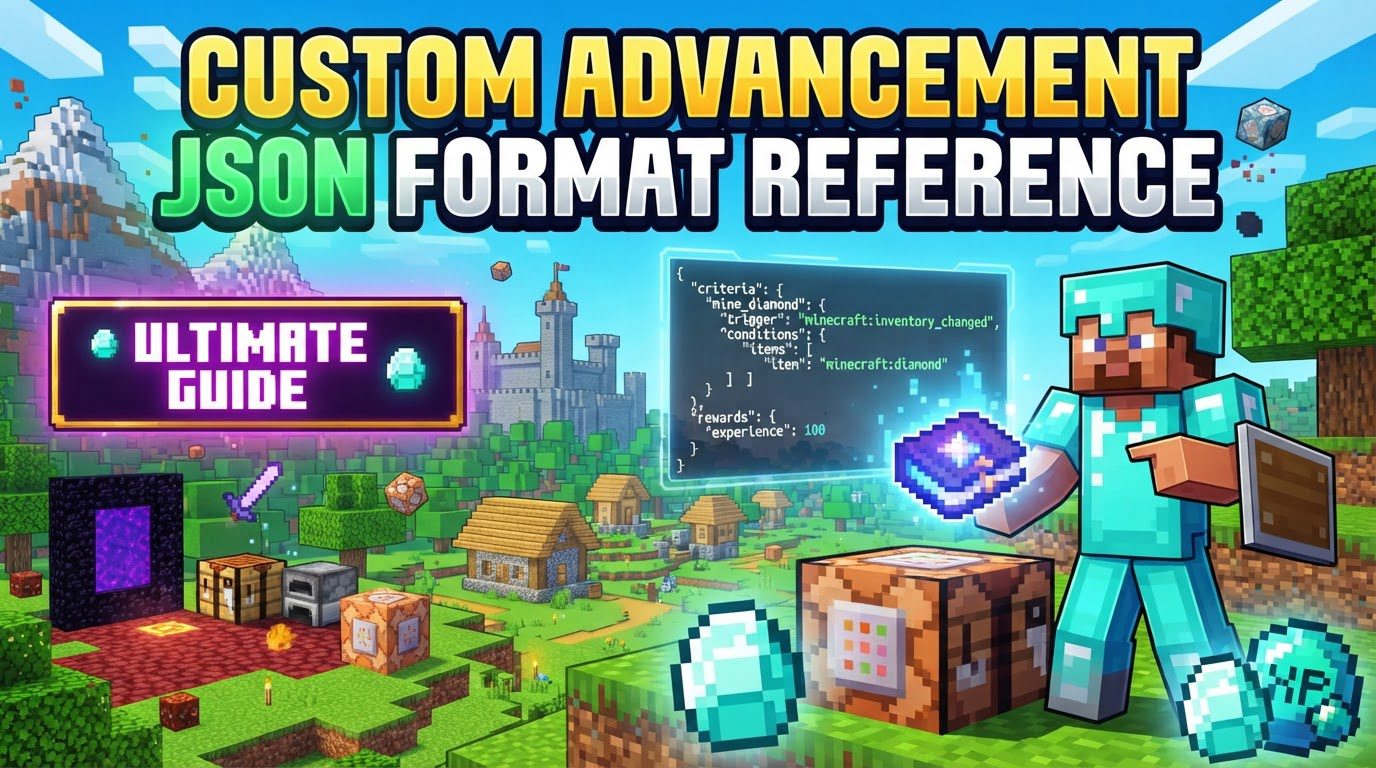
Introduced in Java Edition 1.12, custom advancements revolutionized how players could define in-game objectives and challenges. No longer solely dependent on hardcoded game logic or complex mod programming, these advancements allow for intricate goal-setting and reward systems through simple, yet powerful, JSON files. They serve as a dynamic guide for players, offering structured progression and a sense of accomplishment, all while being entirely customizable to fit any world or server’s unique vision.
The Blueprint: Data Packs and File Structure
At its core, a custom advancement is a JSON file tucked away within a data pack. This data-driven approach means that instead of altering game code, you’re merely providing the game with new data to interpret. The specific location for these files is critical: data/<namespace>/advancement/<path>.json. The <namespace> typically identifies your data pack or mod (e.g., my_pack), and <path> is the unique identifier for your advancement, often organized into subfolders for clarity.
Every advancement JSON file is a structured collection of components, each dictating a specific aspect of the advancement’s behavior or appearance:
display: This section governs the visual presentation of your advancement within the in-game menu and notifications. It includes anicon(an item displayed), atitle, and adescription. You also define itsframetype (task,goal, orchallenge), which changes its border color and visual prominence. For root advancements, abackgroundtexture can be specified. Other display options includeshow_toast(whether a notification pops up on completion) andannounce_to_chat(whether completion is broadcast to the server).parent: Crucial for organizing your advancements into a logical tree structure. This field points to the ID of another advancement, making the current one a “child” of the specified parent. If this field is entirely omitted, the advancement becomes a “root” advancement, creating a new tab in the advancement menu.criteria: These are the conditions that must be met for the advancement to be completed. Each criterion requires atrigger(e.g.,inventory_changedfor picking up an item,player_killed_entityfor defeating a mob). Triggers often have optionalconditionsthat provide further specifics, such as the type of item or the specific entity killed.requirements: When multiple criteria are defined, therequirementsfield dictates how they are combined. By default, all criteria must be met (an “AND” logic). However, you can specify complex combinations, such as any one of a set of criteria being sufficient (an “OR” logic), or a mix of both.rewards: This section defines what happens when the player successfully completes the advancement. Rewards can include granting experience points, unlocking new recipes, or executing a custom Minecraftfunctionfor more complex effects.
Advancement progress itself is meticulously tracked: per world in single-player and per-player-per-server in multiplayer, ensuring a personalized experience.
Crafting Your Progression: The Data Pack Workflow
Implementing custom advancements involves a clear, step-by-step process within the data pack ecosystem:
- Create a Data Pack Structure: Begin by creating a new folder for your data pack within the
datapacksdirectory of your Minecraft world. Inside this folder, you’ll need apack.mcmetafile. This file tells Minecraft about your data pack, defining itspack_format(which varies with game versions) and adescription. - Define Namespace and Advancement Folder: Within your data pack’s root folder, create the path
data/<your_namespace>/advancements/. Your chosen namespace should be unique to avoid conflicts. - Create JSON Files: For each individual advancement you wish to add, create a separate
.jsonfile. These files should be placed inside youradvancementsfolder or its subfolders (e.g.,data/my_pack/advancements/story/first_steps.json). - Structure the JSON Content: Populate each JSON file with the core components:
display,parent(if applicable),criteria,requirements, andrewards, adhering strictly to the JSON syntax and field names. - Establish Root Advancements: To create a new, distinct tab in the in-game advancement menu, ensure your intended “root” advancement JSON file completely omits the
parentfield. It must also contain validdisplaydata to be visible. - Load the Data Pack: Once your data pack is correctly set up, place its folder into your world’s
datapacksdirectory. Then, either reload the world or use the/reloadcommand in-game to load your new advancements.
Strategic Deployment: Tips for Success
Creating robust and engaging advancement trees benefits from strategic planning and leveraging available resources:
- Leverage Online Generators: Tools like
misode.github.io/advancement/oradvancements.thedestruc7i0n.ca/are invaluable. They can help you generate correct JSON structures, visualize your advancements, and significantly reduce syntax errors, especially when dealing with complex triggers and conditions. - Organize with Subfolders: As your advancement list grows, managing dozens or hundreds of files can become unwieldy. Use subfolders within your
advancementsdirectory (e.g.,adventure/,nether/,crafting/) to keep your files neatly organized and easy to navigate. - Thorough Testing is Key: Always test your advancements in a new world or by clearing existing progress using
/advancement revoke @s everything. This ensures they trigger as expected and helps debug any issues efficiently. - Mastering Parenting: Thoughtful use of the
parentfield is crucial for creating a coherent and intuitive progression path. Link child advancements to relevant parent advancements to build a logical and visually appealing tree. - Controlling Visibility: The
hiddenfield within thedisplaycomponent offers control over when an advancement appears. Setting it totruecan hide an advancement until it’s completed, or even hide an entire tab by applying it to its root advancement.
Troubleshooting: Avoiding Common Pitfalls
Even seasoned creators can encounter issues. Being aware of common mistakes can save significant debugging time:
- Syntax and Typographical Errors: JSON is unforgiving. A single misplaced comma, bracket, or typo in a field name can render an entire advancement file invalid, causing it to fail loading.
- Path and Naming Precision: The data pack’s directory structure and file naming conventions are absolute. Incorrect capitalization, wrong subfolders, or misspellings in the path (
data/<namespace>/advancements/<path>.json) will prevent your advancements from being found. - The
parentField Conundrum: If an advancement is meant to be a root, ensure theparentfield is entirely absent. If it’s meant to be a child, the specified parent advancement must exist and have a valid ID. An emptyparentfield is not the same as an absent one. - Circular References: An advancement cannot parent itself, nor can it be part of a loop where advancement A parents B, and B parents A. Such circular dependencies will cause loading failures.
- Valid
displayData: For an advancement to be visible and functional in the menu, itsdisplaytag, if present, absolutely requirestitle,description, andiconfields to be defined. - The
advancementsFolder Misconception: As highlighted initially, do not place your custom advancement JSON files directly into the world’sadvancementsfolder. This folder is managed by the game for player-specific progress, not for defining new advancements. Your files belong exclusively in your data pack. - Unpredictable Vertical Ordering: Be aware that the vertical order of advancements within a specific tab can often appear somewhat arbitrary and may even shuffle with minor changes. There isn’t a direct JSON property to precisely control this vertical positioning.
Mastering custom advancements unlocks a new dimension of creativity in Minecraft. By understanding the JSON format, adhering to the data pack structure, and practicing careful implementation, you can craft engaging, unique, and challenging progression systems that elevate any Minecraft experience.
Tags:
YOU MAY ALSO LIKE...


