

Minecraft How to Make a 5×5 Piston Door
One of the most frustrating moments in building complex redstone contraptions in Minecraft is witnessing your meticulously placed blocks fail to move, or worse, fly off into the distance due to a tiny oversight. The 5×5 piston door, a pinnacle of redstone engineering, presents numerous such opportunities for error, but with careful planning and an understanding of core mechanics, you can master this impressive build.
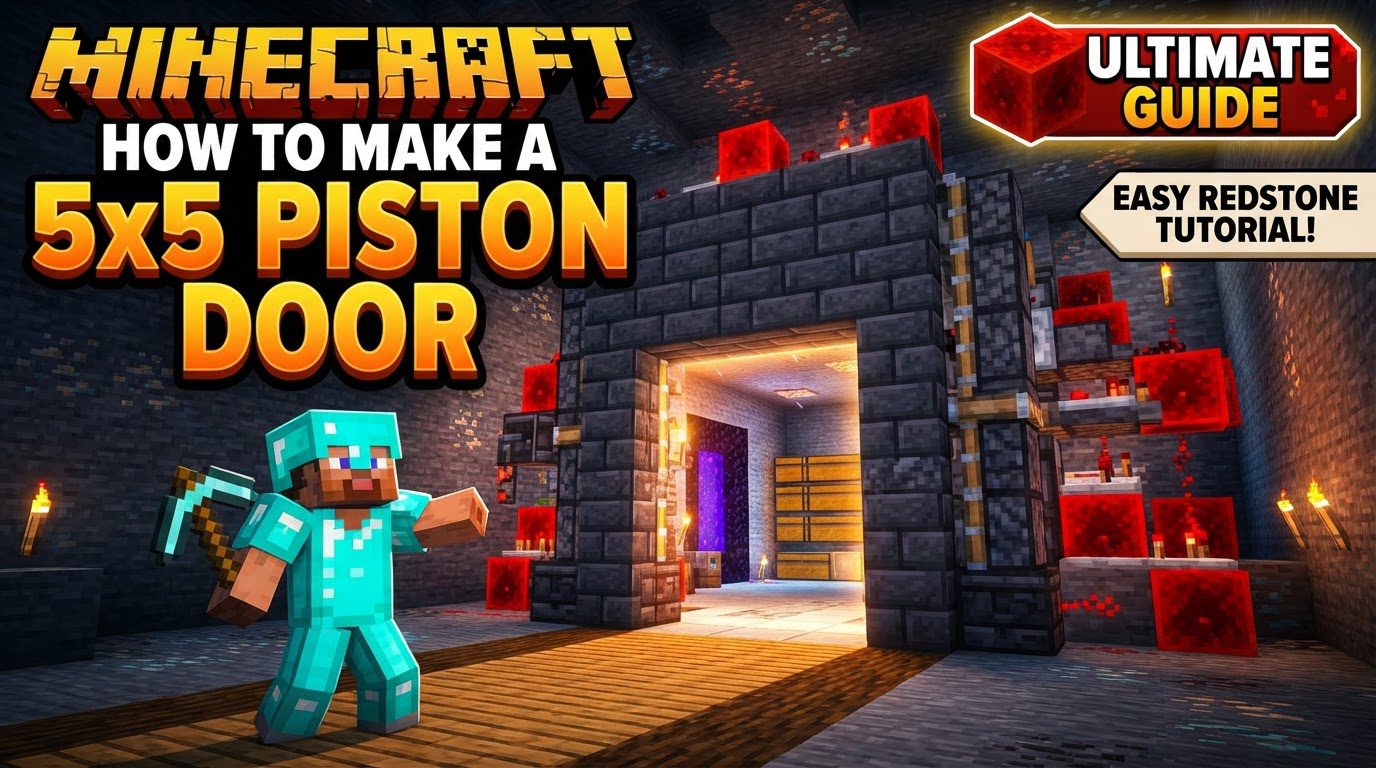
A 5×5 piston door is not merely a grand entrance; it’s a testament to your command over Minecraft’s physics and redstone logic. This guide will walk you through the essential components, the intricate steps, and crucial tips to construct a functional and impressive 5×5 piston door, ensuring your architectural marvel opens and closes seamlessly.
Understanding the Core Components of Automation
Before diving into construction, it’s vital to grasp the roles of the key redstone and block mechanics that enable a 5×5 piston door. Each component plays a specific, often critical, part in the door’s operation.
- Pistons: The Movers and Shakers
- Sticky Pistons: These are indispensable. Unlike regular pistons, sticky pistons can both push and pull blocks. For a 5×5 door, they are used extensively to extend and retract the door blocks, often in complex arrangements like triple piston extenders, which are necessary to move blocks three spaces.
- Regular Pistons: While less common in the direct door mechanism, they can be used in certain setups where only pushing is required, such as pushing observer blocks or other redstone components into place.
- Redstone: The Circuitry’s Lifeblood
- Redstone Dust: This is the wire that transmits power from an input (like a lever or button) to the various components. Its signal strength diminishes over distance, necessitating repeaters.
- Redstone Repeaters: Repeaters serve two crucial functions: they extend the range of a redstone signal without loss of strength, and more importantly for a 5×5 door, they introduce delays. These delays, measured in “ticks,” are fundamental for ensuring pistons fire in the correct sequence, preventing blocks from getting stuck or breaking the mechanism.
- Redstone Torches: These can act as a constant power source or an inverter, turning a powered signal off or an unpowered signal on. They are essential for creating compact logic gates and powering specific sections of the circuit.
- Observers: The Block Detectives
Observers are critical for advanced piston mechanics. They detect any block update directly in front of them and emit a short redstone pulse from their back. This characteristic makes them perfect for creating compact pulse generators and for controlling flying machines, as their pulse can trigger subsequent piston movements with precise timing.
- Slime Blocks and Honey Blocks: The Sticky Duo
These unique blocks are the backbone of moving large sections of your door. Slime blocks and honey blocks adhere to most other blocks and to each other, allowing them to pull or push entire groups of blocks simultaneously. A key distinction is that they do not stick to each other. This property is crucial for selective movement, allowing you to design mechanisms where one section moves while an adjacent section remains stationary or moves independently.
- Immovable Blocks: The Anchors
Blocks like obsidian, glazed terracotta, droppers, and furnaces are immovable by pistons. They serve as vital anchors or boundaries for piston contraptions, especially those involving slime and honey blocks. By strategically placing these, you can prevent flying machines from moving beyond their intended range, or stop sticky blocks from pulling unintended parts of your build.
- Flying Machines: The Grand Movers
Many 5×5 door designs, particularly those that are flush with a wall, heavily rely on flying machine mechanisms. These are compact, self-propelled arrangements of slime/honey blocks, sticky pistons, and observers that can move large sections of the door in and out of place. Mastering their construction is often the most challenging but rewarding aspect of a large piston door.
Blueprint for Success: A Step-by-Step Construction Guide
Building a 5×5 piston door is an iterative process of placing blocks, wiring redstone, and meticulously testing. Follow these general steps to bring your grand entrance to life.
- Defining Your Door Area: The Foundation
Start by clearly marking out the 5×5 space where your door will be. This will be the visible opening when the door is retracted. Visualize the surrounding wall and where the redstone will be hidden. Planning this initial footprint is crucial for the entire build.
- Constructing the Door Blocks: The Visible Barrier
Place the 25 blocks that will form the actual door itself. These are the blocks that will move in and out of the opening. Choose a block type that complements your build’s aesthetics.
- Piston Layout and Extension Mechanisms: The Force Behind the Door
This is where complexity begins. Position sticky pistons strategically around the door blocks. For a 5×5 door, you’ll typically need to move blocks three spaces to make the door flush. This requires triple piston extenders for each column or row of door blocks. These mechanisms use multiple sticky pistons to extend a block three times, then retract it in sequence. The layout will involve pistons pushing the door blocks directly, and often, more pistons pushing the first set of pistons.
- Integrating Slime/Honey Block Structures: The Bulk Movers
Many 5×5 doors utilize slime and honey blocks to move entire sections of the door or its piston mechanisms. These are often built into “flying machines” that push and pull large segments. The key here is to integrate them with sticky pistons and observers, ensuring that the sticky blocks attach to the correct door segments and not to unintended parts of your redstone or surrounding structure.
- Strategic Immovable Block Placement: Setting Boundaries
Once you start incorporating slime and honey blocks, you must place immovable blocks like obsidian or glazed terracotta around the mechanisms. These act as stops, preventing your flying machines or piston extensions from exceeding their intended range. Incorrect placement can lead to your contraption breaking or blocks flying off indefinitely.
- Wiring the Redstone Circuitry: Timing is Key
This is arguably the most complex part. Connect all the pistons and observers using redstone dust and repeaters. The timing of redstone repeaters is paramount. Each repeater can be set to different delays (1 to 4 ticks), and these delays dictate the sequence in which pistons fire. Incorrect timing can cause blocks to get stuck, pistons to extend into already occupied spaces, or the entire mechanism to jam. Expect to spend significant time tweaking repeater delays. Observers will often be used to generate specific pulse timings for flying machines.
- Activating Your Creation: The User Interface
Once the redstone is wired, connect it to an activation mechanism. A simple button or lever is common. Ensure the redstone signal from your input reaches all necessary parts of the circuit, potentially using repeaters to extend its range.
- Framing for Aesthetics and Concealment: The Finishing Touch
While optional, building a surrounding frame for your door is highly recommended. This not only enhances the door’s appearance but also hides the intricate redstone circuitry, making your build look clean and professional. Many 5×5 doors are designed to be “flush” with the wall, meaning no redstone is visible from the exterior.
Avoiding Pitfalls: Common Redstone Blunders
The complexity of a 5×5 piston door means there are several common mistakes that can derail your project. Being aware of these can save you hours of troubleshooting.
- Incorrect Immovable Block Placement: Forgetting to place immovable blocks or placing them in the wrong spot is a frequent cause of flying machines overshooting their mark or breaking apart. Always ensure these “anchors” are correctly positioned to contain the movement of sticky blocks.
- Mixing Slime and Honey Incorrectly: Remember that slime blocks and honey blocks do not stick to each other. If your design requires a cohesive block movement, ensure you’re not placing them side-by-side where they need to stick. This can lead to segments of your door separating or not moving as intended.
- Improper Redstone Timing: This is perhaps the most common source of frustration. Incorrect delays on redstone repeaters can cause pistons to fire out of sequence, leading to blocks being left behind, pushed into immovable objects, or simply not moving at all. Every tick of delay matters.
- Unintended Block Sticking: Slime and honey blocks stick to most blocks. Without proper planning, they can pull or push parts of your surrounding structure or even other redstone components that were not meant to move, damaging the entire contraption. Always consider what blocks are adjacent to your sticky blocks.
Expert Advice: Tips for a Smooth Build
Even with a detailed guide, building a 5×5 piston door requires patience and a good approach. These tips can make the process smoother.
- Resource Packs for Clarity: Consider using a resource pack that adds directional arrows to observers, droppers, and hoppers. This visual aid can be incredibly helpful for ensuring correct placement, especially with observers, whose facing direction is critical.
- Edition Differences Matter: Be acutely aware that redstone mechanics can differ significantly between Minecraft Java Edition and Bedrock Edition. Always ensure that the specific tutorial or design you are following is intended for your version of the game to avoid unexpected behaviors.
- Flush Designs and Expandability: Many 5×5 door designs are built to be “flush” with a wall, hiding all redstone. Some designs are also based on repetitive redstone patterns, making them potentially expandable to wider dimensions if you wish to create even larger entrances.
- Testing as You Go: Do not wait until the entire door is built to test it. Test sections of the redstone and piston mechanisms as you build them. This allows you to identify and fix issues early, preventing a cascade of problems that are much harder to diagnose later.
Constructing a 5×5 piston door is a challenging but immensely rewarding endeavor. It requires a deep understanding of Minecraft’s redstone mechanics, precise timing, and careful planning. By mastering the components and following these steps, you’ll be well on your way to creating a truly impressive and functional hidden entrance in your Minecraft world.
Tags:
YOU MAY ALSO LIKE...


