

Minecraft Farm 9×9
A single block of water, seemingly insignificant, holds the power to irrigate up to 80 blocks of farmland in Minecraft. This fundamental mechanic is the cornerstone of the highly efficient and popular 9×9 farm design, a layout beloved by players for its simplicity and productivity. Mastering this compact agricultural marvel is a crucial step for any player looking to secure a steady supply of food, brewing ingredients, or even trading goods.
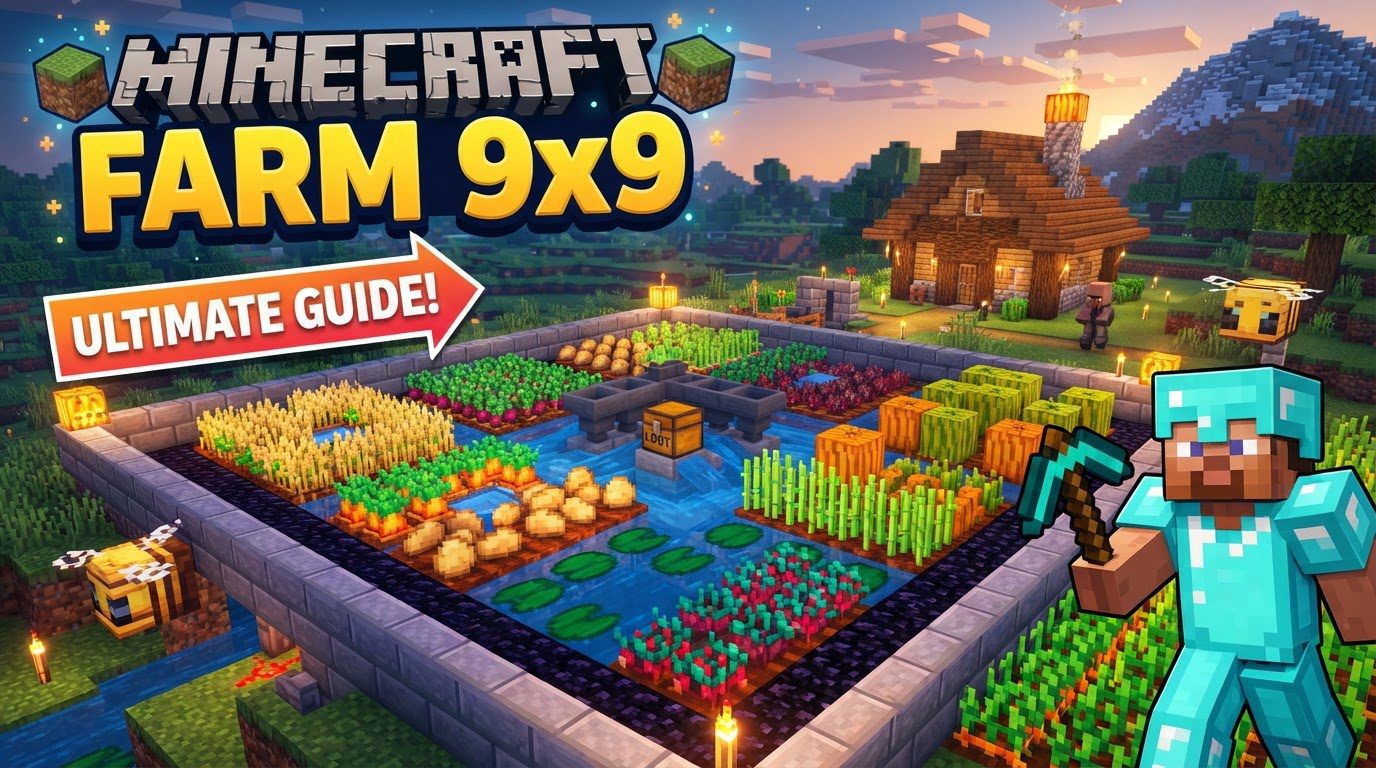
The Genius Behind the 9×9 Layout
The 9×9 farm isn’t just a random dimension; it’s a direct result of Minecraft’s water physics. A single water source block can hydrate tilled farmland up to four blocks away in any cardinal direction (north, south, east, west) and diagonally. When a water block is placed in the exact center of a 9×9 grid, it reaches every single one of the 80 surrounding blocks of farmland, leaving no dry spots. This makes it the most space-efficient and resource-friendly design for a basic, manually-harvested crop farm, maximizing yield per water block.
Understanding Core Agricultural Mechanics
Before constructing your 9×9 masterpiece, it’s vital to grasp the core principles that govern crop growth in Minecraft. These mechanics dictate the success and efficiency of any farm:
- Water and Tilled Dirt: Crops can only be planted on tilled dirt. Tilling is done with a hoe. Crucially, tilled dirt will eventually revert to untiled soil if it’s not hydrated by an adjacent water source or if a crop isn’t planted on it quickly. Hydrated farmland appears darker and slightly depressed, indicating it’s ready for planting and will remain tilled.
- Light Requirements: Crops thrive in light. While they will grow in darkness, their growth rate is significantly slower. Optimal light levels ensure that crops grow continuously, even through the night cycle. Placing light sources within or around your farm is paramount for consistent yields.
- Bone Meal: This invaluable item acts as a fertilizer, instantly advancing a crop’s growth stage. Applying bone meal multiple times can bring a crop from seed to full maturity in seconds, making it incredibly useful for quick harvests or speeding up initial farm setup.
- Special Crop Needs: Not all crops behave identically. Melons and pumpkins, for instance, require an adjacent open dirt tile (not tilled farmland) for their fruit to grow onto. Sugar cane has a unique requirement: it must be planted directly next to a water source block (not just hydrated farmland) to grow. Understanding these nuances prevents frustrating planting failures.
Constructing Your First 9×9 Farm: A Step-by-Step Guide
Building a basic 9×9 farm is straightforward and requires minimal resources. Follow these steps for a functional and efficient setup:
Phase 1: Gathering Essential Supplies
- Seeds: Collect seeds for your desired crop. Wheat seeds are common, but carrots and potatoes are excellent food sources and can be replanted directly.
- Hoe: Craft a hoe from wood, stone, iron, gold, or diamond. Any type will work for tilling.
- Bucket: Craft an iron bucket to transport water. You’ll need at least one water source block, but having an infinite water source nearby (a 2×2 or 1×3 water pool) is convenient.
- Light Sources: Torches are the easiest to obtain, but glowstone, sea lanterns, or shroomlights are more aesthetically pleasing and provide constant light.
Phase 2: Selecting and Preparing Your Site
Choose a large, flat area for your farm. Consider proximity to your base for easy access and security. Mark out a 9×9 square on the ground. This will be the total area of your farm, including the central water block.
Phase 3: The Heart of the Farm – Water Placement
Dig a single one-block-deep hole precisely in the center of your 9×9 area. This central block is the (5,5) position if you count from one corner. Place your water source block into this hole. Observe how the surrounding dirt blocks begin to hydrate, turning a darker shade and becoming slightly depressed. This visual cue confirms the water is working correctly.
Phase 4: Preparing the Earth – Tilling the Soil
With your hoe equipped, right-click on every dirt block within the 9×9 grid, excluding the central water block. All 80 blocks should now be tilled farmland. Ensure they remain hydrated by the central water source; if any revert, it indicates a problem with water coverage (unlikely with a central 9×9 setup) or slow planting.
Phase 5: Sowing the Seeds of Growth
Equip your seeds or crops (like potatoes or carrots) and right-click on each tilled farmland block to plant them. For crops like melons or pumpkins, remember to leave an empty tilled block adjacent to where the stem is planted for the fruit to grow onto. For sugar cane, you’ll need to plant it directly next to a water source block, so a 9×9 design might need slight modification or be specifically for sugar cane with water channels.
Phase 6: Illuminating Your Harvest
Place light sources around and within your farm. For a 9×9, placing torches on the corners or every few blocks along the perimeter is a good start. For optimal growth, consider placing light blocks (like glowstone or sea lanterns) directly into the farm at strategic points, perhaps replacing a few farmland blocks in the corners or along the edges, ensuring light reaches every crop, day and night. This prevents growth stagnation during dark hours.
Elevating Your Farm: Advanced Techniques and Automation
Once you’ve mastered the basic 9×9, you can explore more advanced concepts to boost efficiency and even automate the process:
- Villager Farmers: Villagers can be excellent farmers. If a villager with a profession block (like a composter) is enclosed within your farm, they will harvest mature crops and replant them. They can even deposit excess crops into a composter, creating bone meal.
- Composters: Place a composter near your farm. Any excess crops can be manually or automatically fed into it to produce bone meal, creating a self-sustaining fertilizer loop.
- Hoppers and Chests: For automated collection, a water stream can push harvested items into hoppers, which then feed into chests. Alternatively, hopper minecarts running underneath the farmland can pick up items.
- Bone Meal Dispensers: For fully automated growth, dispensers filled with bone meal can be rigged with redstone to repeatedly apply bone meal to crops, accelerating their growth cycle immensely.
Maximizing Yields: Expert Tips for a Bountiful Harvest
Beyond the basic setup, a few clever strategies can further enhance your farm’s productivity:
- Crop Variety: Experiment with alternating different types of crops (e.g., wheat and potatoes) in rows or checkerboard patterns. While not universally proven to accelerate growth for all crops, it can sometimes lead to slightly faster overall yields due as crops look for specific conditions from neighbors.
- Bee Hives: Place beehives or bee nests near your farm. Bees pollinating crops can significantly accelerate their growth rate, adding a natural boost to your harvest.
- Farm Security: Fence off your farm to prevent hostile mobs (like zombies or skeletons) from trampling crops or entering the area. Animals like pigs and cows can also destroy farmland if they walk over it.
- Strategic Placement: Locate your farm in an area you visit frequently. This ensures you’re always checking on its progress and can harvest promptly. A well-lit area is also less likely to spawn hostile mobs.
- Optimal Lighting: While torches are functional, consider integrating light blocks like shroomlights, glowstone, or sea lanterns directly into the farm’s layout (perhaps replacing a few farmland blocks in the corners or edges). These provide higher light levels and a cleaner aesthetic.
- Automated Crop Choice: If planning full automation, carrots and potatoes are generally easier to automate than wheat, as they are directly replanted by villagers and don’t require separate seed collection.
Troubleshooting Common Farming Mishaps
Even seasoned players can make mistakes. Be aware of these common pitfalls:
- Insufficient Water: If your farmland isn’t turning dark and hydrated, or if crops are taking an unusually long time to grow, check your water source. Ensure it’s placed correctly and that no blocks are obstructing its irrigation range. Remember, a 9×9 with a central water block covers all 80 surrounding blocks.
- Lack of Light: Slow-growing crops, especially at night, are a clear indicator of insufficient light. Add more torches or higher-level light sources to ensure continuous growth.
- Untilled Soil: You cannot plant crops on untilled dirt. Always use a hoe first. If tilled soil reverts, it’s either not hydrated or has been left empty for too long.
- Mob Interference: Crops can be trampled by mobs or even players. Ensure your farm is adequately fenced off and well-lit to deter unwanted visitors.
- Incorrect Crop Placement: Remember the specific needs of certain crops. Melons and pumpkins need an empty adjacent block for fruit. Sugar cane requires direct adjacency to water. Failing to account for these will result in no yield.
The 9×9 farm stands as a testament to Minecraft’s elegant mechanics. By understanding the simple power of a single water block and adhering to basic agricultural principles, you can establish a robust and reliable food source, setting the foundation for all your future endeavors in the blocky world.
Tags:
YOU MAY ALSO LIKE...


