

Minecraft How to Farm Amethyst Shards
Unlike traditional crops like wheat or carrots, you cannot simply plant amethyst seeds and watch them grow in Minecraft. Farming Amethyst Shards is a unique endeavor that hinges entirely on understanding and utilizing naturally occurring geological formations: Amethyst Geodes. This guide will walk you through the intricacies of locating these crystalline marvels, nurturing their growth, and efficiently harvesting the valuable shards.
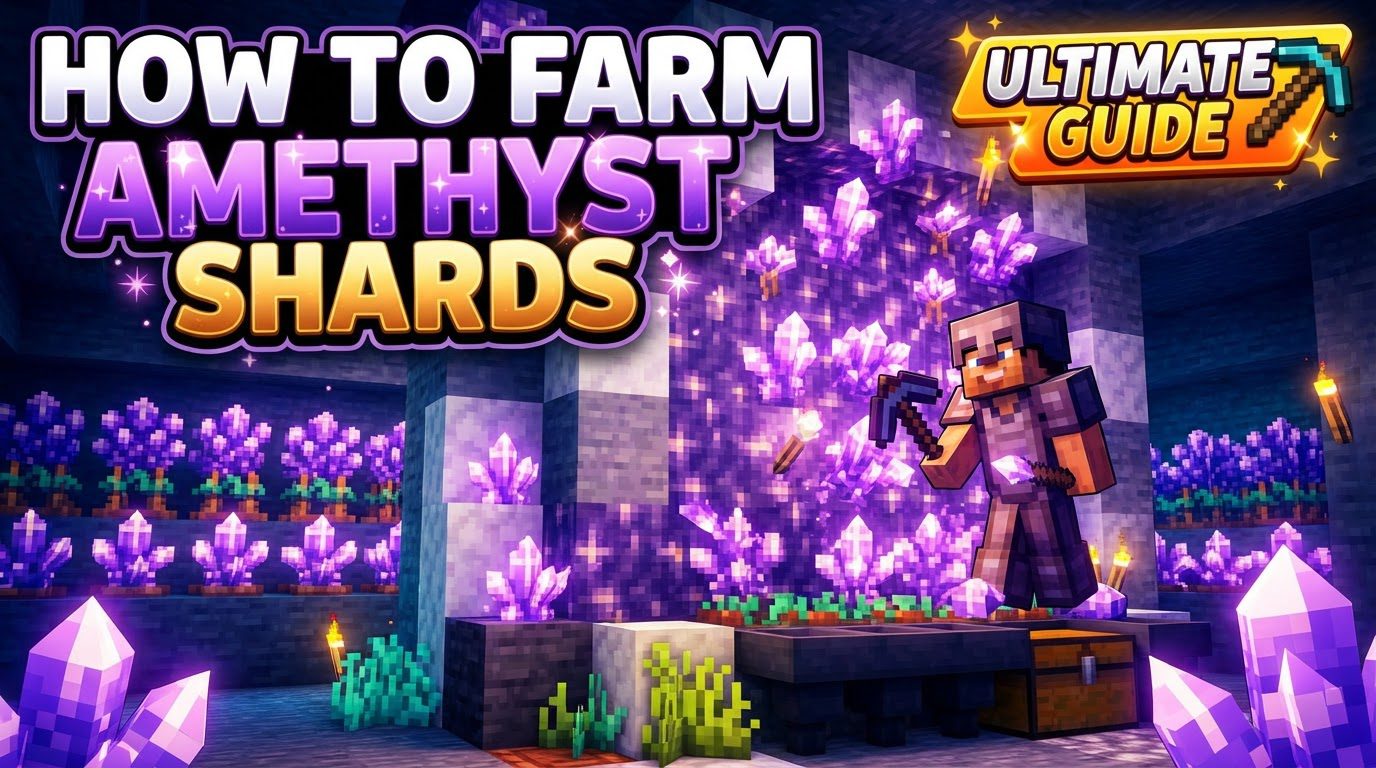
The Crystalline Core: Understanding Amethyst Growth
The journey to obtaining Amethyst Shards begins with a fundamental understanding of how these precious resources generate and mature. Amethyst Shards are exclusively acquired by mining fully grown Amethyst Clusters. These clusters do not spontaneously appear anywhere; they are born from a very specific block known as a Budding Amethyst block.
- Budding Amethyst Blocks: These are the heart of any amethyst farm. They are distinct blocks found only within Amethyst Geodes and are identifiable by their unique “X-shaped” texture. Crucially, Budding Amethyst blocks cannot be mined or moved by players, making them a permanent fixture of the geode they are found in. If you attempt to mine one, it will simply break without dropping anything, and it cannot be replaced.
- Growth Stages: Amethyst crystals sprout from Budding Amethyst blocks and progress through four distinct growth stages: small amethyst bud, medium amethyst bud, large amethyst bud, and finally, the Amethyst Cluster. Only when the crystal reaches its final “Amethyst Cluster” stage will it drop Amethyst Shards upon being mined. Mining any of the earlier bud stages will yield nothing.
- Natural Growth: It’s vital to remember that amethyst cannot be cultivated like typical crops. You cannot plant it, fertilize it, or accelerate its growth through player actions. Instead, the process is about finding existing geodes, ensuring optimal conditions for natural growth, and then harvesting when ready.
- Tool Specifics: When mining a fully grown Amethyst Cluster, using a regular pickaxe (iron or better) will yield Amethyst Shards. However, if you use a pickaxe enchanted with Silk Touch, you will obtain the Amethyst Cluster itself as an item, not the shards. This is useful for decorative purposes but not for shard collection.
Embarking on the Hunt: Locating Amethyst Geodes
Before you can harvest any shards, you must first find their source: an Amethyst Geode. These captivating spherical structures are relatively common but require keen observation to locate.
- Where to Search: Amethyst Geodes generate exclusively in the Overworld. They are typically found underground, often between Y-level -58 and Y-level 30. This wide range means you could encounter them while mining deep for diamonds or closer to the surface.
- Visual Cues: Geodes have a distinct layered structure. The outermost layer is typically smooth basalt, followed by a layer of calcite, and finally, the innermost layer is composed of amethyst blocks and, most importantly, Budding Amethyst blocks. Sometimes, geodes can be partially exposed within caves or even on the ocean floor.
- Ocean Exploration Advantage: Many players find that exploring ocean biomes is an efficient way to locate geodes. Their distinct smooth basalt shell often stands out against the ocean floor, or they might even be partially exposed on beaches or under shallow water, making them easier to spot than when buried deep underground.
Cultivating Your Crystalline Oasis: Geode Preparation
Once you’ve discovered an Amethyst Geode, a little preparation can significantly boost your shard yield and simplify future harvesting.
- Identify the Source Blocks: Your primary goal is to locate all the Budding Amethyst blocks within the geode. These are the blocks with the unique “X” pattern from which all future amethyst will grow.
- Clear the Surroundings: Amethyst buds and clusters require an air block adjacent to the Budding Amethyst block to grow. Therefore, it’s highly recommended to clear any surrounding amethyst blocks, calcite, or basalt that might be obstructing potential growth spots. Create as much open space around each Budding Amethyst block as possible to maximize the number of clusters that can grow simultaneously.
- Strategic Access: Consider building scaffolding or platforms around the interior of the geode. This will provide easy access to all growing clusters, making future harvesting much more efficient and less tedious.
- Underwater Geodes: If your geode is submerged in water, you can further optimize your setup. Placing water source blocks where needed (if the water flow is inconsistent) and, ideally, installing a Conduit nearby will grant you unlimited underwater breathing and improved mining speed, turning a potentially difficult harvest into a seamless operation.
The Patience of a Geologist: Waiting and Harvesting
With your geode prepared, the next step is patience. Amethyst growth is a natural process that occurs over time.
- Monitor Growth: Regularly check your geode. You’ll observe the small buds gradually progressing through their medium and large stages until they become full Amethyst Clusters. Remember, only harvest when they are fully grown.
- The Right Tool: When a cluster is fully formed, use an iron pickaxe or any higher-tier pickaxe (diamond, netherite) to mine it. Each fully grown cluster will drop Amethyst Shards.
- Avoid Premature Harvesting: A common mistake is mining amethyst buds before they reach their final cluster stage. Doing so will yield absolutely no shards, wasting your time and effectively resetting the growth process for that specific spot.
Maximizing Your Shard Output
While the basic process is straightforward, a few key strategies can dramatically increase your Amethyst Shard yield.
- The Power of Fortune III: This is arguably the most critical tip for amethyst farming. Enchanting your pickaxe with Fortune III will significantly multiply the number of Amethyst Shards dropped from each fully grown cluster. A single cluster can yield up to 16 shards with a Fortune III pickaxe, making this enchantment indispensable for serious shard collectors.
- Dedicated Harvesting Tool: Consider having a specific pickaxe enchanted with Fortune III solely for harvesting amethyst. This ensures you always get the maximum possible yield.
- Maintain Clear Space: Periodically check your geode to ensure no accidental blocks or stray items are obstructing potential growth spots. Amethyst clusters need air blocks to form.
Common Pitfalls and Advanced Considerations
Even seasoned players can make mistakes when dealing with the unique mechanics of amethyst.
- Do NOT Mine Budding Amethyst: This cannot be stressed enough. Breaking a Budding Amethyst block destroys it permanently, removing a potential source of future clusters. Always be careful when mining around them.
- Inefficient Automation: While it’s technically possible to set up redstone contraptions with pistons to break Amethyst Clusters, this method is highly inefficient for shard farming. Pistons will only yield a maximum of 2 shards per cluster, regardless of growth stage, and cannot replicate the massive boost provided by a Fortune III pickaxe. Fully automatic amethyst farms are generally not recommended for shard collection due to this significant yield reduction.
- Be Wary of Efficiency Enchantments: When manually harvesting, a pickaxe with Efficiency can be a double-edged sword. While it speeds up mining, it also increases the risk of accidentally breaking a Budding Amethyst block if you’re not careful. For precision harvesting, sometimes a less efficient pickaxe is safer around the precious budding blocks.
By understanding the unique growth mechanics, locating geodes, preparing your harvesting site, and utilizing the power of enchantments, you can establish a steady supply of Amethyst Shards for all your crafting needs, from spyglasses to tinted glass.
Tags:
YOU MAY ALSO LIKE...


