

Minecraft Bedrock How to Breed Villagers
One of the most frustrating moments for a budding Minecraft farmer is meticulously setting up a villager breeding station, only to find that your villagers refuse to pick up the food you’ve so generously provided. The culprit? A single game rule: mobGriefing. If this rule is set to false, your villagers will politely ignore all dropped items, effectively halting any breeding efforts before they even begin. Understanding this, and a few other core mechanics, is crucial for successfully expanding your village in Minecraft Bedrock Edition.
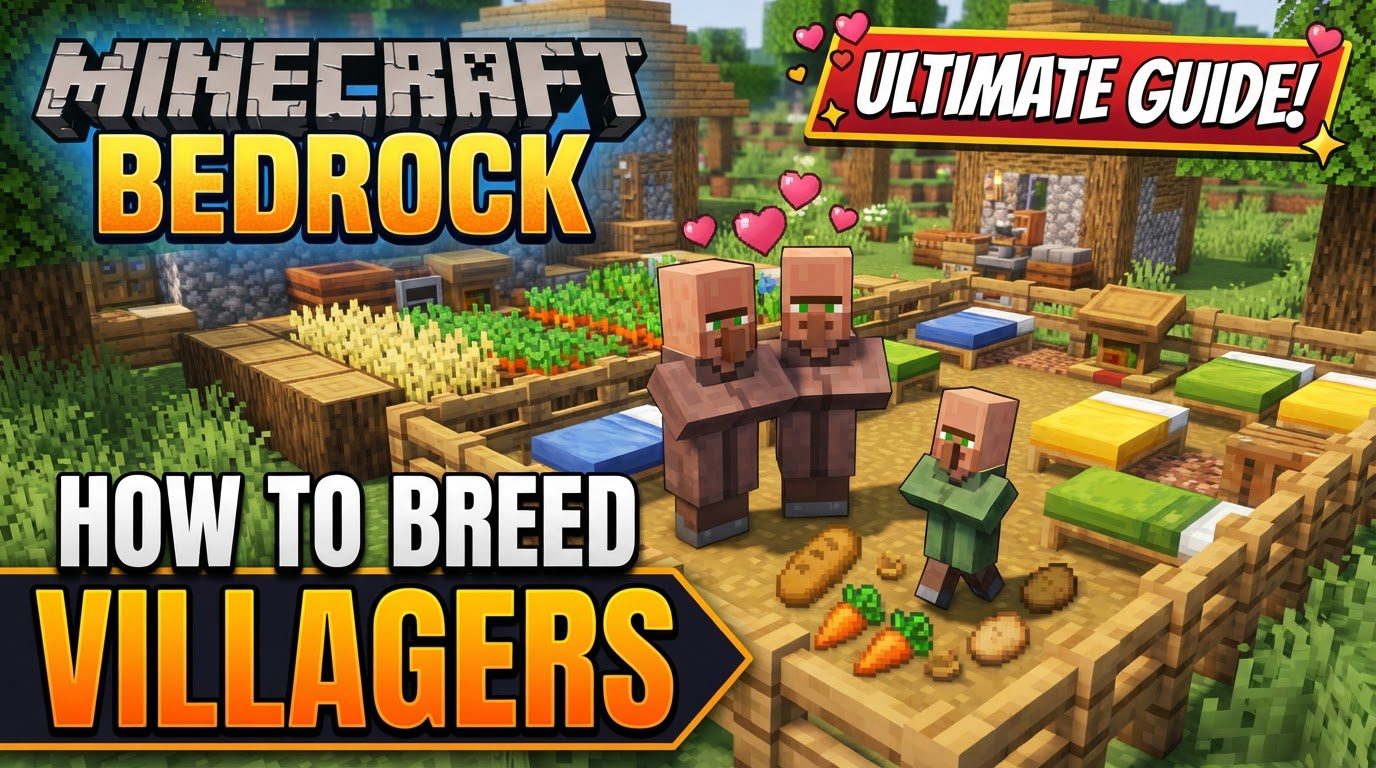
The Foundation of Fertility: Key Breeding Mechanics
Breeding villagers in Minecraft Bedrock isn’t just about throwing food at them; it’s a delicate dance of conditions and requirements. Success hinges on a few fundamental principles:
- Willingness: Villagers aren’t constantly in the mood for romance. They need to be “willing” to breed, a state achieved by providing them with sufficient food. Think of it as a pre-requisite for procreation.
- Beds, Beds, Beds: The availability of beds is paramount. Each adult villager needs a bed, and critically, an *additional* empty bed is required for each baby villager you wish to produce. These beds must also have at least two blocks of air space directly above them to be considered valid.
- Village Detection & Population Caps: In Bedrock Edition, villagers detect “villages” based on valid beds. However, unlike Java, Bedrock has population caps that consider *all* villagers in range, not just those linked to beds in a specific area. This means nearby villages or scattered villagers can inadvertently interfere with your breeding efforts by hitting the global cap. Building remote breeding stations, far from other settlements, is often the best strategy.
- Mob Griefing Rule: As mentioned, the
mobGriefinggame rule must be set totrue. Without this, villagers cannot pick up food items, making them unable to become “willing.” This is a common oversight that can stump even experienced players.
A Step-by-Step Guide to Growing Your Village
Once you understand the underlying mechanics, the process of breeding villagers becomes straightforward. Follow these steps to kickstart your population boom:
Step 1: Secure Your Breeding Stock
- First, you’ll need at least two adult villagers. Locate a village and carefully transport two villagers to an enclosed breeding area. Minecarts or boats are excellent tools for this, allowing you to move them safely and efficiently.
- Design a small, safe, and well-lit enclosure. This prevents hostile mobs from interfering with your villagers and keeps them contained within the breeding zone.
Step 2: Lay the Groundwork with Beds
- Inside your breeding enclosure, place more beds than the number of adult villagers you have. If you have two adult villagers, you’ll need at least three beds (one for each adult, plus one for the baby). For multiple babies, add more beds accordingly.
- Crucially, ensure each bed has at least two blocks of empty air space directly above it. This allows villagers to properly pathfind to and recognize the bed as valid.
Step 3: Feast for Fertility: Providing Food
- Now, it’s time to make your villagers “willing.” This is done by providing them with specific food items. Stand near your villagers and throw the food items on the ground. They will walk over and pick them up, adding them to their inventory.
- Each villager requires a certain amount of food to become willing. The most efficient options are:
- 3 loaves of bread
- 12 carrots
- 12 potatoes
- 12 beetroots
- You’ll know they’ve picked up enough when you see heart particles appear above them, signaling their “willing” status.
Step 4: The Waiting Game
- Once both villagers are willing and can pathfind to an available, unclaimed bed, they will begin the breeding process. Heart particles will fly around them, culminating in the appearance of a brand-new baby villager!
- Baby villagers take approximately 20 minutes to grow into adults. During this time, they will wander around, often playing tag with each other.
Optimizing Your Breeding Operations
To ensure a continuous supply of new villagers, consider these advanced tips for an efficient and robust breeding setup:
- Automated Food Supply: Manual feeding can be tedious. Set up a simple farm (e.g., carrots or potatoes) near your breeding area. If you introduce a farmer villager, they can harvest crops and automatically share food with other villagers, ensuring a constant supply for willingness.
- Continuous Breeding: To keep the breeding going, maintain a constant supply of food and available beds. Villagers consume food to become willing for each new baby, and each baby requires its own unclaimed bed.
- Remote Breeders for Best Results: Due to Bedrock’s population cap mechanics, building your breeder at least 100 blocks away from any other existing villages, beds, or workstations is highly recommended. This minimizes interference and prevents your breeding efforts from being capped by distant villagers.
- Containment and Safety: Always ensure your breeding enclosure is well-lit to prevent mob spawns and secured against outside threats. Villagers are vulnerable, and an unexpected zombie attack can quickly decimate your population.
Troubleshooting Common Bedrock Breeding Blunders
Even with the right knowledge, issues can arise. Here are the most frequent mistakes and how to fix them:
- Insufficient or Blocked Beds: This is a classic. Double-check that you have enough unclaimed beds for your adults *and* the babies you want to produce. Ensure beds aren’t blocked, and villagers can pathfind to the pillow end. Remember the two-block air space rule above each bed.
- Lack of Food: Are your villagers not showing hearts? They likely haven’t picked up enough food, or the
mobGriefingrule is off. Re-check the food quantities and ensure the game rule is enabled. mobGriefingis Off: This cannot be stressed enough. If villagers aren’t picking up dropped items, check your game rules immediately. Use the command/gamerule mobGriefing trueif you have operator privileges.- Nearby Village Interference: If your breeding station is near an existing village or other scattered villagers, you might be hitting a population cap. Consider moving your breeder to a more isolated location (at least 100 blocks away).
- Baby Villagers Claiming Beds: Occasionally, baby villagers can claim beds, even if they are eventually moved or killed. This can reduce the number of available beds for new breeding cycles. Ensure you have a system to either move babies out quickly or provide an abundance of extra beds.
Mastering villager breeding in Minecraft Bedrock Edition opens up a world of possibilities, from creating custom trading halls to automating farms with farmer villagers. By understanding the core mechanics, following the steps carefully, and troubleshooting common issues, you’ll soon have a thriving, bustling village at your command.
Tags:
YOU MAY ALSO LIKE...


