

Minecraft How to Make Zombie Villager Normal
Did you know that a single cured zombie villager can grant you trades so advantageous they feel like a cheat code? The transformation of a shambling, hostile zombie villager back into a productive member of your Minecraft society is not just a fascinating mechanic; it’s a strategic move that can dramatically alter your gameplay, offering unparalleled trading discounts and helping you repopulate depleted villages.
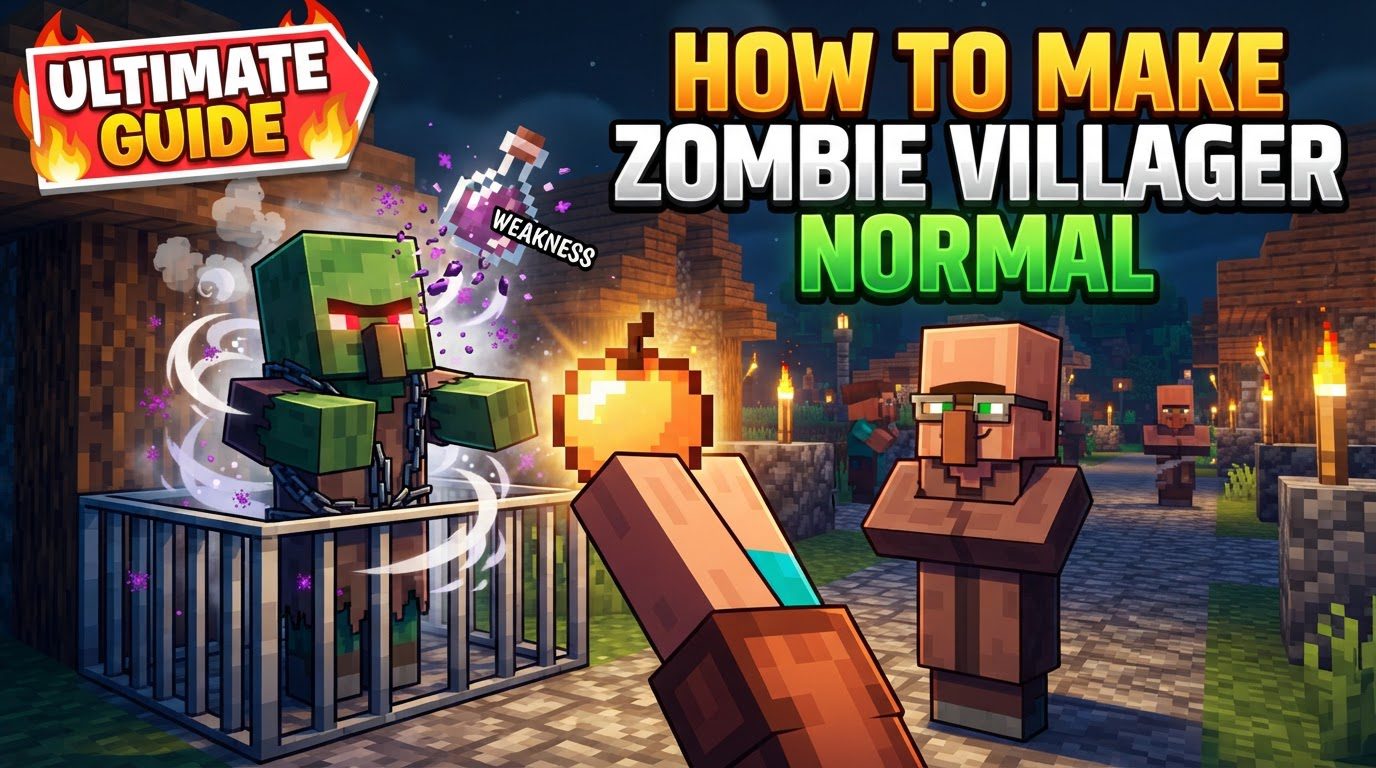
This guide will equip you with all the knowledge needed to successfully cure these unfortunate mobs, turning them from a threat into a valuable asset.
The Unseen Opportunity: Understanding Zombie Villagers
Zombie villagers are a unique variant of the standard zombie, distinguishable by their villager-like features. They aren’t just a nuisance; they represent a significant opportunity for any savvy Minecraft player. These creatures can appear in several ways:
- They have a 5% chance to spawn naturally in place of a regular zombie.
- A regular villager killed by a zombie has a 50-100% chance (depending on difficulty) of transforming into a zombie villager.
- They can be found in specific structures, such as the basements of igloos and within abandoned villages.
The ability to convert these hostile mobs back into normal villagers is a cornerstone of advanced villager trading and village management. It’s a process that takes between 3 to 5 minutes, during which the zombie villager will visibly shake and emit red particles, signaling the ongoing transformation.
Why Undertake the Cure? The Value of a Healed Villager
Beyond the satisfaction of reversing a curse, curing a zombie villager offers tangible and powerful benefits:
- Substantial Trading Discounts: This is arguably the most significant advantage. Cured villagers offer significantly reduced prices on their trades, often selling items for just one emerald or even free. Repeatedly curing zombie villagers can lead to even better discounts.
- Village Repopulation: If your village has been decimated by raids or zombies, cured villagers are perfect for bringing life back to the community. Once cured, they will behave like any other villager, capable of breeding and taking on professions.
- The “Zombie Doctor” Advancement: Successfully curing a zombie villager earns you this specific in-game advancement, marking your achievement.
- Permanent Presence: Unlike some temporary mobs, once a zombie villager is cured, it will not despawn, ensuring your investment of time and resources is permanent.
- Random Professions: Upon curing, the villager will adopt a random profession, unless it is near an available workstation, in which case it will take on the corresponding job. This allows for some control over the outcome.
The Curing Elixir and Golden Treat: Gathering Your Tools
To begin the healing process, you’ll need two crucial items:
1. Splash Potion of Weakness: This potion is essential for weakening the zombie villager, making it susceptible to the cure.
- Brewing: You will need a brewing stand. Combine a fermented spider eye and gunpowder in the brewing stand to create a Splash Potion of Weakness. The gunpowder is what makes it a ‘splash’ potion, allowing you to throw it.
- Alternatives: If brewing splash potions isn’t feasible, an Arrow of Weakness (shot from a bow) or a Lingering Potion of Weakness can also be used. Lingering potions are particularly useful for affecting multiple zombie villagers at once.
2. Golden Apple: This is the key ingredient that initiates the cure once the zombie villager is weakened.
- Crafting: To craft a Golden Apple, place a regular apple in the center of a crafting grid and surround it with eight gold ingots.
- Important Note: Only a regular Golden Apple works for curing. The enchanted Golden Apple (also known as a Notch Apple) will not trigger the curing process.
Finding Your Patient and Building a Sanatorium
The first step is, of course, locating a zombie villager. Once you’ve found one, securing it is paramount.
Locating a Zombie Villager:
- Wander around at night; they can spawn randomly.
- Seek out abandoned villages.
- Check igloo basements, which often contain one.
- Intentionally infect a regular villager by letting a zombie attack and kill it (ensure you’re on at least Easy difficulty for a chance of infection).
Preparing a Safe Location:
Once you’ve identified your target, you must secure it. Zombie villagers are still zombies, meaning they burn in daylight and are hostile. You need a safe, enclosed space to perform the cure:
- Containment: Trap the zombie villager using solid blocks to create a small, inescapable room. Ensure it has a roof to block sunlight.
- Mobility Restriction: For easier handling, you can lure the zombie villager into a boat or a minecart. This prevents it from moving around too much during the process.
- Safety First: The enclosure should protect your patient from other hostile mobs that might attack it, as well as from accidentally attacking you.
Administering the Cure: The Step-by-Step Process
With your ingredients ready and the zombie villager secured, it’s time for the transformation.
- Apply Weakness: Throw the Splash Potion of Weakness directly at the zombie villager. If using an Arrow of Weakness, shoot it. For a Lingering Potion, throw it near the zombie villager. You’ll see purple particles and the “Weakness” status effect icon appear above its head.
- Offer the Golden Apple: While the zombie villager is under the Weakness effect, right-click on it with the Golden Apple in your hand. You should hear a distinct sound, and the zombie villager will begin shaking and emitting red particles. This signifies the curing process has begun.
The Waiting Game: Protection and Patience
The curing process isn’t instant; it takes 3 to 5 minutes. During this critical period, your primary job is to protect the transforming villager.
- Sunlight Protection: Ensure it remains shielded from direct sunlight, which would burn it.
- Hostile Mob Defense: Keep other zombies or hostile mobs away. They might attack your patient, or worse, reinfect it if it cures and then gets attacked again.
- Stay Nearby: Do not leave the area. Chunks need to remain loaded for the curing process to continue.
Once the 3-5 minutes have passed, the shaking and red particles will cease, and your zombie villager will transform into a regular, healthy villager, ready to trade!
Optimizing Your Operation: Advanced Tips for Curing
- Accelerate the Cure: You can speed up the curing process slightly by placing iron bars and a bed near the zombie villager during its transformation. This adds to the ‘comfort’ of the curing environment.
- Mass Curing Efficiency: If you’re curing multiple zombie villagers, a single Arrow of Weakness (especially with a piercing crossbow enchantment) can hit several targets. Lingering Potions of Weakness are also excellent for affecting an area with multiple zombie villagers.
- Pre-preparation is Key: Always have your Golden Apples easily accessible in your hotbar right next to your weakness potions or arrows. The Weakness effect has a limited duration, and you don’t want to waste it fumbling through your inventory.
- Mind Your Golems: Iron Golems are programmed to attack hostile mobs, including zombie villagers. Temporarily move any Iron Golems away from your curing area to prevent them from accidentally killing your patient.
What Not to Do: Common Missteps to Avoid
Even with the right knowledge, mistakes can happen. Be aware of these common pitfalls:
- Using Enchanted Golden Apples: As mentioned, only the standard Golden Apple works. An enchanted one will do nothing to initiate the cure.
- Neglecting Protection: Failing to shield the zombie villager from sunlight or other hostile mobs during the curing period almost guarantees its death or reinfection.
- Curing in a Hostile Environment: If other hostile mobs (like zombies or illagers) are nearby when the villager cures, they may immediately attack the newly transformed villager. Clear the area first.
- Leaving the Area: If you wander too far away and the chunk unloads, the curing process will pause or reset, wasting your time and resources.
- Accidental Harm: Avoid anything that might damage the zombie villager during its vulnerable state. This includes splash healing potions (which harm undead mobs) or accidentally brushing against it with Thorns enchanted armor.
By following this comprehensive guide, you’ll be well on your way to becoming a master “Zombie Doctor,” transforming the undead into valuable trading partners and repopulating your Minecraft world with thriving communities.
Tags:
YOU MAY ALSO LIKE...


