

Minecraft How to Spawn Villagers
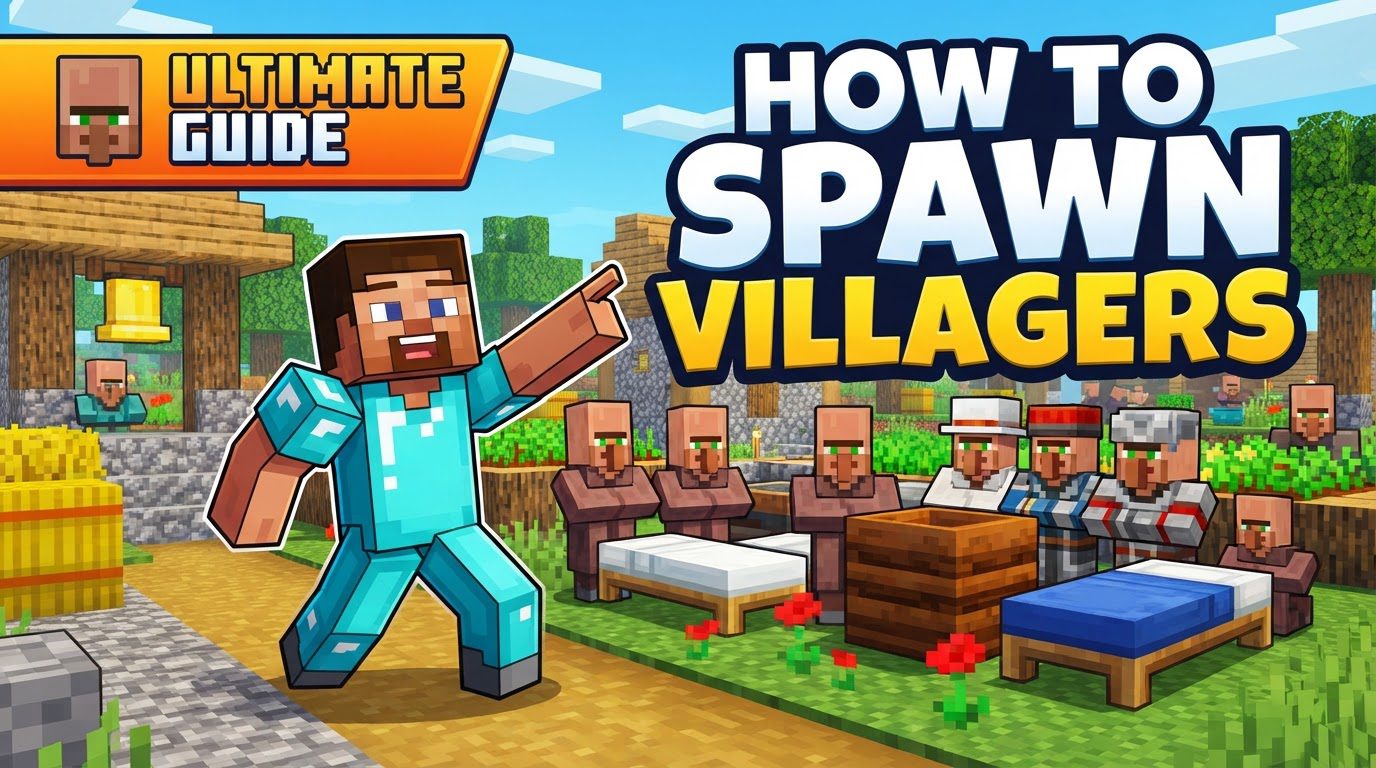
Expecting villagers to spontaneously appear in your meticulously crafted village is one of Minecraft’s most common misassumptions. Unlike some other passive mobs, new villagers do not simply materialize in empty areas, regardless of how well-designed your settlement is. Instead, populating your world with these valuable trading partners in Survival mode relies on more deliberate actions: primarily breeding existing villagers or curing their zombified counterparts. Creative mode, of course, offers instant solutions, but for the true survivalist, understanding the mechanics of villager propagation is key to building a thriving community.
Understanding Villager Generation: Beyond the Village Biome
The concept of “spawning” villagers in Minecraft can be a bit misleading. New villagers are generated naturally only when a new village structure is created during world generation. These villages typically appear in plains, desert, and savanna biomes, arriving pre-populated with a set number of villagers. Once generated, however, these initial villagers are the only ones that will ever spontaneously appear. Your player-built structures, no matter how village-like, will remain empty unless you actively introduce villagers through other means. This fundamental distinction is crucial for any player looking to establish or expand a villager population.
The Heart of Your Community: Breeding Villagers in Survival Mode
For most survival players, breeding is the primary and most sustainable method for increasing your villager population. It’s a relatively straightforward process once you understand the core requirements, which revolve around beds and food.
Establishing Your Foundation: Two Villagers to Start
To begin breeding, you’ll need at least two adult villagers. If you don’t have any, your initial task will be to acquire them. This can involve:
- Finding an existing village and carefully transporting villagers from there using minecarts or boats.
- Curing two separate zombie villagers (more on this process below).
Once you have your initial pair, you can begin setting up your breeding operation.
The Bedrock of Breeding: Beds, Beds, and More Beds
Beds are arguably the most critical component for villager breeding. Villagers will only breed if there are enough unclaimed beds available for the new offspring. Specifically, there needs to be at least one more bed than the current number of villagers in the area. Each bed must also have at least two blocks of air space directly above it to be considered valid by the villagers. Think of beds as setting the population cap for your villager community – no free beds, no new villagers.
Fueling the Future: The Importance of Food
Villagers need to be “willing” to breed, and this willingness is primarily achieved by having sufficient food in their inventory. You can encourage this by dropping specific food items near them for them to pick up. The preferred foods and their quantities to make a villager willing are:
- 3 Bread
- 12 Carrots
- 12 Potatoes
- 12 Beetroots
Once a villager has enough food, heart particles will appear above their heads, indicating their willingness to breed. Farmer villagers are particularly useful in a breeding setup, as they will harvest crops and share food with other villagers, effectively automating the food distribution process.
A Safe Haven: Ensuring a Secure Environment
Villagers are quite cautious creatures. If they perceive a threat, such as nearby hostile mobs, they will be less likely to breed. Ensure your breeding area is well-lit and secure from zombies, skeletons, and other dangers to encourage a peaceful and productive environment.
The Waiting Game: Patience is a Virtue
Once all conditions are met – two willing villagers, enough unclaimed beds, and a safe environment – the villagers will eventually breed. You’ll see them gather, heart particles will intensify, and a baby villager will pop into existence. This new villager will claim one of the available beds and eventually grow into an adult.
From Foe to Friend: Curing Zombie Villagers
An alternative, and sometimes necessary, method for acquiring new villagers in Survival mode is by curing zombie villagers. This process transforms a hostile mob into a friendly resident, often with beneficial trade discounts.
- Find a Zombie Villager: These variants of zombies can spawn naturally in the world, particularly at night, or when a regular zombie kills a villager on Hard difficulty (or normal difficulty with a specific chance).
- Apply Weakness: The first step to curing is to weaken the zombie villager. This is done by throwing a Splash Potion of Weakness directly at it. You’ll see swirling grey particles around the zombie villager, indicating the potion’s effect.
- Offer a Golden Apple: While the zombie villager is under the effect of Weakness, feed it a golden apple. Simply right-click (or use the equivalent action button) on the zombie villager with a golden apple in your hand.
- Wait for Transformation: After consuming the golden apple, the zombie villager will begin to shake violently, and red particles will emanate from it. This transformation process takes approximately 110 to 130 seconds. During this time, protect the vulnerable zombie villager from other hostile mobs or daylight, as it can still be killed.
Upon completion, the zombie villager will convert into a regular villager, ready to be integrated into your community.
Architect’s Toolkit: Spawning Villagers in Creative Mode
For players in Creative mode, or those with access to commands, “spawning” villagers is a much more direct affair. You can instantly create villagers without the need for breeding or curing:
- Villager Spawn Egg: In the Creative inventory, you can find a specific spawn egg for villagers. Using this item will instantly place an adult villager wherever you click.
/summon villagerCommand: By typing/summon villagerinto the chat console, you can summon a villager at your current location. Advanced players can use additional arguments with this command to specify profession, trades, and other NBT data.
Optimizing Your Villager Operations: Essential Tips for Success
To ensure a smooth and efficient villager community, keep these tips in mind:
- Beds as Population Caps: Always remember that the number of available, unclaimed beds directly dictates the maximum number of villagers that can exist in an area. Plan your bed placement carefully.
- Automated Food Systems: Integrate farmer villagers into your breeding setup. They will automatically harvest crops like wheat, carrots, potatoes, and beetroots, and then share the food with other villagers, keeping them “willing” to breed without constant player intervention.
- Job Security: Profession Blocks: New baby villagers are unemployed. Once they grow into adults, they will seek out and claim an available job site block (e.g., a lectern for a librarian, a blast furnace for an armorer) to gain a profession. Ensure you have these blocks available if you want specific villager trades.
- Strategic Breeding Grounds: For reliable population control and to prevent villagers from wandering back to their original villages, consider building dedicated breeding areas away from naturally generated villages.
- Relocation Logistics: Moving Your Villagers: Transporting villagers can be a challenge. Minecarts on rails or boats in water are the most common and effective methods. If moving villagers from an existing village, it’s often wise to destroy all doors (or, more accurately, beds) in their original village to prevent them from attempting to pathfind back.
Pitfalls to Avoid: Common Villager Spawning Mistakes
Even experienced players can sometimes stumble when it comes to villager mechanics. Be aware of these common errors:
- Insufficient Beds: This is by far the most frequent reason breeding fails. Always double-check that you have more valid, unclaimed beds than your current villager count.
- Lack of Food: Villagers won’t breed if they don’t have enough food in their inventory to become “willing.” Ensure a consistent supply.
- Misunderstanding “Village Structure”: While doors were historically important, in modern Minecraft, beds are the primary requirement for villagers to recognize an area as a “village” for breeding purposes. Don’t rely on doors alone.
- Unsafe Environment: Hostile mobs or perceived threats can stress villagers, preventing them from breeding. Secure your breeding area thoroughly.
- Expecting Spontaneous Spawns: As reiterated, villagers will not simply appear in your player-made structures without direct intervention through breeding or curing.
Mastering villager mechanics transforms your Minecraft experience, offering access to valuable trades, automated farms, and a lively, self-sustaining community. By understanding these core principles, you’ll be well on your way to a bustling and prosperous settlement.
Tags:
YOU MAY ALSO LIKE...


