

Minecraft How to Breed Villagers Java
One of the most frequently overlooked details when attempting to expand your Minecraft village population is the crucial role of an often-misunderstood resource: the humble bed. Without a sufficient number of available beds, specifically those that are unclaimed, your villagers will simply refuse to breed, no matter how much food you provide or how safe their environment appears. Understanding this fundamental requirement, alongside other specific conditions, is key to successfully growing your villager community in Minecraft Java Edition.
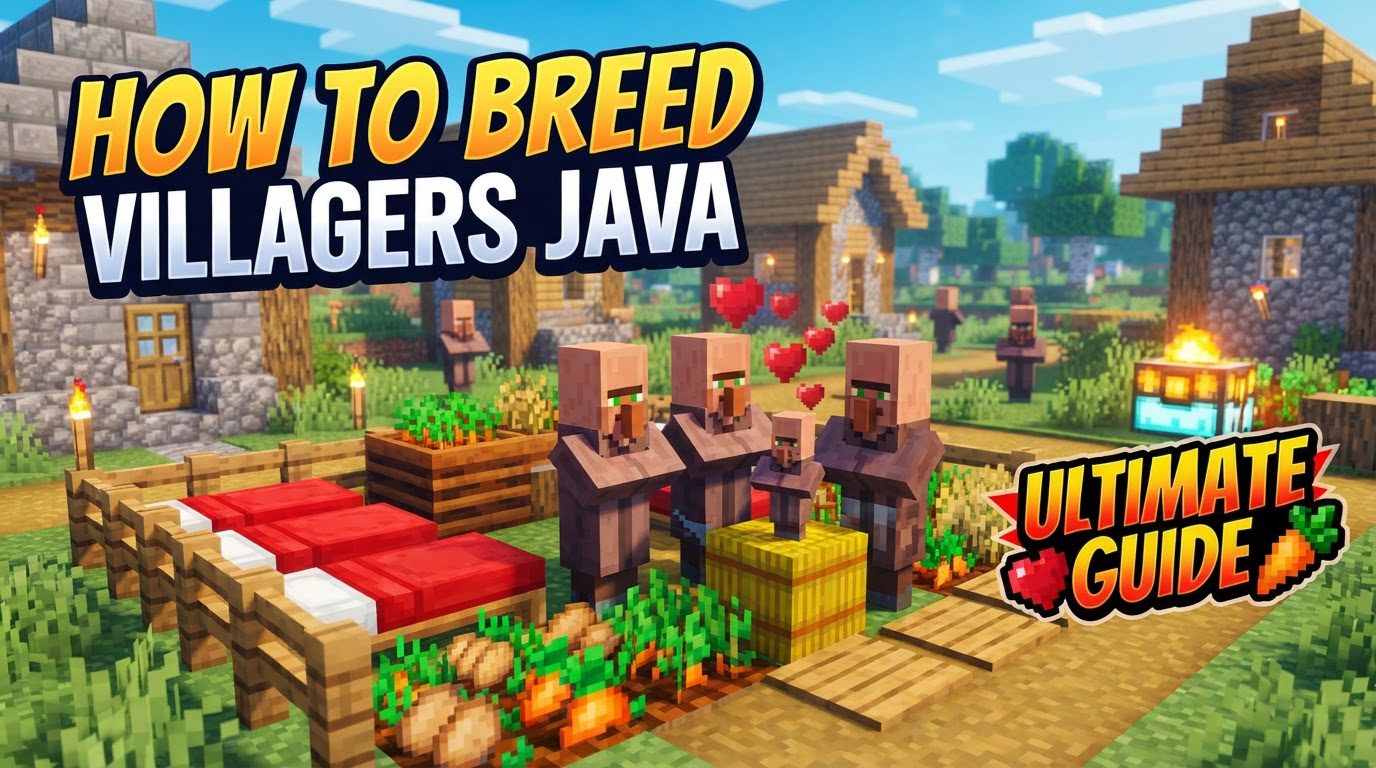
Breeding villagers is more than just a novelty; it’s a vital mechanic for any thriving Minecraft base. A larger villager population means more opportunities for valuable trades, creating specialized trading halls, establishing iron farms, or even building complex automatic farms that rely on villager mechanics. Mastering the art of villager breeding transforms them from passive inhabitants into a renewable resource for your in-game economy and infrastructure.
Understanding the Core Breeding Mechanics
Successful villager breeding hinges on meeting a precise set of conditions related to their living space, sustenance, and sense of security. Neglecting any of these will halt the breeding process before it even begins.
- Beds are Paramount: Every adult villager you have needs a claimed bed. Crucially, for breeding to occur, there must be at least one *extra*, unclaimed bed available for each new baby villager you wish to produce. This means if you have two adult villagers and want them to produce one baby, you need a total of three beds, with one of them being unclaimed. Additionally, each bed must have two full, empty blocks of clear space directly above it. This vertical clearance is essential for the bed to be considered valid and for the baby villager to spawn without obstruction.
- Food is Fuel for Love: Villagers require a sufficient amount of food in their inventory to become “willing” to breed. This isn’t just about throwing a few items; it’s about specific quantities. Each villager needs either 3 loaves of bread, 12 carrots, 12 potatoes, or 12 beetroots to enter the breeding state. They will pick up food items thrown on the ground, so it’s your job to ensure they have access to these resources.
- Willingness is Key: Once villagers have accumulated enough food in their inventory, they will display small heart particles above their heads. This visual cue signifies that they are “willing” to breed and are actively looking for a partner and an available bed. If you don’t see these hearts, check their food supply first.
- A Pair is Required: It takes two to tango, and it takes two adult villagers to initiate breeding. You cannot breed a single villager, nor can you breed a baby villager. Ensure you have at least two mature villagers present in your breeding area.
- Secure and Safe Environment: Villagers are skittish creatures. The breeding area must be secure, well-lit, and protected from hostile mobs. If villagers detect threats or are in an unlit area where mobs can spawn, they will feel unsafe and refuse to breed. A well-constructed enclosure provides both physical security and a sense of psychological safety for them.
- Close Proximity Matters: The two villagers intended for breeding must be close enough to each other to interact and eventually produce offspring. While they don’t need to be shoulder-to-shoulder, a contained area ensures they frequently cross paths and can initiate the breeding process.
Step-by-Step Villager Breeding Process
With the core mechanics understood, let’s break down the process into actionable steps to get your villager population booming.
- Build a Secure Enclosure: Start by constructing a safe, well-lit, and enclosed space for your villagers. This can be a simple room with walls, a roof, and sufficient torches or glowstone to prevent hostile mob spawns. Ensure it’s large enough to comfortably hold your desired number of villagers and beds.
- Place the Beds Strategically: Place enough beds for all adult villagers you plan to introduce, plus at least one *extra*, unclaimed bed for each baby you want to spawn. Remember the critical rule: each bed needs two full, empty blocks of space directly above it. This ensures the bed is valid and the baby has room to appear.
- Introduce Your Breeding Stock: Bring at least two adult villagers into this enclosed area. This can be done by luring them with beds at night, using minecarts, boats, or by curing zombie villagers.
- Provide Abundant Food: Throw sufficient food items onto the ground near the villagers. Remember the quantities: 3 bread, or 12 carrots, 12 potatoes, or 12 beetroots per villager. They will pathfind to the items and pick them up, adding them to their internal inventory. You might need to throw more than the minimum to ensure both villagers have enough.
- Observe and Wait for Breeding: Once both villagers have enough food and all other conditions (beds, safety, proximity) are met, you will see small heart particles appear above their heads. After a brief interaction, they will breed, and a baby villager will spontaneously appear near one of the valid beds.
- Allow for Growth: Baby villagers are adorable but not immediately useful for breeding or advanced trades. They take approximately 20 minutes of real-world time to grow into adults. During this time, they will claim an available bed if one exists.
Advanced Strategies for Efficient Breeding
To optimize your villager breeding operations, consider these helpful tips:
- Automate Food Production with Farmers: Assigning a villager to the Farmer profession by placing a Composter job site block within reach can significantly streamline food supply. Farmer villagers will harvest mature crops (wheat, carrots, potatoes, beetroots) within their work radius and, crucially, share excess food with other villagers. This creates a self-sustaining food economy for your breeding program.
- Trade to Encourage Willingness: While not strictly necessary if food conditions are met, trading with villagers can also increase their willingness to breed. Even a single trade with each villager can give them a boost, making them more likely to enter breeding mode. This is a good supplementary method, especially if you have an abundance of emeralds or tradeable items.
- Isolate Babies for Continuous Breeding: One of the most common bottlenecks in large-scale breeding operations is the baby villagers claiming the “extra” beds. To maintain the required count of unclaimed beds for continuous breeding, it’s highly beneficial to transport baby villagers away from the breeding area once they are born. This can be done using water streams, trapdoors, or minecarts to funnel them into a separate holding pen or a trading hall, preventing them from claiming the beds designated for new offspring.
Troubleshooting Common Breeding Obstacles
Even with the right knowledge, issues can arise. Here are the most frequent problems and their solutions:
- Insufficient Unclaimed Beds: This is arguably the most common mistake. If all available beds are claimed by existing villagers (including babies), no new breeding will occur. Always ensure there’s at least one more valid, unclaimed bed than the number of adult villagers you want to breed.
- Lack of Food in Inventory: Villagers will not enter “willing” mode without sufficient food. Throw more food onto the ground, or ensure your farmer villager is actively working and sharing. Watch for the heart particles as a confirmation.
- Blocked Beds: Beds must have two clear blocks of air directly above them. If you’ve placed blocks, half-slabs, or anything else in this space, the bed is invalid. Clear the space above each bed.
- Unsafe Environment: Villagers are highly sensitive to threats. If they detect hostile mobs nearby, or if the area is dark enough for mobs to spawn, they will refuse to breed. Ensure your breeding chamber is well-lit and fully enclosed to prevent mob spawns and provide a sense of security.
- Beds Not Pathfindable: Villagers need to be able to physically reach and pathfind to the beds for them to be used. If beds are blocked by obstacles or placed in inaccessible locations, they won’t count.
- Beds Remaining Assigned: Sometimes, a bed might remain assigned to a villager even after that villager is gone (e.g., despawned, died, or moved far away). If you suspect this, simply break and replace the problematic bed. This will reset its status and allow a new villager or baby to claim it.
By diligently adhering to these guidelines, you’ll soon have a thriving villager population, ready to trade, work, and contribute to your grand Minecraft endeavors. Happy breeding!
Tags:
YOU MAY ALSO LIKE...


