

Minecraft How to Make 7 Banner
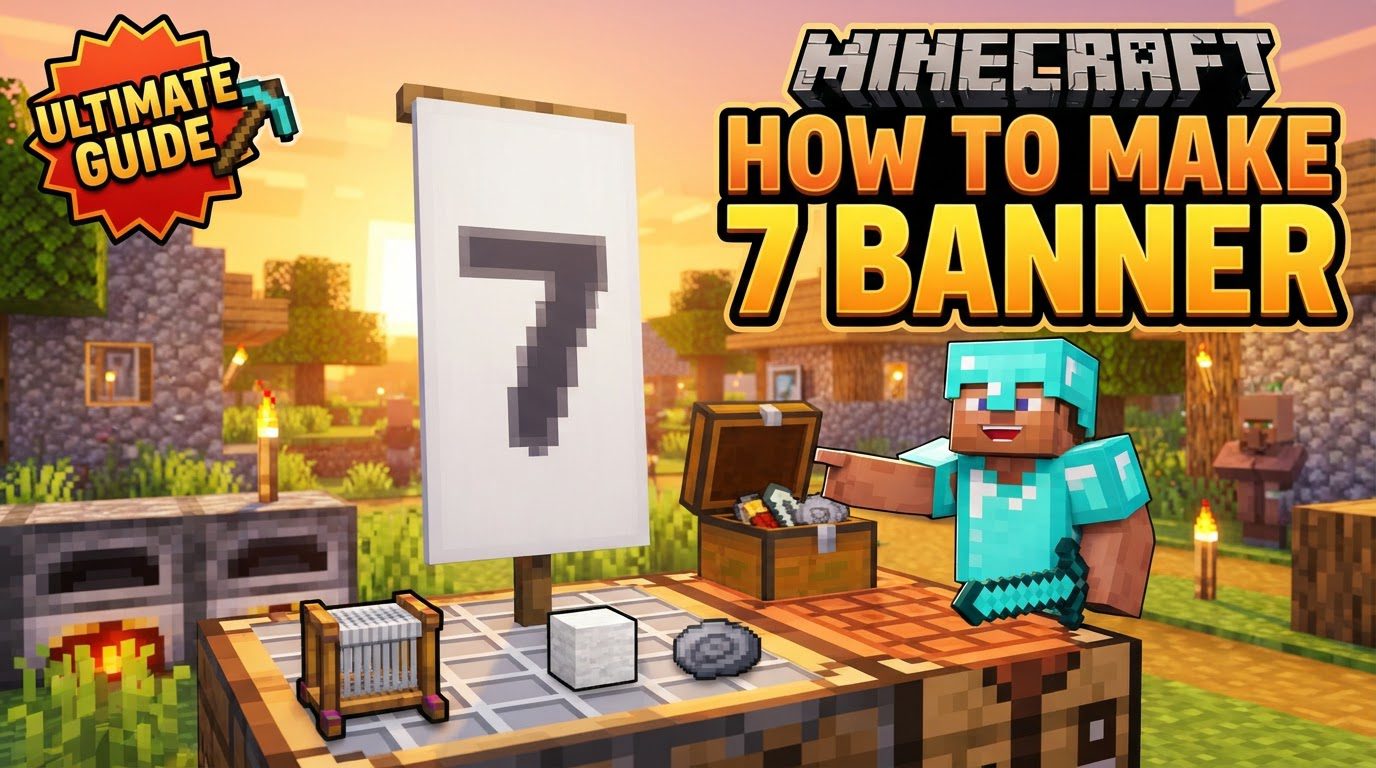
Up to six distinct layers of patterns can transform a simple Minecraft banner into a personalized emblem, and crafting a precise numeral like ‘7’ demonstrates this intricate customization perfectly. While the process involves careful layering and pattern selection, creating a visually compelling ‘7’ banner is entirely achievable with the right approach and an understanding of the loom’s capabilities.
Understanding Banner Fundamentals
Banners in Minecraft are more than just decorative blocks; they are canvases for personal expression. These tall, two-block-high items can be placed on walls, shields, or even on the ground, adding a unique touch to your builds or serving as identifiers for your faction or base. The magic behind their customization lies primarily with the loom.
- Banners: The foundational element, banners come in all 16 base dye colors. The color of your initial banner will serve as the background for all subsequent patterns.
- The Loom: This essential utility block acts as your design station. It provides a dedicated interface where you combine a banner, a dye, and often a specific pattern to create layered designs. Without a loom, custom banner creation is impossible.
- Dyes: With 16 vibrant colors available, dyes are the pigments used to color the patterns you apply. Each pattern layer requires one unit of dye of the chosen color.
- Patterns: Banners can host a maximum of six unique pattern layers. Each new pattern is applied on top of the previous ones, meaning the order of application significantly impacts the final design.
- Base Banner: This is the blank banner you start with. Its color dictates the background hue of your finished product.
The flexibility of the loom allows for a vast array of designs, from simple stripes to intricate symbols. For our “7” banner, we’ll be exploiting the layering system to build the numeral piece by piece.
Crafting Your ‘7’ Banner: A Detailed Blueprint
Creating the number “7” on a banner typically involves 3-4 distinct pattern layers, meticulously applied to form the recognizable shape. Here’s a common and effective method to achieve this specific design.
Gathering Your Essential Materials
Before you begin designing, ensure you have all the necessary components:
- One Base Banner: Choose any color you desire for the background. For example, a White Banner.
- Two Primary Dyes: These will be the color of your “7.” For instance, Black Dye. You’ll need at least two units.
- One Base Color Dye (Optional but Recommended): This dye should match the color of your base banner. For our example, White Dye. This is used for refining the shape.
With your materials in hand, locate or craft a loom and place it in a convenient location.
Initiating the Design Process with the Loom
Access the loom interface. You’ll see three input slots: one for the banner, one for dye, and one for special banner patterns (which we won’t need for this specific number). Below these, a grid displays all available patterns, and a preview window shows your banner’s evolution.
- Place Your Base Banner: Drag your chosen base banner (e.g., White Banner) into the leftmost slot of the loom interface.
- Insert Primary Dye: Place one of your primary dyes (e.g., Black Dye) into the middle dye slot.
Layer 1: The Diagonal Stroke
The first step is to create the main diagonal line of the “7.”
- Select the Pattern: In the pattern grid, look for the diagonal stripe pattern that runs from the bottom-left corner to the top-right corner. This pattern is typically labeled as “Bend Sinister” in the loom interface.
- Apply the Pattern: With your banner and primary dye in place, select “Bend Sinister.” Observe the preview window to ensure it looks correct. Then, click the output slot to retrieve your banner with the first layer applied.
This layer forms the core diagonal element, providing the fundamental slant of the number seven.
Layer 2: The Top Horizontal Bar
Next, we’ll add the horizontal bar that sits atop the diagonal stroke, completing the basic “7” shape.
- Return Banner to Loom: Place the banner (now with the “Bend Sinister” pattern) back into the loom’s banner slot.
- Confirm Dye: Ensure your primary dye color (e.g., Black Dye) is still in the dye slot. If not, replace it.
- Select the Pattern: From the pattern grid, choose the “Chief” pattern. This pattern creates a solid horizontal stripe across the very top of the banner.
- Apply the Pattern: Select “Chief,” check the preview, and then retrieve your banner.
At this point, your banner should clearly resemble a stylized “7” with a diagonal line and a top bar, both in your chosen primary color.
Layer 3: Refining the Shape (Optional but Recommended)
This final layer is crucial for giving the “7” a cleaner, more defined look, especially at its lower end or to reduce the thickness of the diagonal if desired. It uses your base banner color to ‘cut away’ or shape existing patterns.
- Return Banner to Loom: Place your partially completed “7” banner back into the loom.
- Insert Base Color Dye: Crucially, replace the primary dye with a dye that matches your banner’s base color (e.g., White Dye).
- Select the Shaping Pattern: Depending on the exact look you want, you can choose:
- “Bordure“: This adds a thin border around the entire banner in your base color, which can clean up stray pixels or make the ‘7’ appear slightly thinner.
- “Base Dexter Canton” or “Base Sinister Canton“: These patterns add a solid square of color to a bottom corner. If your “7” looks too thick at the bottom or has an unwanted extension, using one of these in your base color can effectively ‘erase’ part of the diagonal to make it sharper. Experiment in the preview to see which canton best refines your ‘7’s bottom edge.
- Apply the Pattern: Once satisfied with the preview, select the pattern and retrieve your finished “7” banner.
This optional step transforms a good “7” into a great one, showcasing a level of detail that truly elevates your banner artistry.
Elevating Your Banner Artistry: Expert Advice
Mastering banner creation goes beyond just following steps; it involves understanding the nuances of the loom and pattern application.
- Experimentation is Key: The loom’s preview window is your best friend. Before committing a pattern, always check how it looks. Try different dye colors for each layer, or even slight variations in pattern choice, to see which effect you prefer. There are often multiple ways to achieve a similar visual outcome.
- Layering Order Matters Immensely: Remember that patterns are applied sequentially, with each new design overlaying previous ones. This means applying a large pattern late in the process might cover up intricate details you added earlier. Plan your layers from background to foreground, or from the largest elements to the smallest refining touches.
- Correcting Mistakes in Java Edition: If you’ve made a mistake on the *last* applied pattern, Java Edition players have a quick fix. By using your banner on a cauldron filled with water, you can “wash off” the topmost layer. This is a lifesaver for minor errors, but be aware it only removes the most recent pattern and does not work in Bedrock Edition.
- Standard vs. Special Banner Patterns: For numbers and most geometric designs, you only need a banner and dyes. However, some unique patterns (like those for the Creeper face, Skull, Flower, or Mojang logo) require a specific “banner pattern” item in addition to dye. These special items are not needed for crafting the number “7” and are generally obtained through crafting or trading.
Navigating Banner Creation: Pitfalls to Avoid
Even experienced builders can stumble when creating banners. Being aware of common mistakes can save you time and resources.
- Exceeding the Pattern Limit: A banner can only hold a maximum of six distinct pattern layers. While our “7” banner typically uses 3-4, complex designs can quickly hit this ceiling. If you try to add a seventh pattern, the loom will simply not allow it.
- Incorrect Dye Order: It’s easy to accidentally use the wrong color dye for a particular layer. Always double-check that the dye in the loom’s slot matches the color you intend for the pattern you’re about to apply. A black “7” with a white outline requires careful switching of dyes.
- Wrong Pattern Selection: The loom’s interface can be visually busy, and some patterns look quite similar. Take a moment to hover over patterns and confirm their names or visual representation in the preview before applying. Selecting “Bend” instead of “Bend Sinister,” for instance, would invert your diagonal.
- Not Enough Dye: Each pattern application consumes one unit of dye. For a 3-layer “7” banner, you’ll need at least two dyes of your primary color and one of your base color. Always ensure you have sufficient quantities of each dye color before starting your design process.
Crafting a “7” banner in Minecraft is a rewarding blend of resource management and creative layering. By understanding the loom, carefully selecting your patterns, and applying dyes in the correct sequence, you can produce a sharp, professional-looking numeral for any purpose. Whether for marking a lucky number, identifying a building, or simply for aesthetic appeal, your custom “7” banner will stand out as a testament to your in-game design skills.
Tags:
YOU MAY ALSO LIKE...


