

Minecraft How to Make 3×3 Map
Many aspiring cartographers in Minecraft often stumble when attempting to create a grand, multi-map display, frequently ending up with overlapping sections or maps that don’t quite align. Crafting a seamless 3×3 map wall is a rewarding endeavor that transforms a small corner of your base into a functional, expansive overview of your world. This guide will walk you through the essential mechanics and precise steps needed to achieve a perfect nine-panel cartographic masterpiece.
Understanding the Basics of Minecraft Maps
Before embarking on the creation of a massive 3×3 map display, it’s crucial to grasp the fundamental mechanics that govern how maps function within Minecraft. These core principles dictate everything from how maps are crafted to how they interact with the world and your exploration.
- Map Crafting: The journey begins with a basic empty map. This is crafted by placing 8 pieces of paper around a single compass in a crafting table. This initial map will not show your position.
- Locator Maps: To make a map truly useful for navigation, you need a locator map. An “Empty Locator Map” is created by combining a compass and paper. Alternatively, an existing empty map can be combined with a compass to turn it into a locator map, displaying your player icon. This is absolutely essential for aligning your 3×3 grid accurately.
- Map Scaling (Zoom Levels): Minecraft maps come with five distinct zoom levels, ranging from 0 to 4. Each level dictates the area a map covers and, consequently, its detail.
- Level 0: Covers a 128×128 block area, offering the highest detail.
- Level 4: Spans a vast 1024×1024 block area, providing a broad overview but with less individual block detail.
You can zoom out a map by combining it with paper in a crafting table. For greater efficiency, especially when dealing with multiple maps, the cartography table allows you to zoom out by placing the map in the top slot and one piece of paper in the bottom slot. It’s important to remember that each zoom level increases the area covered while simultaneously reducing the detail per block.
- Map Centering: A common misconception is that maps center on the player when first activated. In reality, the Minecraft world is divided into an invisible grid of squares. When you activate a map, it captures the area of the specific grid square you are currently located within. This fixed grid behavior is key to creating non-overlapping, adjacent maps.
- Item Frames: To proudly display your maps on a wall, you’ll need item frames. These decorative blocks are crafted with 8 sticks surrounding 1 piece of leather in a crafting table. They allow maps to be placed flat against a surface, forming your visual display.
- Map Updates: Maps are not live, constantly updating feeds. If you make changes to the terrain (e.g., build a house, dig a canal) outside the area currently in your hand, the map won’t reflect those changes until you revisit that specific area with the map held in your hand. This “re-exploration” updates the map’s data.
Gathering Your Cartographic Tools
Before you begin the meticulous process of mapping, you’ll need to collect a substantial amount of materials. Preparation is key to avoiding interruptions during the mapping process.
- Compasses (9 total): Each locator map requires one compass. A compass itself needs 4 iron ingots and 1 Redstone dust. For a 3×3 display, you’ll need 9 locator maps, hence 9 compasses.
- Paper (72-81 pieces): Each map requires 8 pieces of paper for its initial crafting. If you plan to zoom out your maps, you’ll need additional paper (one per zoom level per map).
- Leather (9 pieces) and Sticks (72 pieces): These are for crafting the 9 item frames that will hold your maps on the wall. Each item frame requires 1 leather and 8 sticks.
The Precise Steps to a Perfect 3×3 Map Wall
With your materials in hand and a solid understanding of map mechanics, follow these steps carefully to construct your grand map display.
1. Craft Your Locator Maps
Begin by crafting 9 “Empty Locator Maps.” In a crafting table, place a compass in the center slot and fill the remaining 8 slots with paper. Repeat this process nine times.
2. Choose Your Map Scale
Decide on the zoom level for your entire 3×3 display. For the most detailed view of your immediate surroundings, level 0 (1:1 scale) is ideal. If you want a broader overview of a larger region, you’ll need to zoom out your maps uniformly. Level 0 maps are generally easier to fill completely and align for a first-time 3×3 project.
3. Create the Central Map
Stand at the exact desired center of the 3×3 area you wish to map. Take one of your “Empty Locator Maps” into your hand and right-click (or use the equivalent action for your platform) to activate it. This will begin filling the map with the terrain data of the grid square you are currently in. Explore the area covered by this map until it is fully revealed. Your player marker will help you understand the boundaries of this map.
4. Generate Adjacent Maps Systematically
This is the most critical step for proper alignment. Once your central map is complete, you need to create the eight surrounding maps. The key is to move to the very edge of your first map’s coverage before activating a new empty locator map.
- Move to an Edge: Walk until your player marker on the central map is just at the very edge of the map’s visible area, indicating you are about to enter the next map’s grid square.
- Activate New Map: With an “Empty Locator Map” in hand, right-click to activate it. This new map will cover the adjacent grid square.
- Explore and Repeat: Fully explore this new map. Then, move to the edge of this newly created map and activate another empty map for the next adjacent area.
It is crucial to work systematically. For example, create the map directly north of your center, then east of that, then south, and so on, working your way around the central map. Always ensure you move far enough that the new map you activate is not a duplicate of an existing one. Visualizing the invisible grid squares can be challenging, but your player marker on the locator map is your best guide.
5. Zoom Maps (If Desired)
If you decided on a zoom level greater than 0, now is the time to zoom out all 9 of your explored maps. Place each map individually into the top slot of a cartography table and one piece of paper into the bottom slot. This will create a zoomed-out version of the map. Repeat for all 9 maps, ensuring they are all zoomed to the exact same level.
6. Construct the Display Wall
Find a suitable location in your base to display your maps. Build a flat, 3×3 surface (any solid block type will do) where you intend to hang them. This wall will serve as the canvas for your cartographic display.
7. Position Item Frames
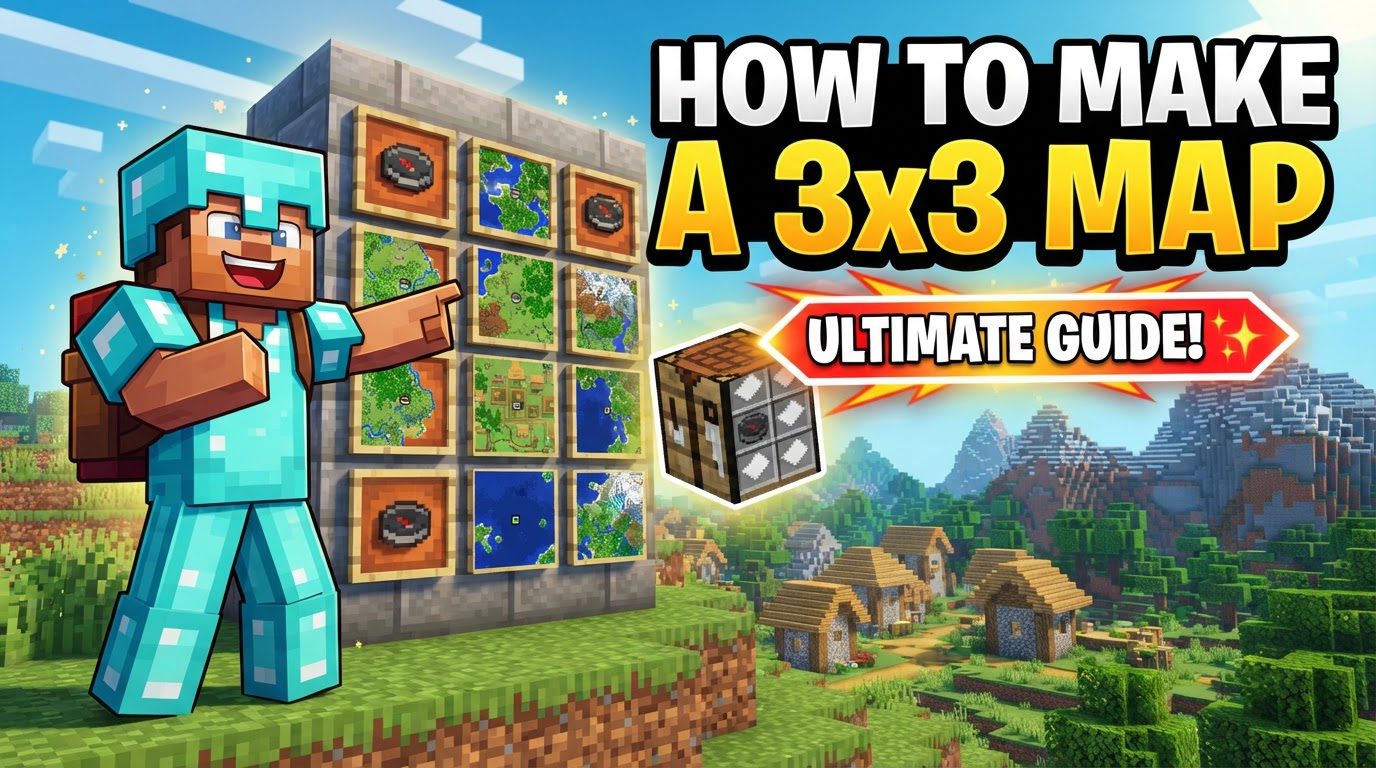
Place 9 item frames in a 3×3 grid pattern on your constructed wall. Make sure they are evenly spaced and aligned.
8. Install Maps into Frames
Finally, place each explored and potentially zoomed map into its corresponding item frame. Carefully align them so that the terrain flows seamlessly from one map to the next, creating a continuous, large-scale representation of your world.
Advanced Tips for Cartographic Excellence
To refine your map-making process and avoid common frustrations, consider these expert tips:
- Systematic Exploration is Paramount: When filling out your 9 maps, adopt a strict pattern. Working left-to-right, then top-to-bottom, or in a spiral outwards from the center, will help you keep track of which areas you’ve mapped and where the next map needs to be initiated. This prevents missed sections and duplicate efforts.
- Utilize Chunk Borders (Java Edition): For Java Edition players, pressing
F3 + Gtoggles the visibility of chunk borders. Since map grid squares align with specific chunk boundaries (especially at higher zoom levels), seeing these borders can be immensely helpful in visualizing where to stand to initiate a new, perfectly aligned map. - Duplicate Maps for Safety or Sharing: Once a map is fully explored and complete, you can duplicate it. Simply place the filled map and an “Empty Map” (not an empty locator map) into a crafting area. This creates an identical copy, useful for backups, for sharing with friends, or for creating a second display.
- Precise Coordinate-Based Alignment: For the most precise alignment, particularly with zoomed-out maps, try to initiate your level 0 maps at specific coordinate multiples. For instance, a level 0 map (128×128 blocks) will always center its grid square on coordinates that are multiples of 128. If you want a map to cover X:0, Z:0, you’d stand somewhere within that 128×128 grid. Understanding this can prevent overlapping or misaligned maps, especially when dealing with larger areas.
Avoiding Common Pitfalls on Your Mapping Journey
Even seasoned players can make mistakes when dealing with maps. Be aware of these common errors to save yourself time and resources:
- Overlapping Maps: The most frequent mistake. Activating a new map too close to an existing one will result in either a duplicate map of an area you’ve already covered or a map that only partially reveals new territory, leading to visual discontinuities in your 3×3 display. Always move sufficiently past the edge of the previous map.
- Neglecting Locator Maps: Attempting to create a multi-map display without using locator maps (those with the player marker) is an exercise in futility. Without seeing your position relative to the map’s boundaries, aligning new maps precisely becomes virtually impossible.
- Incomplete Maps: For achievements like “Map Room,” or simply for a visually satisfying display, all maps in your 3×3 grid must be fully explored. Partially revealed maps look disjointed and unfinished.
- Mixing Zoom Levels: A 3×3 display works because all maps contribute to a cohesive, continuous image. Using maps with different zoom levels within the same grid will result in an uneven, visually jarring, and ultimately unhelpful display. Ensure all 9 maps are zoomed to the identical level.
- Not Moving Far Enough: Similar to overlapping maps, if you don’t travel a sufficient distance beyond the edge of one map before activating the next, you risk creating a map that nearly duplicates the previous one, especially with zoomed maps which cover larger grid squares. Be deliberate in your movement.
By diligently following these instructions and heeding the advice on avoiding common errors, you’ll successfully construct a magnificent 3×3 map display, turning a vast expanse of your Minecraft world into a manageable and impressive piece of in-game cartography.
Tags:
YOU MAY ALSO LIKE...


