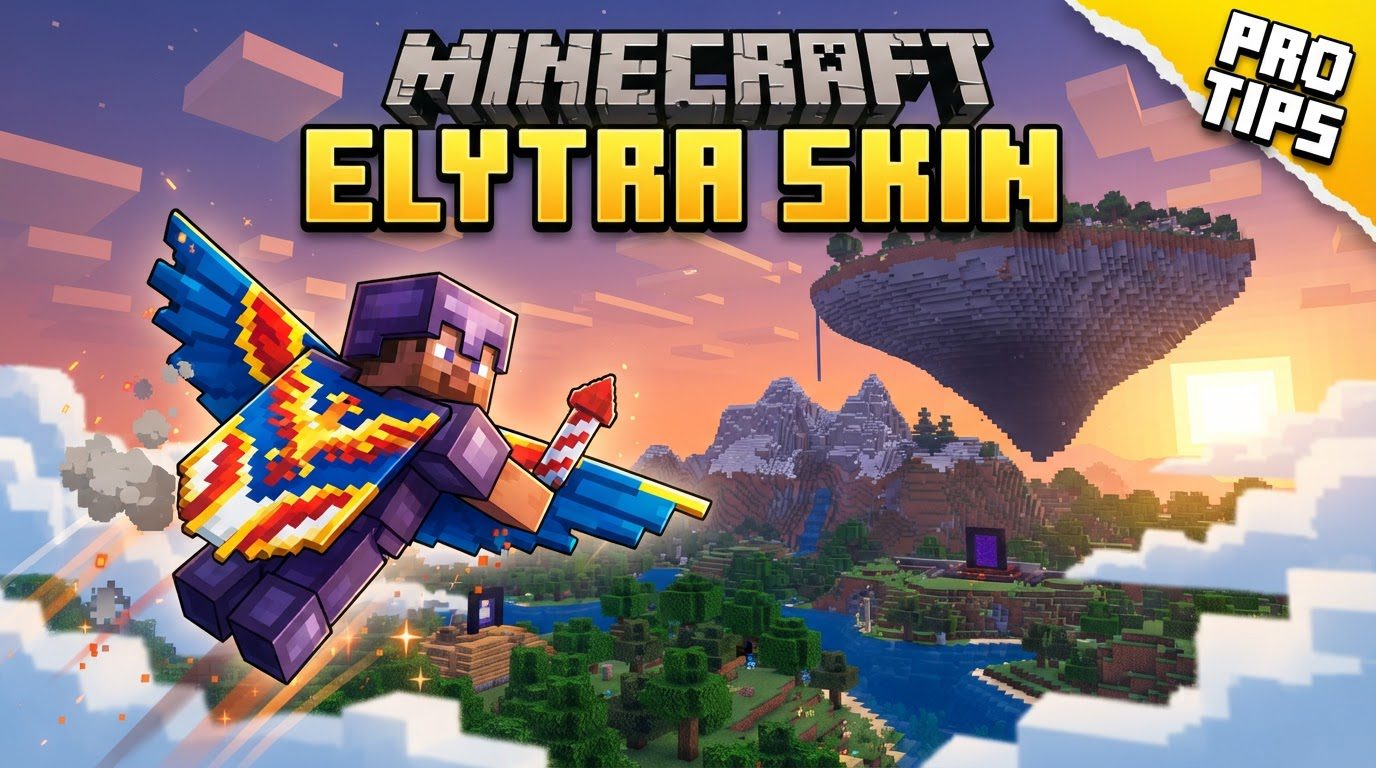
Minecraft Elytra Skin
Unlike many other items in Minecraft, directly changing the appearance of your Elytra wings through a simple in-game menu is not a native feature of vanilla gameplay. This often surprises players who expect similar customization options as armor or tools. However, the community has developed robust methods, primarily through resource packs and specific modifications, to allow for a deeply personalized flying experience.
The Foundation of Elytra Aesthetics
At its core, Minecraft’s Elytra texture system is designed to be efficient rather than overtly customizable in-game. When you equip an Elytra, its visual appearance is intrinsically linked to other game elements or external files. Understanding these underlying mechanics is crucial for anyone looking to personalize their flight.
- Capes and Wings: A Shared Identity: The most straightforward way to influence your Elytra’s look is through in-game capes. If your player character has an official Minecraft cape (such as those from Minecon, Mojang, or OptiFine donor capes), your equipped Elytra will automatically adopt that cape’s texture. This means the cape and Elytra share the same 64×32 pixel texture file, offering a seamless visual transition from standing to soaring.
- Resource Packs: The Texture Overhaul: The most common and versatile method for custom Elytra skins involves resource packs. These player-created bundles of files allow you to replace almost any default texture in Minecraft with a custom one. For Elytra, a resource pack can swap out the standard wing texture with any design you desire. This change applies universally to all Elytra if it’s a simple texture replacement.
- OptiFine: Enhancing Customization: OptiFine, a widely used optimization mod, significantly expands resource pack capabilities. It introduces “Custom Item Textures” (CIT), which allows resource packs to offer multiple Elytra designs. With OptiFine installed, you can apply different custom textures to Elytra by simply renaming them on an anvil in-game, provided the resource pack supports this feature.
Crafting Your Own Winged Identity: Methods Explained
Personalizing your Elytra can range from simply activating a resource pack to designing your own textures. Each method offers a different level of control and requires varying technical expertise.
Resource Pack Integration
Resource packs are the backbone of most visual customization in Minecraft. For Elytra, a pack typically includes a custom elytra.png file located in the correct directory (assets/minecraft/textures/entity/elytra.png) within the pack’s structure. When activated, this custom image replaces the default one, changing how the wings appear on your character.
- Finding Packs: Numerous community websites, such as CurseForge or various Minecraft forums, host a vast collection of resource packs. Many packs are dedicated solely to Elytra designs, while others include custom Elytra textures as part of a larger visual overhaul.
- Activation: Once downloaded, resource packs are placed in your Minecraft’s
resourcepacksfolder. From the game’s main menu, navigate to “Options” -> “Resource Packs” and move your desired pack from the “Available” column to the “Selected” column.
Unleashing OptiFine’s Potential
For players seeking more dynamic customization, OptiFine is indispensable. It allows for a single resource pack to contain dozens of different Elytra designs, which can then be applied selectively.
The process generally follows these steps:
- OptiFine Installation: Download and install the correct version of OptiFine for your Minecraft client. Ensure it matches your game version precisely.
- Resource Pack Acquisition: Find a resource pack specifically designed to leverage OptiFine’s custom item textures for Elytra. These packs will often list the specific names you need to use for your Elytra.
- Pack Activation: Launch Minecraft with OptiFine, go to “Options” -> “Resource Packs,” and move your downloaded custom Elytra pack to the “Selected Resource Packs” column.
- Renaming Your Elytra: In-game, place your Elytra on an anvil. Rename it to the exact string specified by the resource pack (e.g., “Dragon Wings,” “Steampunk Glider,” “Phoenix Feathers”). This name acts as a trigger for OptiFine to apply the corresponding custom texture from the pack.
- Equipping for Flight: Equip your newly renamed Elytra. It should now display its custom texture, unique from other Elytra you might possess.
Beyond Textures: Advanced Customization
The Minecraft modding community constantly innovates. Some data packs and mods extend Elytra customization even further, allowing for features reminiscent of armor. These might include:
- Dyeing Elytra: Similar to leather armor, certain modifications enable players to dye their Elytra with various colors, offering a simple yet effective way to match themes.
- Armor Trims: With the introduction of armor trims in vanilla Minecraft, some mods have adapted this system to Elytra, allowing players to apply intricate patterns using different materials, vastly expanding aesthetic possibilities.
It’s important to note that these advanced methods almost always require a corresponding resource pack to display the new colors or trims correctly, integrating seamlessly with the texture-based customization system.
Tips for a Perfect Takeoff
To make the most of your custom Elytra experience, consider these practical tips:
- Experiment Liberally: Don’t settle for the first custom skin you find. The community offers an incredible variety of designs, from sleek and modern to fantastical and intricate. Download several packs and switch between them to see what truly resonates with your play style and in-game persona.
- Consider Your Aesthetic: Think about the overall theme of your Minecraft world or your character’s typical gear. A bright, colorful Elytra might clash with a dark, medieval build, for instance. Choose a skin that enhances your immersion.
- Creating Your Own Textures: If you venture into designing your own
elytra.png, pay close attention to transparency. Partially opaque pixels can often render as fully opaque in-game, leading to unexpected results. Also, remember that the texture wraps around a 3D model, so understanding how the top, bottom, and edge sections of your 2D image correspond to the 3D wings is crucial for a polished look. - Combining Approaches: You can often combine different customization methods. For example, a custom cape texture might work in conjunction with a resource pack that changes other aspects of the game, though always be mindful of potential visual conflicts or incompatibilities between packs.
Navigating the Skies Safely: Essential Elytra Knowledge
While focusing on aesthetics, it’s vital to remember the practicalities of Elytra use. Even with the most stunning custom wings, certain common pitfalls can hinder your flight experience:
- The Missing Chestplate: Equipping an Elytra means sacrificing the armor protection of your chestplate. Always remember to swap back to a chestplate when you’re not actively flying, especially when engaging in combat or exploring dangerous areas, as this leaves you significantly more vulnerable.
- Understanding Fall vs. Crash Damage: Feather Falling enchantments on your boots reduce damage from hitting the ground after a fall. However, they offer no protection if you crash into a wall, tree, or mountain while flying at high speeds. These impacts can be lethal regardless of your enchantments.
- Environmental Factors: While not common in vanilla, some mods or server configurations might introduce environmental factors that affect Elytra use. For instance, heavy rain or direct contact with water could temporarily disable flight. Always have a backup plan for transportation or be prepared to land if conditions change unexpectedly.
By understanding these customization avenues and keeping essential safety tips in mind, you can transform your Minecraft flying experience into something truly unique and visually spectacular.
Tags:
YOU MAY ALSO LIKE...