

Minecraft Copper Lantern
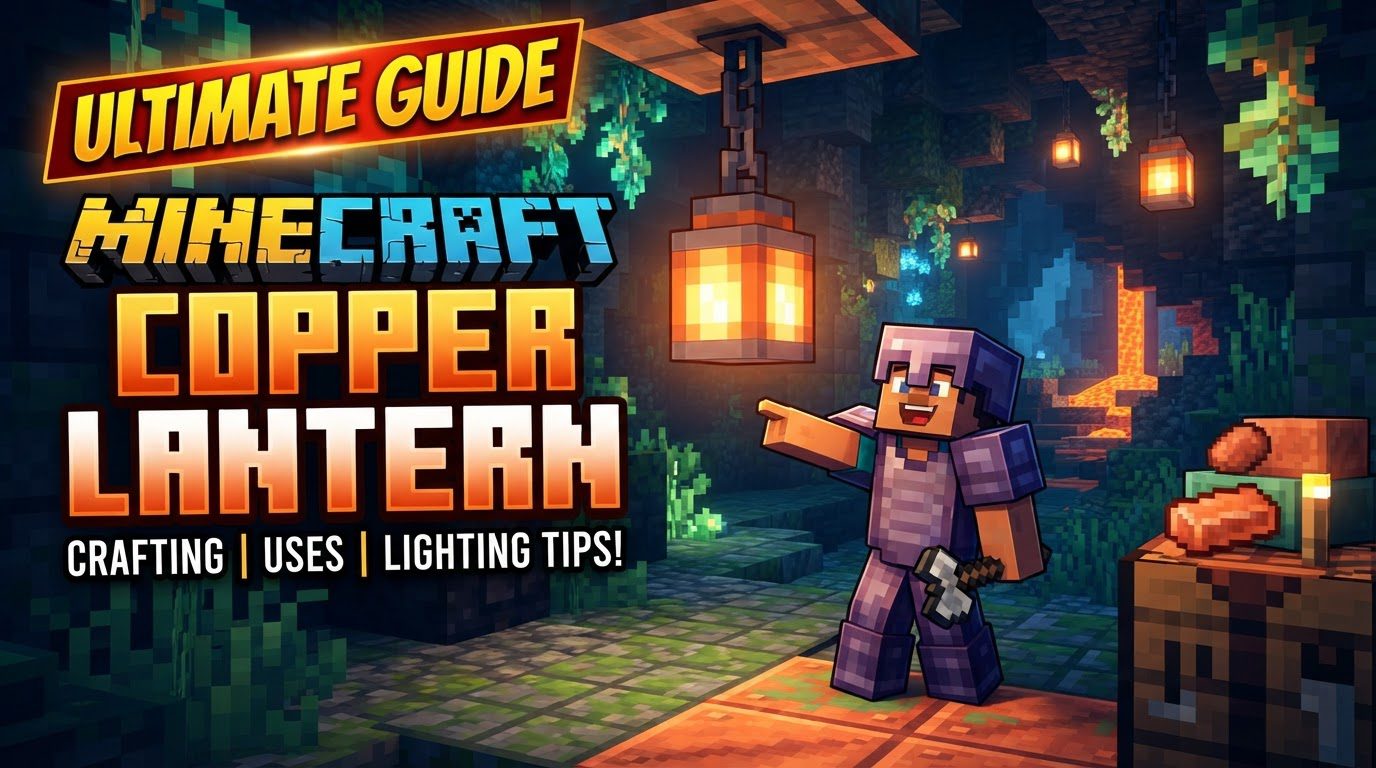
Many players, accustomed to the classic look and crafting of standard lanterns, might assume the new Copper Lantern is just a reskin. However, mistaking it for its iron counterpart is a common oversight that can lead to frustration at the crafting table and missed aesthetic opportunities. The Minecraft Copper Lantern, introduced in the 1.21.9 “The Copper Age” update or the 2025 Fall Drop update, brings not only a fresh visual but also a dynamic element to your lighting solutions, thanks to its unique material properties.
Illuminating Innovation: What Makes Copper Lanterns Distinct?
At its core, the Copper Lantern serves as a powerful light source, emitting a maximum light level of 15. This is identical to regular lanterns and is crucial for preventing hostile mob spawns in any dimly lit area. But the similarities largely end there. While standard lanterns cast hues of orange and blue, the Copper Lantern bathes its surroundings in various refreshing shades of green. This unique light texture alone offers unprecedented creative potential for builders looking to establish distinct atmospheres.
The most defining characteristic, however, stems from its primary component: copper. Like all copper-based blocks in Minecraft, the Copper Lantern is subject to the natural process of oxidation. This means your pristine, newly crafted lantern won’t stay the same color forever. It will gracefully transition through four distinct stages: starting as unoxidized (a rich, rusty brown or orange), progressing to exposed, then weathered, and finally becoming fully oxidized (a beautiful greenish-turquoise patina). Crucially, this oxidation is purely cosmetic; the lantern’s light output remains consistently at level 15 regardless of its current stage of decay. This dynamic visual evolution allows for truly living and breathing structures in your Minecraft world.
Beyond its unique light and evolving appearance, the Copper Lantern offers practical versatility. It can be placed directly on top of any solid block, hung elegantly from the underside of blocks, or even attached to fences and copper bars for more intricate detailing. Furthermore, these lanterns are waterloggable, meaning they can be submerged and still function perfectly underwater, opening up new possibilities for aquatic builds and submerged pathways.
The Oxidation Odyssey: A Dynamic Aesthetic
The journey a Copper Lantern takes through its oxidation stages is a visual spectacle that adds character and depth to any build. Each stage presents a distinct color palette, offering builders an evolving range of aesthetic choices:
- Unoxidized: This is the lantern’s initial state upon crafting. It boasts a warm, rusty brown or orange hue, reminiscent of freshly mined copper. Perfect for industrial themes or builds requiring a vibrant, metallic accent.
- Exposed: As time passes, the lantern begins to show subtle signs of oxidation, with patches of green starting to appear. This stage offers a blend of the original copper and the emerging patina, creating a nuanced look.
- Weathered: The green patina becomes more pronounced, covering a significant portion of the lantern’s surface. This stage evokes a sense of age and natural weathering, ideal for ancient ruins, overgrown structures, or rustic designs.
- Fully Oxidized: The final stage sees the lantern completely covered in a beautiful greenish-turquoise patina. This deep, verdigris color is perfect for adding a touch of antique elegance, blending with natural environments, or creating striking contrasts.
Understanding and leveraging these stages is key to maximizing the decorative potential of Copper Lanterns. Whether you desire the fresh gleam of new copper or the ancient charm of fully oxidized metal, these lanterns adapt to your vision without ever compromising their function as a powerful light source.
Forging Brilliance: Crafting Your Own Copper Lantern
Creating a Copper Lantern involves a few more steps than a standard lantern, primarily due to the unique material requirements. Follow this step-by-step guide to illuminate your world with these dynamic light sources:
- Obtain Raw Copper: Your journey begins deep underground. Mine copper ore, typically found in veins, to acquire raw copper. You’ll need a good supply for both the lantern itself and its crucial component, the copper torch.
- Smelt Copper Ingots: Take your raw copper to any furnace or blast furnace. Smelt it to transform the raw material into refined copper ingots. These ingots are the building blocks for many copper items.
- Craft Copper Nuggets: This is a crucial step unique to copper lantern crafting. Place one single copper ingot into any slot on a crafting table. This will yield nine shiny copper nuggets. You’ll need a total of nine nuggets for the entire process (one for the torch, eight for the lantern).
- Craft a Copper Torch: Unlike regular lanterns that use a standard torch, Copper Lanterns require a specialized copper torch. In a crafting table, combine one stick, one piece of coal (or charcoal), and one copper nugget. The exact arrangement doesn’t matter for this shapeless recipe. This copper torch will be the heart of your lantern.
- Assemble the Copper Lantern: Now for the final assembly. Open your 3×3 crafting grid. Place the newly crafted copper torch directly in the center slot. Then, surround this copper torch with the remaining eight copper nuggets, filling every other slot in the grid. This precise arrangement will yield one unoxidized Copper Lantern, ready to light up your creations.
Remember, the lantern you craft will initially be in its unoxidized, rusty brown/orange state. Its transformation into greener hues will occur naturally over time.
Mastering Oxidation: Control and Reversal
The dynamic nature of copper oxidation is a feature, not a bug, and Minecraft provides tools to manage this process according to your design preferences.
- Halting the Transformation (Waxing): If you achieve a specific oxidation stage – perhaps the partial green of an exposed lantern or the deep patina of a fully oxidized one – and wish to preserve it, you can wax the lantern. Simply use a honeycomb on the Copper Lantern. This will apply a wax coating, permanently locking it at its current oxidation stage and preventing any further change. This is invaluable for maintaining a consistent aesthetic across your builds.
- Reversing the Effects (Scraping): Did your lantern oxidize more than you intended, or do you want to revert it to its original unoxidized state? An axe is your tool of choice. Right-clicking or using an axe on an oxidized Copper Lantern will scrape off a layer of oxidation, reverting it to the previous stage. You can repeat this process until it’s fully unoxidized. Furthermore, lightning strikes, a rare environmental event, can also remove oxidation from copper blocks, including lanterns, providing a more unpredictable method of reversal.
- Embracing Decorative Variety: Don’t view oxidation as something to simply control; embrace it! The different oxidation states offer a fantastic palette for varied aesthetic builds. Use unoxidized lanterns for newer structures, partially oxidized ones for established areas, and fully oxidized lanterns for ancient ruins or natural, weathered environments. Mix and match to create depth and history in your builds.
Placement Versatility & Practicality: Lighting Up Your World
Copper Lanterns are as flexible in placement as they are dynamic in appearance. Their versatility allows them to seamlessly integrate into almost any build:
- On Top: The most straightforward placement, simply put them on any solid block. Ideal for pathways, tabletops, or as general area lighting.
- Hanging: For a classic, elegant look, Copper Lanterns can be hung from the underside of any block. This is perfect for ceilings, overhangs, or creating streetlights.
- Attached: They can also attach to fences and copper bars, offering more intricate detailing for railings, decorative posts, or unique chandelier designs.
- Waterloggable: A significant advantage is their ability to be waterlogged. This means you can place them underwater in oceans, rivers, or custom aquatic features, and they will continue to emit light without issues. This is a game-changer for underwater bases, illuminated docks, or submerged pathways.
When it comes to removal, Copper Lanterns are relatively easy to break. Any tool can be used, though a pickaxe will be the fastest. If a lantern is hanging, breaking the block it’s attached to, or the chain it hangs from, will also cause it to drop as an item, ready to be picked up and repositioned.
Avoiding Common Pitfalls
To ensure a smooth experience with your new Copper Lanterns, keep these common mistakes in mind:
- Confusing with Iron Lanterns: The biggest trap is thinking the recipe is the same as a standard lantern. Copper Lanterns require copper nuggets and a copper torch, not iron nuggets and a regular torch. Double-check your ingredients!
- Expecting Immediate Color Change: Don’t be surprised when your newly crafted lantern is a rusty orange-brown. It starts unoxidized and will gradually turn green over time. Patience is key, or use creative mode to test different stages.
- Incorrect Torch Type: Ensure you are using a *copper torch* (crafted with a copper nugget) in the center of your crafting grid for the final lantern recipe. A regular torch will not work.
The Minecraft Copper Lantern is more than just another light source; it’s a dynamic decorative element that evolves with your world. With its unique green light, oxidizing properties, and versatile placement, it offers builders an exciting new tool to enhance their creations.
Tags:
YOU MAY ALSO LIKE...


