

Minecraft Elytra Texture Pack
One of the most common frustrations for aspiring Minecraft resource pack creators is the dreaded ‘pack.mcmeta.txt’ error, a tiny oversight that can render an entire project invisible to the game. This seemingly minor detail highlights the precision required when customizing Minecraft’s aesthetics, especially when it comes to something as iconic as the Elytra. Mastering the art of Elytra texture packs allows you to transform your in-game flight experience, turning generic wings into a unique statement of your personal style.
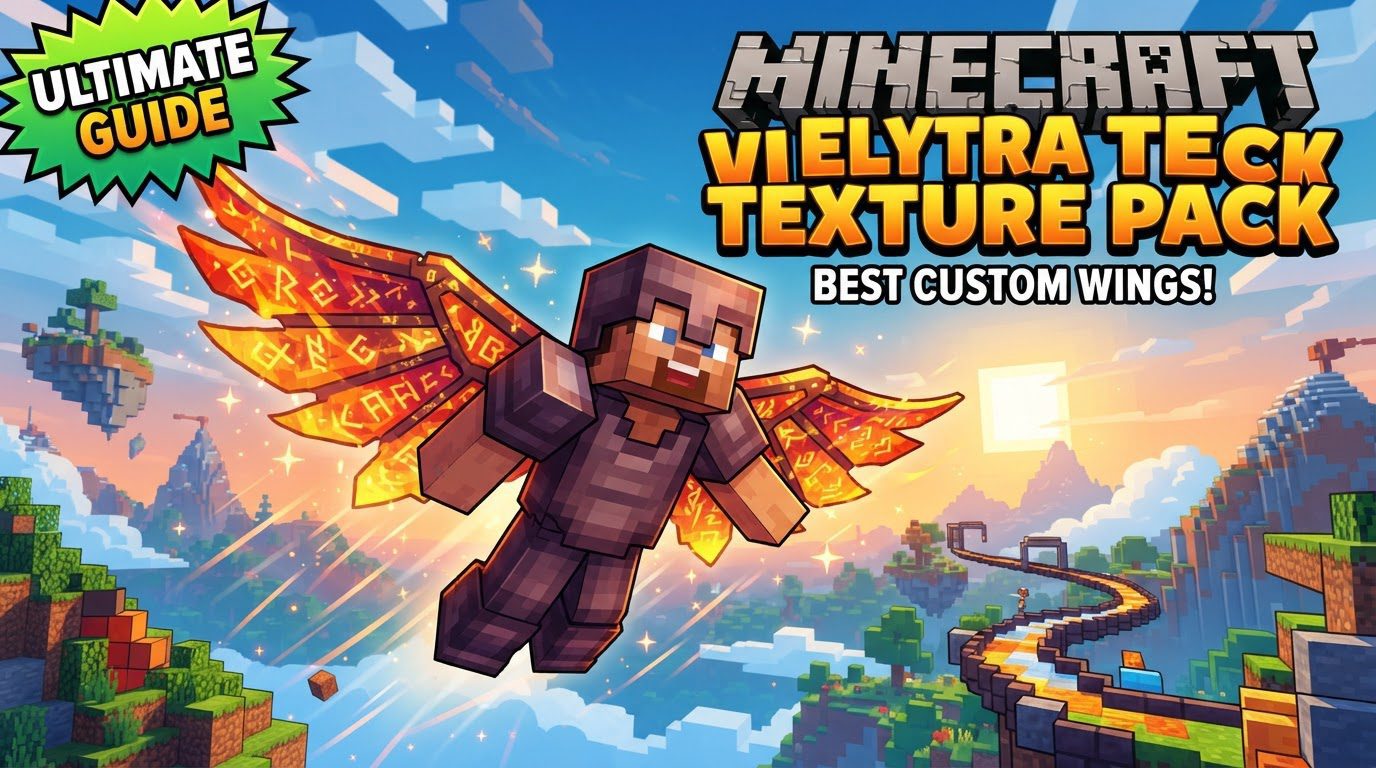
The Essence of Elytra Customization
An Elytra texture pack fundamentally alters the visual appearance of your in-game wings. It’s crucial to understand that these packs are purely cosmetic; they do not introduce new abilities, change flight mechanics, or modify any gameplay aspects. Your Elytra will still function exactly as it always has, but with a fresh, personalized look. This visual transformation is achieved by swapping out the default Elytra texture with a custom image file.
At the heart of every Elytra texture pack is a specific image file: elytra.png. This file is placed within a very precise directory structure inside your resource pack: ResourcePackName/assets/minecraft/textures/entity/. When you equip your Elytra, the game takes this single elytra.png image and mirrors it to create both the left and right wings. The texture isn’t simply plastered on; it “wraps around” the Elytra’s 3D model, much like paper folded around a complex shape. This wrapping mechanism means that different sections of your 2D elytra.png image correspond to various parts of the 3D wing model, including the top, bottom, leading edges, trailing edges, and wing tips. Understanding this texture mapping is paramount for designing wings that look correct from all angles.
Why Personalize Your Flight?
In a game celebrated for its creativity and player expression, the ability to customize your Elytra offers a unique avenue for personalization. Instead of the default grey-brown wings, imagine soaring through the Overworld with wings that mimic a dragon’s scales, an angel’s feathers, a futuristic glider, or even a national flag. This customization adds a layer of immersion and personal flair, making your aerial adventures truly your own. It’s an opportunity to stand out on multiplayer servers or simply to enhance your solo gameplay experience with a touch of bespoke artistry.
Forging Your Own Wings: A Step-by-Step Guide to Creating an Elytra Texture Pack
Creating your own custom Elytra texture pack is a rewarding process that combines artistic design with precise file management. Here’s how to do it:
Step 1: Design Your Masterpiece
- Choose Your Tools: Begin by selecting an image editing software. Programs like Paint.net or GIMP are excellent free options, offering the necessary features for pixel-level editing and transparency support. For more advanced users, specialized tools like Blockbench can be invaluable. Blockbench allows you to import the Elytra model and apply your texture directly, letting you preview how it will look in 3D as you design it, significantly simplifying the mapping process.
- Understand the Texture Map: The
elytra.pngfile is a 2D representation of a 3D object. Templates are widely available online that illustrate which parts of the 2D image correspond to the top, bottom, front, back, and tips of the wings. Pay close attention to these areas to ensure your design elements align correctly when wrapped around the model. - Create Your Design: Let your creativity flow! Design patterns, add intricate details, or choose bold color schemes. Remember that the game mirrors the texture for both wings, so designs that look good when mirrored tend to work best.
- Save Your Texture: Once satisfied, save your finished design as
elytra.png. Ensure it’s saved in a format that supports transparency if your design requires it.
Step 2: Constructing the Resource Pack Structure
Minecraft requires a very specific folder hierarchy for resource packs to be recognized. Follow these steps carefully:
- Create a Root Folder: Make a new folder on your desktop or in a convenient location. Name it something descriptive, like “MyAwesomeElytraPack”. This will be the main folder for your resource pack.
- Build the Subdirectory Path: Inside your main resource pack folder, create a series of nested folders:
- First, create a folder named
assets. - Inside
assets, create a folder namedminecraft. - Inside
minecraft, create a folder namedtextures. - Finally, inside
textures, create a folder namedentity.
The complete path should look like:
MyAwesomeElytraPack/assets/minecraft/textures/entity/ - First, create a folder named
- Place Your Texture: Move your meticulously designed
elytra.pngfile into this innermostentityfolder.
Step 3: The `pack.mcmeta` Manifest
Every resource pack needs a manifest file to tell Minecraft what it is and how to treat it. This file is named pack.mcmeta:
- Create the File: In the root of your main resource pack folder (e.g., “MyAwesomeElytraPack”), create a new text file. Name it
pack.mcmeta. It’s crucial that it does NOT end with.txt(e.g., not `pack.mcmeta.txt`). You might need to enable “File name extensions” in your operating system’s folder options to correctly rename it. - Add JSON Content: Open
pack.mcmetawith a text editor (like Notepad or VS Code) and paste the following JSON code:{ "pack": { "pack_format": [number], "description": "Your custom Elytra texture pack!" } }Replace
[number]with the correctpack_formatfor your Minecraft version (e.g.,15for Minecraft 1.19,18for 1.20.1,26for 1.20.5/1.20.6). You can find updated format numbers on the Minecraft Wiki. Replace “Your custom Elytra texture pack!” with a description of your choice. - Save the File: Save the
pack.mcmetafile.
Soaring with Pre-Made Designs: Installing Existing Elytra Texture Packs
If you prefer to use a texture pack created by someone else, the installation process is much simpler:
- Step 1: Download the Pack: Obtain the Elytra texture pack, which will almost always be distributed as a
.zipfile from a trusted source. - Step 2: Access the Resource Pack Folder: Launch Minecraft and navigate to “Options” -> “Resource Packs”. On the bottom left of this screen, click the “Open resource pack folder” button. This will open the directory where Minecraft looks for resource packs.
- Step 3: Deploy the Pack: Copy the downloaded
.zipfile directly into this openedresourcepacksfolder. Do not unzip the file. Minecraft is designed to read zipped resource packs. - Step 4: Activate in-Game: Go back to the Minecraft “Resource Packs” screen. Your newly added pack should appear in the “Available Resource Packs” column on the left. Click the arrow button next to its icon to move it to the “Selected Resource Packs” column on the right. Ensure it’s at the top of your selected packs list if you have others, to ensure its textures take priority. Click “Done” to apply the changes.
Tips for Flawless Elytra Texturing
- Master Transparency: When using image editing software, ensure that any parts of your texture intended to be transparent are fully transparent (alpha channel at 0). Partially opaque pixels can lead to unexpected results, often rendering as fully opaque blocks of color by the game engine, ruining the intended effect.
- Leverage 3D Previews: Tools like Blockbench are invaluable. Being able to see your texture applied to the 3D Elytra model in real-time as you design helps you identify and correct mapping issues before you even load the pack into Minecraft.
- Orientation is Key: The way the texture wraps around the Elytra model means that elements might appear rotated or stretched if not designed with the correct orientation in mind. Pay close attention to the texture map layout, especially for text or specific patterns, to ensure they appear upright and undistorted on the wings.
Navigating Turbulence: Common Pitfalls and Troubleshooting
Even experienced creators can stumble upon issues. Here are common mistakes and how to avoid them:
- Incorrect File Naming: The most frequent culprit. Naming your `pack.mcmeta` file as `pack.mcmeta.txt` will prevent Minecraft from recognizing your resource pack entirely. Always double-check file extensions.
- Incorrect Folder Structure: If your `elytra.png` is not precisely located within `ResourcePackName/assets/minecraft/textures/entity/`, the game will not find or apply the texture. Every folder in the path must be correctly named and nested.
- Partially Opaque Pixels: As mentioned, partial transparency often renders as solid by the game. If you want a cutout or a completely invisible section, ensure the pixels are 100% transparent.
- Nested Zips/Incorrect Zip Structure: When installing a pre-made pack, ensure the downloaded `.zip` file directly contains the `assets` folder and `pack.mcmeta` at its root, not another `.zip` file inside. Minecraft won’t look into nested archives.
- Missing Optifine/CITResewn: If a texture pack advertises advanced features like multiple custom Elytra designs that change based on renaming items in an anvil, it’s utilizing Custom Item Textures (CIT). These features require a mod like Optifine or a compatible alternative like CITResewn to function. Without them, you’ll only see the default Elytra texture or the pack’s primary custom texture.
- Version Incompatibility: Minecraft updates can sometimes change the `pack_format` number or even alter texture mapping. A pack designed for an older version might not work correctly or at all in a newer one, especially if there were significant game changes. Always check the pack’s compatibility.
- Texture Not Appearing on Player: Occasionally, a custom Elytra texture might appear correctly in an item frame but not when equipped by the player. This can indicate a deeper issue with the pack’s configuration, conflicting resource packs, or even a rare game glitch. Try isolating the pack or checking for conflicts.
Beyond the Basics: Advanced Elytra Customization
For those looking to push the boundaries, mods like Optifine (or its fabric equivalent, CITResewn) unlock advanced possibilities. These mods enable Custom Item Textures (CIT), allowing you to have multiple unique Elytra designs within a single resource pack. For instance, you could create a “Dragon Wings” texture that appears when you rename your Elytra “Dragon,” and an “Angel Wings” texture when renamed “Angel.” This level of customization adds incredible depth and personalization, allowing players to truly tailor their in-game identity through their flying gear.
Whether you’re crafting your own unique design or simply installing a community-made masterpiece, customizing your Elytra adds a personal touch to your Minecraft adventures. With the right tools, careful attention to detail, and a bit of creativity, you can transform your aerial journeys into a truly unique experience.
Tags:
YOU MAY ALSO LIKE...


