

Minecraft How to Make a Zombie Wear Armor Command
Many players attempting to equip Minecraft zombies with armor via commands often stumble on a crucial detail: the specific NBT (Named Binary Tag) structure required for equipment has evolved over time. Understanding the correct tags, their order, and their exact syntax is key to transforming a basic zombie into a formidable armored foe or a custom display piece.
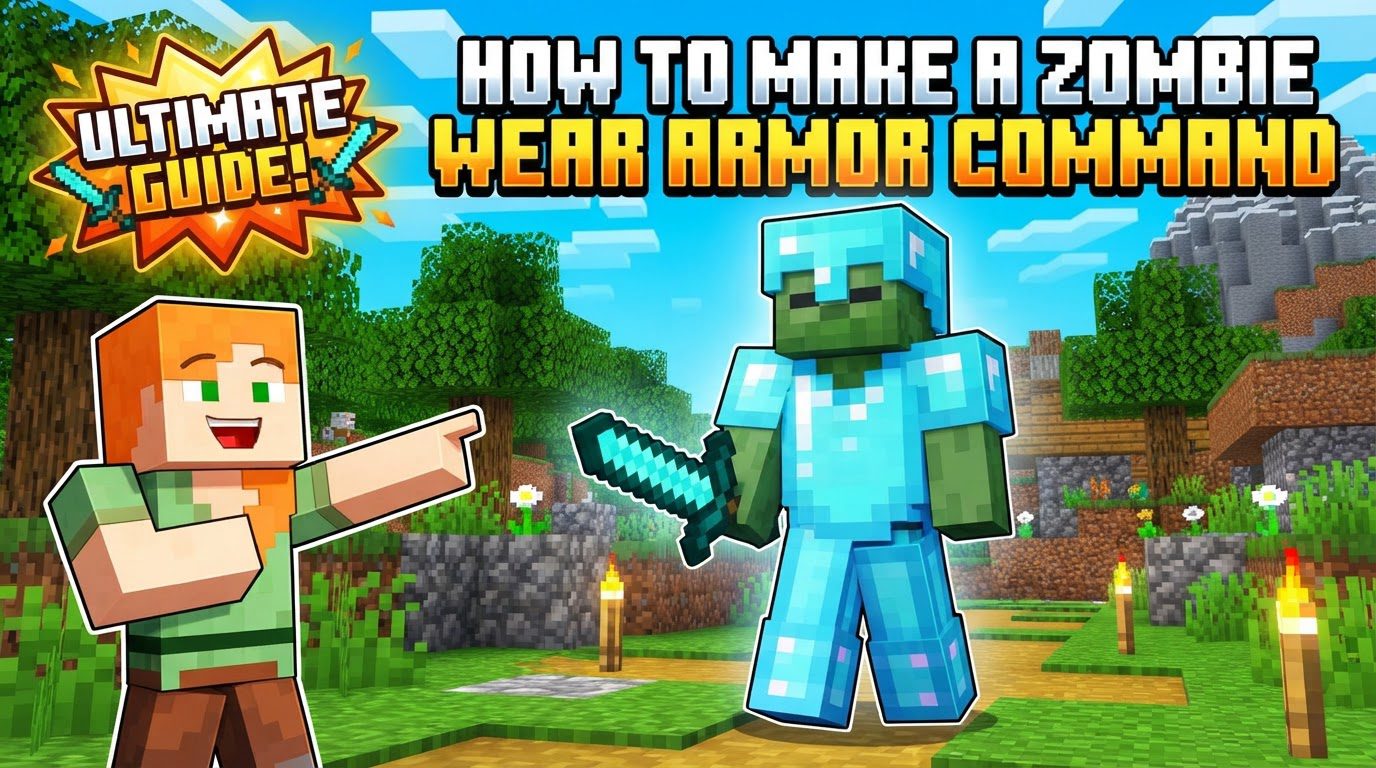
This guide will delve into the precise commands and NBT data needed to make zombies wear armor and hold items, primarily focusing on Minecraft Java Edition 1.9 and later versions. Whether you’re designing custom maps, setting up challenging encounters, or simply experimenting with game mechanics, mastering these commands opens up a new realm of possibilities for mob customization.
The Power of NBT: Defining Mob Equipment
At the heart of equipping mobs in Minecraft lies NBT (Named Binary Tag) data. This structured data allows you to define virtually every property of an entity, from its health and name to its inventory and equipment. For zombies, and many other mobs, equipping armor and items involves two primary NBT tags: ArmorItems and HandItems.
ArmorItems: This tag is a list of four item tags, specifically for the zombie’s armor slots. The order is critically important:- First item: Boots (feet)
- Second item: Leggings (legs)
- Third item: Chestplate (chest)
- Fourth item: Helmet (head)
HandItems: This tag is a list of two item tags for what the zombie holds. Again, the order matters:- First item: Main hand
- Second item: Off-hand
It’s vital to remember that all NBT tags, including item IDs and property names, are case-sensitive. A misplaced capital letter or a forgotten comma can render your command inert.
Summoning an Armored Zombie: A Step-by-Step Command Guide
The most common and versatile method for creating an armored zombie is by using the /summon command with extensive NBT data. This allows you to define all aspects of the zombie, including its equipment, right at the moment of its creation.
1. Enable Cheats in Your World
Before you can use any command, ensure that cheats are enabled in your Minecraft world. If you’re in a single-player world, you can open it to LAN and select “Allow Cheats: ON” or create a new world with cheats enabled. In a multiplayer server, you’ll need operator (op) permissions.
2. Access the Command Interface
You can enter commands directly into the chat window by pressing ‘T’ (or ‘/’) and typing, or for more complex or repeatable commands, you can use a command block. Command blocks are activated by redstone and can hold much longer commands.
3. Start with the Basic Summon Command
To begin, summon a standard zombie. The tilde symbols (~ ~ ~) indicate your current coordinates, spawning the zombie directly where you are standing.
/summon minecraft:zombie ~ ~ ~
4. Integrate the ArmorItems NBT Tag
Now, we’ll append the ArmorItems tag to specify the zombie’s armor. This is a list enclosed in square brackets [], containing four curly braces {}, each representing an armor slot in the order: boots, leggings, chestplate, helmet.
/summon minecraft:zombie ~ ~ ~ {ArmorItems:[{},{},{},{}]}
5. Populate Armor Slots with Specific Items
Inside each curly brace for an armor piece, you’ll define the item’s ID and its count. For armor, the count is almost always 1. For example, to give the zombie diamond boots, you’d place {id:"minecraft:diamond_boots",Count:1} in the first slot.
To give a zombie a full set of diamond armor:
/summon minecraft:zombie ~ ~ ~ {ArmorItems:[{id:"minecraft:diamond_boots",Count:1},{id:"minecraft:diamond_leggings",Count:1},{id:"minecraft:diamond_chestplate",Count:1},{id:"minecraft:diamond_helmet",Count:1}]}
6. Add HandItems for Main and Off-Hand (Optional)
If you want the zombie to hold items, append the HandItems tag. This is also a list, but with two curly braces: one for the main hand and one for the off-hand. Use a comma to separate the ArmorItems tag from the HandItems tag within the main NBT structure.
To give the zombie a diamond sword in its main hand and nothing in its off-hand:
/summon minecraft:zombie ~ ~ ~ {ArmorItems:[{id:"minecraft:diamond_boots",Count:1},{id:"minecraft:diamond_leggings",Count:1},{id:"minecraft:diamond_chestplate",Count:1},{id:"minecraft:diamond_helmet",Count:1}],HandItems:[{id:"minecraft:diamond_sword",Count:1},{}]}
Example Full Command for an Armored Zombie
Here’s a complete command to summon a zombie fully decked out in diamond armor, holding a diamond sword, and an empty off-hand slot:
/summon minecraft:zombie ~ ~ ~ {ArmorItems:[{id:"minecraft:diamond_boots",Count:1},{id:"minecraft:diamond_leggings",Count:1},{id:"minecraft:diamond_chestplate",Count:1},{id:"minecraft:diamond_helmet",Count:1}],HandItems:[{id:"minecraft:diamond_sword",Count:1},{}]}
Advanced Customization and Useful Tips
Beyond basic armor, you can further customize your armored zombies with enchantments, custom names, and specific behaviors.
Leaving Slots Empty
If you don’t want a zombie to wear armor in a particular slot or hold an item in one of its hands, simply use an empty set of curly braces {} for that slot within the ArmorItems or HandItems list. For example, to give a zombie only a helmet:
/summon minecraft:zombie ~ ~ ~ {ArmorItems:[{},{},{},{id:"minecraft:diamond_helmet",Count:1}]}
Adding Enchantments to Equipment
Enchantments make your zombie’s gear even more powerful. The syntax for enchantments varies slightly between Minecraft versions. For newer versions (typically 1.20+), you’d use the components tag. For older versions (pre-1.20), the tag:{Enchantments:[{id:...,lvl:...}]} structure is used.
Example (Newer Versions – 1.20+): To give a diamond sword Sharpness V:
{id:"minecraft:diamond_sword",Count:1,components:{"minecraft:enchantments":{levels:{"minecraft:sharpness":5}}}}
Example (Older Versions – Pre-1.20): To give a diamond sword Sharpness V:
{id:"minecraft:diamond_sword",Count:1,tag:{Enchantments:[{id:"minecraft:sharpness",lvl:5}]}}
You would insert this entire item NBT into the respective slot within ArmorItems or HandItems.
Giving Your Zombie a Custom Name
To give your armored zombie a unique identity, use the CustomName NBT tag. Remember to use proper JSON formatting for the name.
{CustomName:'{"text":"Armored Zombie"}'}
When combined with the summon command:
/summon minecraft:zombie ~ ~ ~ {CustomName:'{"text":"Elite Guard"}',ArmorItems:[{id:"minecraft:diamond_boots",Count:1},{id:"minecraft:diamond_leggings",Count:1},{id:"minecraft:diamond_chestplate",Count:1},{id:"minecraft:diamond_helmet",Count:1}]}
Allowing Zombies to Pick Up Loot
By default, zombies summoned with commands might not pick up dropped items. If you want your zombie to have this natural behavior (useful for custom drops or interactions), add the CanPickUpLoot tag set to 1b (meaning 1 byte, or true).
{CanPickUpLoot:1b}
Leveraging Online Command Generators
For incredibly complex commands involving multiple enchantments, custom attributes, or specific entity data, online command generators are invaluable tools. They can help construct the precise NBT structure and prevent syntax errors, saving you significant time and frustration.
Equipping Existing Zombies: The `/item replace` Command
What if you have a zombie already spawned in your world and want to equip it with armor? The /item replace command is your solution. This command allows you to target specific entities and replace items in their inventory or equipment slots.
The general syntax for replacing an item in an entity’s equipment slot is:
/item replace entity <target> <slot> with <item_id> <count>
<target>: This can be an entity selector like@e[type=minecraft:zombie,limit=1,sort=nearest]to target the nearest zombie.<slot>: For armor, usearmor.head,armor.chest,armor.legs, orarmor.feet. For hands, useweapon.mainhandorweapon.offhand.<item_id>: The Minecraft ID of the item you want to place (e.g.,minecraft:diamond_helmet).<count>: The number of items (usually1for armor/tools).
Example: To give the nearest zombie a diamond helmet:
/item replace entity @e[type=minecraft:zombie,limit=1,sort=nearest] armor.head with minecraft:diamond_helmet 1
You would repeat this command for each armor piece you wish to equip. This method is particularly useful for dynamically changing a mob’s equipment during gameplay or in adventure maps.
Common Pitfalls and How to Avoid Them
Working with NBT commands can be finicky. Here are some frequent mistakes and how to prevent them:
- Incorrect NBT Tag for Armor (Pre-1.9 vs. Post-1.9): For Minecraft Java Edition 1.9 and newer, always use
ArmorItemsandHandItems. Older versions used a singleEquipmenttag, which is now deprecated for this purpose. Using the wrong tag will result in unequipped mobs. - Wrong Order of Armor Items: The
ArmorItemslist strictly follows the order: boots, leggings, chestplate, helmet. Deviating from this will place armor in the wrong slots. - Missing
Count:1: While often implied, explicitly includingCount:1for each item withinArmorItemsorHandItemsis good practice and sometimes necessary for the command to parse correctly. - Not Enabling Cheats: Commands are a “cheat” feature. If cheats aren’t enabled, no command will work, regardless of its correctness.
- Syntax Errors: Minecraft commands are very sensitive to syntax. Double-check for mismatched brackets
[]and curly braces{}, missing commas between NBT tags or list items, typos in item IDs (e.g.,diamon_swordinstead ofdiamond_sword), or incorrect capitalization of NBT tag names. Even a single character error can break the entire command.
Mastering the art of commanding armored zombies in Minecraft unlocks a new layer of creativity and control within your worlds. By understanding the core NBT tags like ArmorItems and HandItems, and learning to apply them through the /summon and /item replace commands, you can craft unique challenges, custom scenarios, and visually distinct mobs that enhance your Minecraft experience.
Tags:
YOU MAY ALSO LIKE...


