Minecraft How to Defeat Pillager Outpost
Rushing headlong into a Pillager Outpost is a common mistake that often leads to swift defeat. These towering structures, guarded by numerous crossbow-wielding illagers, demand careful preparation and strategic execution. Underestimating the threat posed by these hostile patrols can quickly turn an adventurous expedition into a frustrating respawn. Successfully dismantling an outpost not only yields valuable loot but also provides an opportunity to trigger a rewarding raid, if you choose to embrace the challenge.
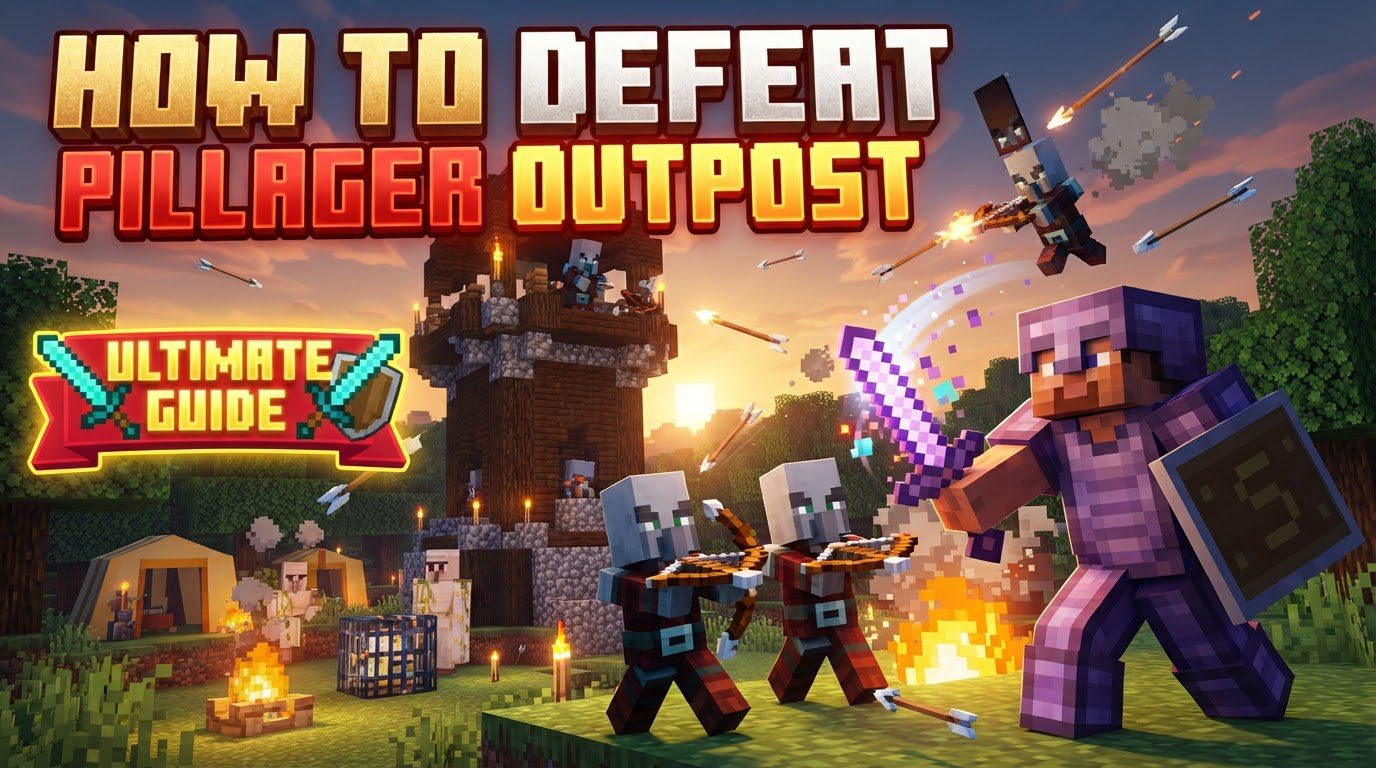
Understanding the Threat: Pillager Outposts Explained
Before you even consider approaching a Pillager Outpost, it’s crucial to understand the challenges and opportunities they present. These structures are more than just a collection of blocks; they are a hub of hostile activity with specific mechanics you must master.
- Pillagers: These are the primary inhabitants and defenders of the outpost. Armed with crossbows, they are formidable ranged combatants, capable of inflicting significant damage from a distance. They often operate in groups, making direct engagement risky. Pillagers will attack players, villagers, iron golems, and wandering traders on sight.
- Pillager Captain: Distinguished by the ominous banner they carry, the captain is a high-priority target. Defeating a captain bestows the “Bad Omen” status effect upon the player.
- Bad Omen: This temporary status effect lasts for 100 minutes. If a player with Bad Omen enters a village, it immediately triggers a raid. This can be a strategic advantage for those seeking raid rewards, but it can also be a significant hazard if you’re unprepared. Thankfully, drinking a bucket of milk will instantly remove the Bad Omen effect, allowing you to avoid an unwanted raid. In Minecraft 1.21 and later versions, this effect is renamed to “Raid Omen” and functions similarly, triggering a raid when you are near a village.
- Outpost Structure: Typically constructed from dark oak logs and cobblestone, outposts are multi-level watchtowers. A spiral staircase usually leads to the very top, where a valuable loot chest often awaits. Beyond the main tower, smaller surrounding structures like tents, log piles, and cages dot the landscape, potentially holding captive iron golems or even allays.
- Valuable Loot: The chests found within outposts are a primary draw. They can contain a variety of useful items, including enchanted books, iron ingots, emeralds, arrows, and Bottles o’ Enchanting. Furthermore, freeing caged iron golems can provide a powerful temporary ally, while freeing allays offers a loyal item-collecting companion.
Essential Preparations for Victory
Approaching a Pillager Outpost without adequate preparation is a recipe for disaster. Gearing up properly is the first and most critical step towards success.
- Robust Armor: Equip the strongest armor you possess. Iron armor is a minimum recommendation, but diamond or netherite armor will significantly boost your survivability against the barrage of crossbow bolts.
- Defensive Shield: A shield is an absolute necessity. It can block incoming crossbow bolts, mitigating damage and allowing you to close distances or reposition safely.
- Melee Weapon: A sharp sword or a powerful axe is essential for close-quarters combat. Enchantments like Sharpness for swords or Efficiency for axes (if using an axe as a weapon) are highly beneficial.
- Ranged Weapon: A bow or crossbow is invaluable for picking off pillagers from a distance, luring them, or engaging targets on higher levels. Enchantments such as Power (for bows) or Quick Charge (for crossbows) will improve your effectiveness. Infinity on a bow allows for endless arrows, saving inventory space.
- Sustenance and Healing: Bring plenty of cooked food to restore health quickly during combat. Golden Apples can also provide a significant health boost and regeneration.
- Milk Buckets: Always carry at least one milk bucket. This allows you to instantly remove the Bad Omen (or Raid Omen) effect, giving you control over when and if you trigger a raid.
Strategic Engagement: Taking Down the Outpost
Once prepared, a well-thought-out plan is paramount. Direct confrontation is rarely the best approach.
- Scout from a Distance: Before making your presence known, find a safe, elevated position overlooking the outpost. Observe the patrol routes of pillagers, identify potential escape routes, and note any natural cover or surrounding structures you can use to your advantage. This reconnaissance phase is vital for forming your attack plan.
- Lure and Separate: This is often the safest and most effective tactic. Use your bow or crossbow to attract one or two pillagers at a time. Lead them away from the main group, preferably to an area where you have cover or a tactical advantage, and dispatch them individually. Repeat this process to systematically thin their numbers without being overwhelmed.
-
Engage Strategically:
- Sniper Tactic: For a cautious approach, remain at a distance and use your ranged weapon to pick off pillagers one by one. This is slower but significantly safer.
- Blitzing (with good armor): If you are heavily armored and confident in your combat skills, you can rush in. Keep your shield raised to block incoming bolts and use your melee weapon for close-quarters engagement. Focus on eliminating threats quickly.
- High Ground Approach: If the terrain permits, position yourself above the outpost. This provides an excellent vantage point for ranged attacks and limits the pillagers’ ability to effectively target you.
- Free Allies: Look for caged iron golems or allays in the surrounding structures. Freeing an iron golem can turn it into a powerful, albeit temporary, ally in your fight against the illagers. Allays, once freed, will follow you and collect dropped items.
- Locate the Captain: Identify the Pillager Captain by their distinct banner. Decide whether to defeat them before or after clearing the rest of the outpost. If you plan to trigger a raid, killing the captain early ensures you get the Bad Omen effect. If you wish to avoid a raid, ensure you have milk ready immediately after defeating them.
- Loot the Outpost: Once the area is clear of immediate threats, ascend the main tower to claim the valuable chest at the top. Don’t forget to check any smaller structures or tents for additional hidden loot.
- Exit Safely: After securing your loot, prioritize a safe departure. If you need to descend quickly from the tower, a water bucket can be placed at your feet to create a safe fall, avoiding fall damage.
Advanced Tactics and Helpful Hints
Beyond the basic strategy, these tips can further enhance your outpost-conquering capabilities.
- Master Your Shield: Your shield is your best friend. It can completely negate crossbow damage. When facing Ravagers during a raid (triggered by Bad Omen), blocking their charge with a shield will stun them, creating an opening for counter-attacks.
-
Strategic Enchantments:
- Swords: Sharpness for increased damage, Fire Aspect to set enemies ablaze, and Sweeping Edge (Java Edition only) for area-of-effect damage. Looting can increase the drops from pillagers. Avoid Knockback on swords, as it pushes ranged enemies away, making them harder to hit.
- Bows: Power for increased damage, Flame to set targets on fire, and Infinity for unlimited arrows (requires only one arrow in inventory).
- Utilize Cover: Never fight in the open if you can avoid it. Use trees, rocks, the outpost’s own structures, or even place down temporary blocks to create cover from incoming fire.
- Explosive Options: If you’re feeling bold, you can lure creepers towards groups of pillagers or strategically place TNT to cause significant damage. Be cautious, as explosions can destroy item drops.
- Transform the Outpost: After successfully clearing an outpost, consider transforming it into a temporary base. By placing torches to prevent hostile mob spawns and reinforcing its defenses, you can repurpose the structure for your own needs.
Avoiding Common Pitfalls
Even experienced players can make mistakes. Be mindful of these common errors to ensure a smoother outpost assault.
- Charging In Blindly: The most frequent mistake is to simply run into the outpost. This will lead to you being swarmed by multiple pillagers, quickly depleting your health and overwhelming you. Always have a plan and proceed cautiously.
- Ignoring the Bad Omen: Killing a Pillager Captain without understanding the Bad Omen effect, then inadvertently entering a village, can trigger a raid you are completely unprepared for. Always have milk on hand if you wish to avoid this.
- Underestimation of Pillagers: Don’t underestimate the collective damage output of pillagers. Their crossbows can be deadly, especially in groups. Treat them with respect and prioritize taking them out one by one.
- Lack of Preparation: Attempting an outpost without sufficient armor, powerful weapons, healing items, and milk is a guaranteed path to failure. Always double-check your inventory before engaging.
- Fighting Ravagers Without a Shield: While Ravagers are encountered during raids, not typically at outposts, this is a related error. If a raid is triggered, remember that Ravagers can knock you back significantly. Always use a shield to block their charge, stunning them and allowing you to attack safely.
- Believing Outposts are Not Worth It: Some players might dismiss outposts as too risky for the reward. However, outposts offer unique loot, a consistent source of Bad Omen for triggering raids (which can yield valuable Totems of Undying), and a fun challenge that hones your combat skills. The risk-reward ratio is often quite favorable when approached correctly.
By following these comprehensive guidelines, you’ll transform from a potential victim into a formidable conqueror of Minecraft’s Pillager Outposts, securing valuable resources and mastering a crucial aspect of the game’s combat mechanics.
Tags:
YOU MAY ALSO LIKE...