

Minecraft How to Defeat Ocean Monument
Many adventurers, lured by tales of untold riches, rush headlong into an Ocean Monument only to find swift defeat. These imposing underwater structures, guarded by a legion of hostile creatures and cloaked in a pervasive curse, represent one of Minecraft’s most formidable challenges. Conquering an Ocean Monument, however, yields unique and invaluable rewards, making the perilous journey well worth the effort for any seasoned player.
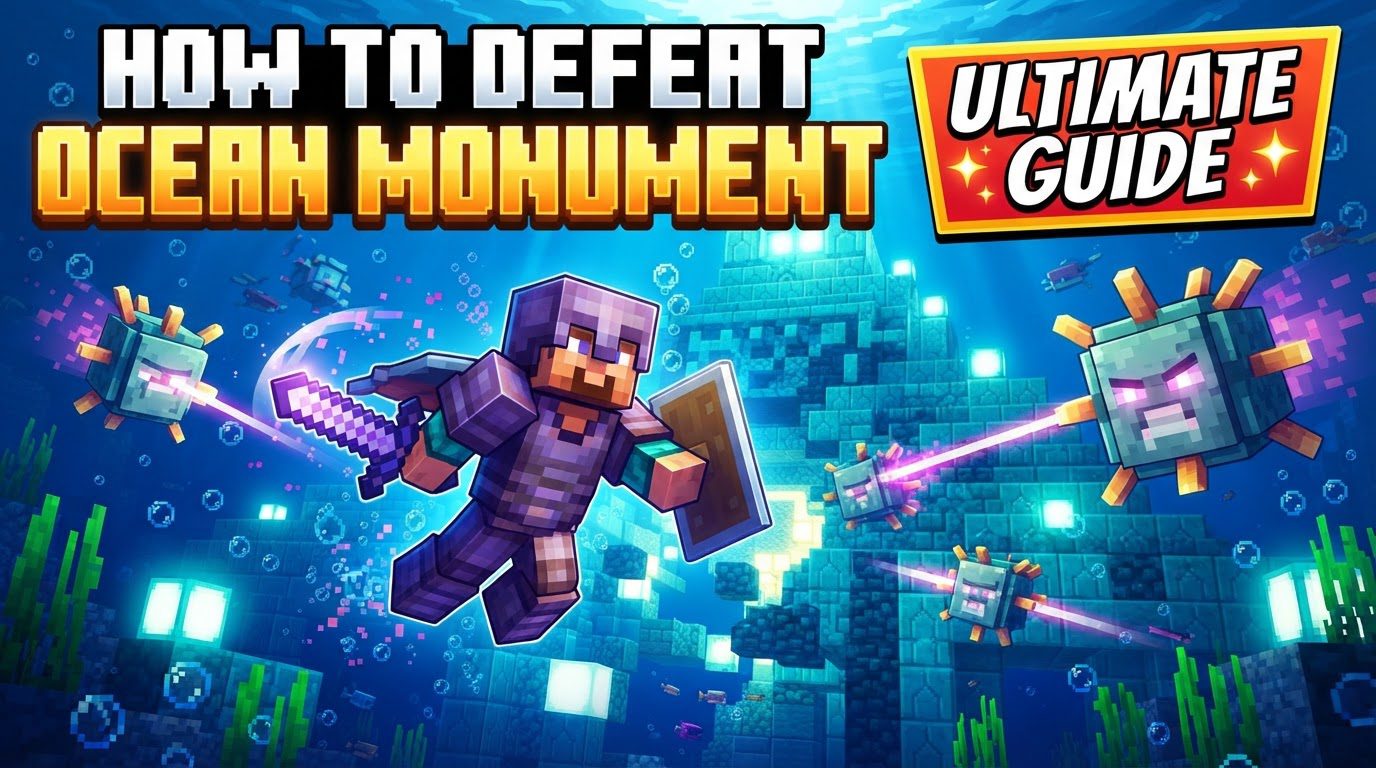
Defeating an Ocean Monument is less about brute force and more about meticulous preparation and strategic execution. Understanding the unique mechanics of its inhabitants and environment is paramount to emerging victorious from its submerged depths.
The Aquatic Gauntlet: Understanding Your Foes
The monument’s primary defenses come in the form of two distinct, yet equally dangerous, aquatic mobs:
- Guardians: These common, fish-like creatures are numerous and pose a constant threat. Their signature attack is a laser beam that charges from purple to yellow before striking for damage. While their lasers deal magic damage, bypassing standard armor defenses, they can be partially mitigated by Protection enchantments or by blocking with a shield, which reduces the incoming damage by half. Beware their spikes as well; attacking a Guardian in melee when its spikes are extended will inflict damage back upon the player, similar to a Thorns enchantment.
- Elder Guardians: The true masters of the monument, three Elder Guardians reside within each structure, significantly more powerful variants of their smaller counterparts. Each Elder Guardian can inflict “Mining Fatigue III” on any player within a 50-block radius, an effect that penetrates walls and significantly slows down mining and attack speed. Their lasers are stronger, dealing up to 12 points of damage, and like regular Guardians, they possess damaging spikes. Their eyes will ominously track any player in their vicinity, adding to the tension.
The “Mining Fatigue III” inflicted by Elder Guardians is arguably the most debilitating aspect of the monument. It makes breaking blocks within the structure incredibly slow, hindering exploration, resource gathering, and the creation of safe zones. Overcoming this pervasive curse is a primary objective.
Treasures of the Deep: Why Conquer the Monument?
Beyond the satisfaction of overcoming a significant challenge, Ocean Monuments offer exclusive and highly sought-after rewards:
- Sponges: Ocean Monuments are the sole natural source of sponges in Minecraft. These blocks are invaluable for quickly clearing large quantities of water, making them essential for draining areas or creating underwater bases. Sponge rooms can be found within the monument structure.
- Prismarine Blocks & Sea Lanterns: The monument itself is constructed from various prismarine blocks (prismarine, dark prismarine, prismarine bricks) and contains numerous Sea Lanterns. These blocks are unique to the monument and are aesthetically pleasing for construction, with Sea Lanterns providing excellent underwater light. While not exclusive to monuments (Guardians drop prismarine shards), the monument offers a renewable and abundant source.
- Gold Blocks: Deep within the monument’s core, typically in a central treasure room, you will find eight blocks of solid gold. This is a substantial haul of a valuable resource.
Essential Preparations for Underwater Warfare
Before even thinking about approaching an Ocean Monument, meticulous preparation is key. Skimping on gear will almost certainly lead to failure.
- Superior Armor & Weapons: Diamond or Netherite armor is highly recommended, preferably enchanted with Protection (to reduce all damage, including magic), Respiration III (for extended underwater breathing), and Aqua Affinity (to increase underwater mining speed). A strong sword (Sharpness, Mending, Unbreaking) or a trident (Loyalty, Impaling) will be your primary offensive tools.
- Potions & Consumables:
- Water Breathing Potions: Absolutely crucial for sustained dives. Bring several, ideally extended duration.
- Night Vision Potions: The monument is dark; these will significantly improve visibility.
- Milk Buckets: Essential for instantly curing Mining Fatigue III. Keep several on your hotbar.
- Food: Plenty of cooked food to regenerate health.
- Utility Items:
- Doors (at least 5-10): Wooden doors are perfect for creating instant air pockets underwater.
- Sponges (at least 10-20): For clearing water, especially in sponge rooms or to make combat easier.
- Bow & Arrows: For ranged attacks against Guardians, especially useful for Elder Guardians.
- Shield: Crucial for blocking Guardian lasers.
- Materials for a Conduit: If you plan to set one up, you’ll need a Heart of the Sea and 8 Nautilus Shells.
- Building Blocks (dirt/cobblestone): For creating temporary cover or blocking off sections.
- Bed: To set your spawn point nearby or inside the monument.
Strategic Assault: A Step-by-Step Guide
A well-executed plan will minimize risks and maximize your chances of success.
Initial Breach and Safe Haven
Approach the monument cautiously. Identify a suitable entry point, often a window or a weaker section of the wall. Once inside, your immediate priority is to establish a safe zone. Place a door to create an instant air pocket for breathing and recovery. Expand this into a small room, placing a bed to set your spawn point. This prevents long swims back if you fall in battle.
The Power of the Conduit
Setting up a Conduit is a game-changer. A fully powered Conduit within the monument grants permanent Water Breathing, Night Vision, and significantly increased mining speed (similar to Haste II), effectively countering the dreaded Mining Fatigue III. Even under Mining Fatigue, certain blocks like slime blocks can be instantly broken, which can be useful for quickly setting up the base for your Conduit. If you can’t power it fully immediately, a partially powered Conduit still offers some benefits. If a Conduit isn’t an option, rely heavily on your potions and milk buckets.
Hunting the Elders
There are three Elder Guardians, and their defeat is your primary objective. One is often found near the top or front of the monument, while the other two are typically located in the monument’s wings. Prioritize eliminating them as quickly as possible. Once all three are defeated, the pervasive Mining Fatigue effect will cease permanently within the monument.
When engaging an Elder Guardian, use cover to avoid their charging lasers. Attack them with melee when their spikes are retracted, or use your bow from a safe distance. Their large size makes them easier targets for ranged attacks.
Claiming Your Spoils
With all Elder Guardians vanquished, the monument is yours to explore without the hindrance of Mining Fatigue. You can now easily mine the eight gold blocks from the central treasure room. Explore the various chambers, looking for sponge rooms to collect valuable sponges, and mine any prismarine blocks or sea lanterns you desire.
Mastering the Monument: Advanced Tactics & Tips
- Air Pockets on Demand: Always keep doors or other air-creating blocks on your hotbar. They are lifesavers for quick breaths and tactical retreats.
- Conduit’s Advantage: If you have a Conduit, maximize its benefits. It streamlines the entire process. If you’re struggling to place it due to Mining Fatigue, remember milk buckets can temporarily clear the effect, allowing you to mine key blocks quickly.
- Patience is a Virtue: Do not rush. Guardians can swarm you, and their combined laser fire is devastating. Clear sections methodically, retreating to your safe room to heal and re-strategize.
- Shield Play: Your shield is your best friend against Guardian lasers. Practice blocking to minimize incoming damage.
- Milk Management: Keep milk buckets on your hotbar for instant relief from Mining Fatigue. However, be mindful that consuming milk also removes beneficial potion effects like Water Breathing or Night Vision, so time its use carefully.
- Water Clearing with Sponges: Having multiple sponges is essential. Clearing water from a room significantly simplifies combat and navigation, making it easier to spot Guardians and avoid ambushes.
- Invisibility Potions (with caution): While an Invisibility Potion can make you harder for regular Guardians to detect (if you remove your armor), remember that engaging in melee combat will still trigger their spikes, inflicting damage on you. Elder Guardians will also still detect you.
Pitfalls to Avoid: Common Mistakes
- Rushing In Unprepared: The single most common mistake. Charging headlong into the monument without proper gear or a plan will almost always lead to a swift and frustrating demise.
- Ignoring Mining Fatigue: Attempting to mine through monument walls or important blocks while under Mining Fatigue III is incredibly inefficient and will exhaust your patience. Address the Elder Guardians first or use a Conduit.
- Mismanaging Potions and Milk: Drinking milk to remove Mining Fatigue when you still need your Water Breathing or Night Vision effects can leave you vulnerable. Be strategic about when you consume milk.
- Meleeing Spiked Guardians: Attacking a Guardian with melee when its spikes are extended will cause you to take damage. Wait for the spikes to retract or use ranged attacks.
- Getting Lost: The labyrinthine structure of the monument can disorient players. Keep track of your entry point and establish clear paths to your safe zone. Consider placing torches or temporary markers to aid navigation.
Conquering an Ocean Monument is a testament to a player’s preparation, tactical thinking, and resilience. By understanding its unique challenges and employing the right strategies, you can transform this daunting underwater fortress into a source of invaluable resources and a symbol of your Minecraft prowess.
Tags:
YOU MAY ALSO LIKE...


