

Minecraft How to Build Your Own Village
Many aspiring Minecraft architects dream of a bustling village, but fail to realize that the most critical step begins even before the first foundation block is placed: ensuring its immediate security. Constructing a thriving villager community in Minecraft is not merely about stacking blocks; it’s about understanding the intricate mechanics that govern villager behavior, reproduction, and safety. This guide will walk you through the essential components and strategic considerations for establishing your very own self-sustaining digital community.
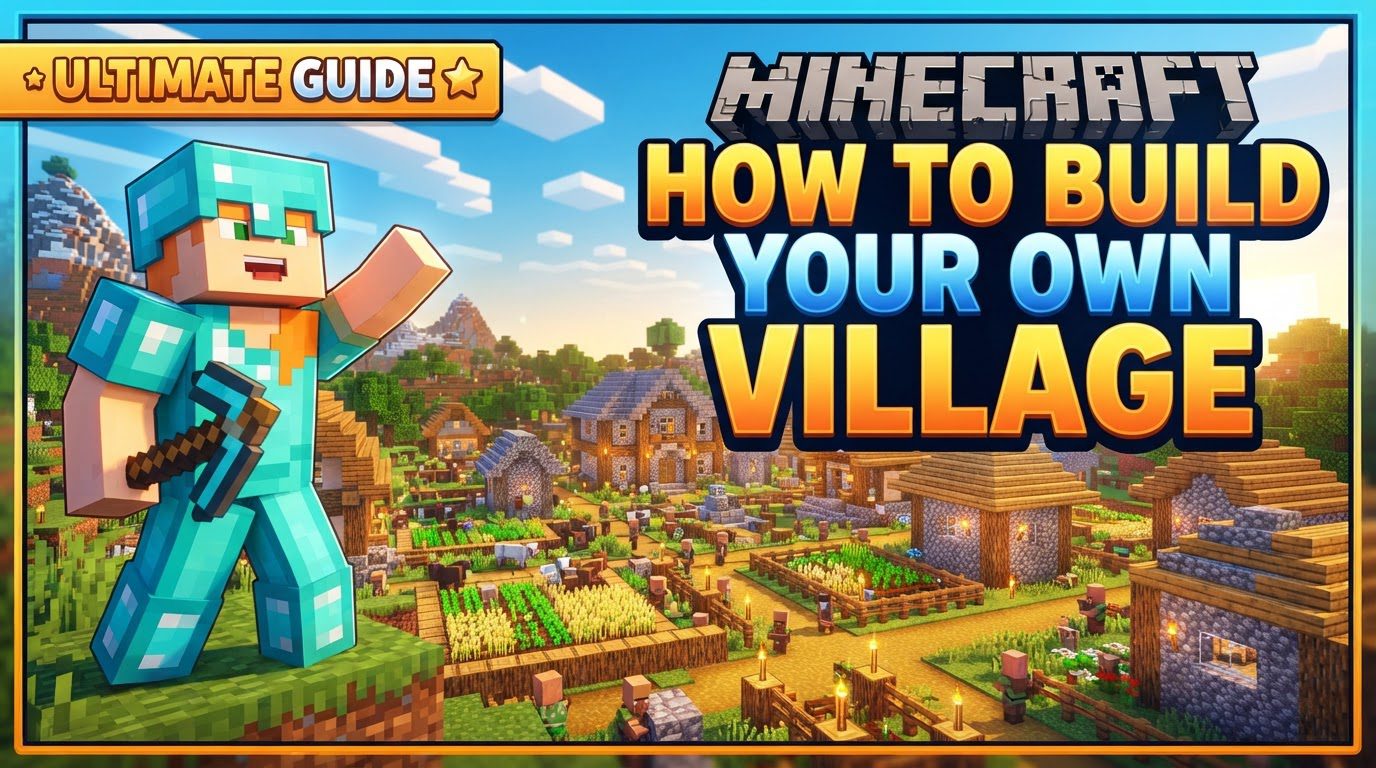
Building a village goes beyond creating aesthetically pleasing structures; it involves nurturing a dynamic environment where villagers can live, work, and breed, fostering a truly interactive and rewarding experience within your Minecraft world. From the fundamental requirements of housing to advanced transportation techniques, mastering these elements will transform an empty plot into a vibrant hub of activity.
The Heart of the Hamlet: Understanding Village Mechanics
To successfully build and maintain a village, it’s crucial to grasp the core mechanics that dictate how villagers interact with their environment and each other. These principles form the bedrock of any prosperous community you aim to create.
- Villager Housing: For any structure to be recognized as a valid dwelling by the game, it must contain at least one bed. More specifically, each individual villager requires their own bed to properly function within the village system. Furthermore, for a villager to truly thrive and fulfill their potential, they also need access to a dedicated workstation. This combination of a bed and a workstation is fundamental to their well-being and productivity.
- Villager Breeding: The expansion of your village population relies heavily on successful villager breeding. Villagers will only initiate breeding when they are in a state of “willingness.” This willingness is achieved by providing them with an ample supply of specific food items, such as bread, carrots, potatoes, or beetroots. Crucially, beyond food, there must also be a sufficient number of available beds within the village for both the existing villagers and any potential offspring they might produce. Without enough beds, breeding will not occur.
- Professions & Trades: Villagers are not just passive inhabitants; they are integral to the game’s economy. By interacting with specific workstation blocks, villagers can adopt various professions. Each profession grants them the ability to offer unique trades to the player, providing access to valuable items, resources, and enchantments that might otherwise be difficult to obtain. Understanding which workstations correspond to which professions allows you to tailor your village to your specific needs.
- Defining a Village: The game itself has a specific definition for what constitutes a “village.” This recognition is based primarily on the presence of beds and doors within a certain proximity. While modern versions of Minecraft have shifted focus more towards beds and workstations, the foundational understanding of these elements contributing to the game’s recognition of a village remains key for older game versions or specific setups.
- Protection Protocols: A village, no matter how well-built or populated, is constantly at risk from hostile mobs. Therefore, robust protection is non-negotiable. Villages need to be adequately enclosed with fences or tall walls to prevent creatures like zombies, skeletons, and creepers from entering and harming your villagers. A secure perimeter is the first line of defense for your community.
Blueprint for Prosperity: Strategic Planning & Aesthetic Design
Before laying a single block, thoughtful planning can save you countless hours and result in a more efficient and visually appealing village. A well-designed village is both functional and a joy to behold.
- Planning Ahead: Resist the urge to build impulsively. Instead, take the time to plan the entire layout of your village. Consider the overall size of your foundation, the placement of individual houses, and the strategic location of community lots. Think about where different villager professions might naturally congregate and how to best arrange their workstations.
- Aesthetics Matter: While functionality is paramount, a visually appealing village significantly enhances your Minecraft experience. Incorporate creative designs into your structures. Consider multi-storied houses for a more dynamic look and to conserve space. Thoughtful interior layouts, complete with decorations and functional items, can make each dwelling feel like a real home, contributing to the overall charm of your community.
Constructing Your Community: From Walls to Homes
With a solid plan in place, it’s time to bring your vision to life, starting with the essential structures that will define your village.
- Establishing Boundaries: The very first physical step in constructing your village should be securing its perimeter. Build a sturdy wall or fence that is at least two blocks high. This initial enclosure is crucial for deterring most hostile mobs from gaining entry and threatening your nascent community.
- Building Dwellings: Homes are the cornerstone of any village. Construct multiple houses, ensuring that each one includes at least one bed. To maximize space and add visual interest, consider building multi-storied houses with well-defined rooms. These provide not only shelter but also designated spaces for villagers to rest and interact.
- Community Hubs & Workspaces: A village thrives with shared spaces and specialized services. Include essential community structures such as shops, market stalls, and buildings that specifically provide workstations for various villager professions. For example, a dedicated farmer’s house could be built adjacent to a crop field, housing a composter for a farmer villager. These buildings facilitate trades and provide villagers with their necessary job blocks.
Populating Your Paradise: Bringing Life to Your Village
Once your infrastructure is ready, it’s time to invite residents and watch your village come alive.
- Acquiring Villagers: There are two primary methods for populating your designated area. You can locate existing villagers in naturally generated villages and transport them to your new site. This often involves creative use of minecarts, boats, or even zombie conversions. Alternatively, you can start with a small number of villagers and encourage them to breed within your new village.
- Fueling Population Growth: Breeding is often the most sustainable and efficient way to grow your village population. To encourage villagers to become “willing” and breed, ensure a steady and abundant supply of food items. Bread, carrots, potatoes, and beetroots are all excellent choices. Distribute these items directly to villagers, or place them in accessible chests near them. Remember, for new villagers to spawn, there must also be enough unoccupied beds available to accommodate them.
The Nitty-Gritty: Infrastructure and Advanced Tactics
Beyond the basics, refining your village with thoughtful infrastructure and clever transportation methods can greatly enhance its functionality and safety.
- Creating Essential Infrastructure: While not strictly necessary for a village to function, laying down roads and pathways significantly improves the flow and aesthetics of your community. These paths connect different parts of your village, making it easier for you and your villagers to navigate and creating a more cohesive look.
- Mob-Proofing Perfection: Revisit your protection measures periodically. Always ensure that your walls or fences are tall enough – specifically, over two blocks high – to prevent most hostile mobs from easily jumping or climbing into the village. Consider lighting up the entire village interior to prevent mob spawns within your safe zone.
- Efficient Villager Transportation: Moving villagers, especially over long distances, can be a tedious task. A highly efficient trick is to utilize the Nether as a shortcut. Due to the Nether’s unique scaling, one block traveled in the Nether equates to eight blocks in the Overworld. By building Nether portals at strategic locations, you can significantly reduce the time and effort required to transport villagers.
Common Pitfalls to Avoid
Even seasoned players can make critical mistakes when building a village. Being aware of these common errors can save you from frustration and wasted effort.
- Insufficient Beds: This is arguably the most common oversight. Not having enough beds, or beds that are inaccessible, will directly prevent villagers from becoming willing to breed, thereby halting any population expansion. Always ensure there are more beds than villagers, plus extra for future offspring.
- Lack of Workstations: Without workstations, villagers cannot take on professions. This limits their utility significantly, as they won’t offer trades, robbing you of a valuable resource exchange system. Make sure every villager has access to a workstation that matches their desired profession.
- Inadequate Protection: Failing to enclose your village properly, or building walls that are too short, leaves your villagers highly vulnerable to hostile mobs. A single zombie invasion can decimate your entire population, undoing hours of hard work. Prioritize robust defenses from the outset.
- Not Providing Food: Villagers require a steady supply of food items to become “willing” to breed. Neglecting to provide bread, carrots, potatoes, or beetroots will effectively stop all population growth. Establish a reliable food source and delivery system to keep your villagers happy and reproducing.
Building your own village in Minecraft is a rewarding endeavor that transforms your world into a living, breathing community. By understanding the core mechanics, planning meticulously, and avoiding common pitfalls, you can create a thriving hub that serves as both a functional asset and a testament to your architectural and strategic prowess.
Tags:
YOU MAY ALSO LIKE...


