

Minecraft How to Build a Nether Portal Fast
A single misplaced block of water can save you hours of diamond mining. In Minecraft, the Nether is an invaluable dimension, offering unique resources, faster travel, and dangerous adventures. While building a portal to this fiery realm might seem daunting, especially early in the game, there’s a surprisingly fast and efficient method that bypasses the need for a diamond pickaxe entirely. This guide will equip you with the knowledge to construct your gateway to the Nether with remarkable speed.
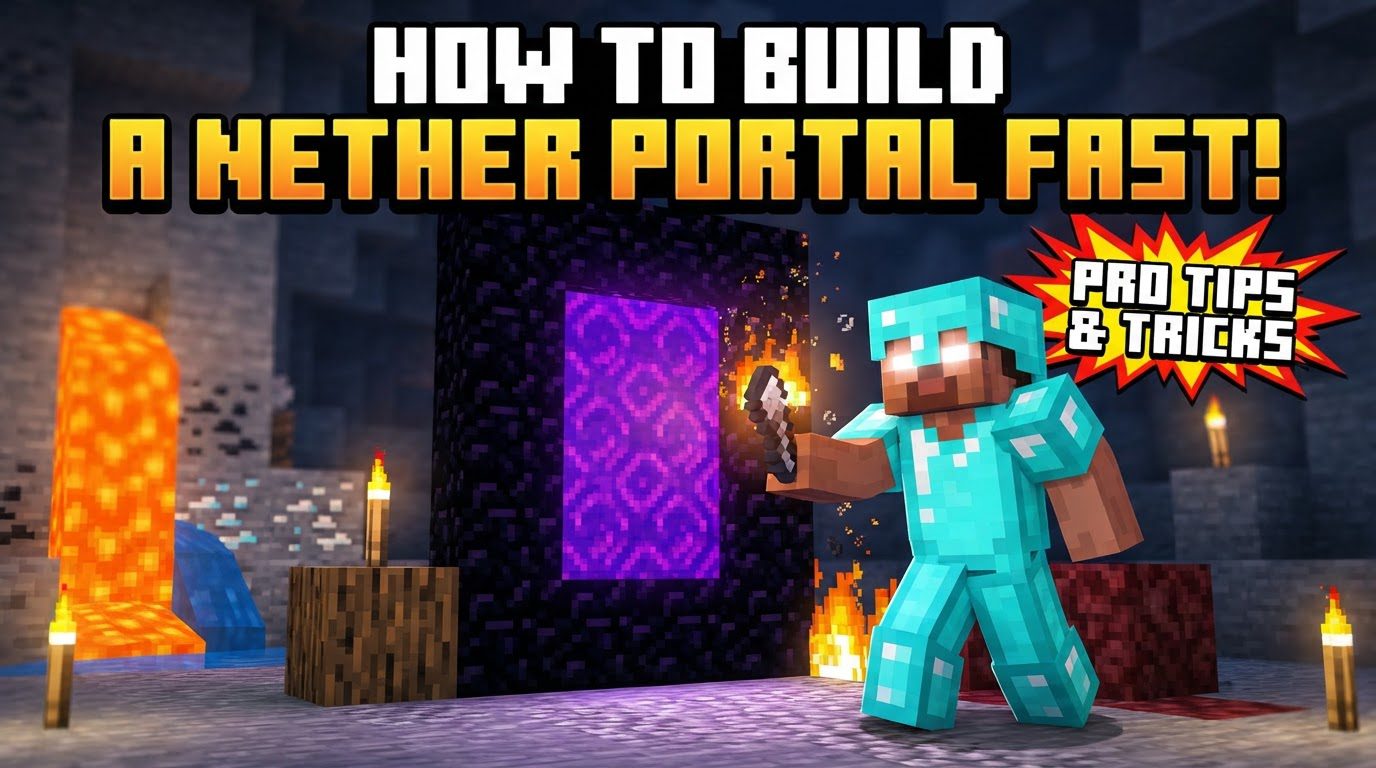
The Gateway to Adventure: Understanding the Nether Portal
Before diving into the rapid construction techniques, it’s crucial to grasp the fundamental mechanics of a Nether Portal. These interdimensional gateways operate on a few core principles:
- Obsidian Frame: At its heart, a Nether Portal is a rectangular frame constructed from Obsidian blocks. The minimum functional size is 4 blocks wide by 5 blocks high externally, meaning a 2×3 inner frame. The maximum size is a colossal 23×23 block frame. Crucially, the corner blocks of the frame are not required for functionality. This means the smallest possible portal can be constructed with just 10 Obsidian blocks.
- Activation: Once the Obsidian frame is complete, it must be ignited. The most common tool for this is a Flint and Steel, but any method that creates fire (such as a fire charge, a lightning strike, or even lava igniting a flammable block next to the portal) will work.
- Obsidian Creation: This is the linchpin of fast portal building. Obsidian is formed instantly when a water source block comes into contact with a lava source block. This reaction is what allows players to “craft” obsidian in situ without ever mining it.
- Coordinate Ratio: The Nether operates on a compressed coordinate system compared to the Overworld. For every 8 blocks you travel in the Overworld along the X or Z axis, you travel only 1 block in the Nether. The Y-coordinates (height) remain a 1:1 ratio. Understanding this is vital for accurately linking portals and avoiding getting lost or creating unintended portal connections.
The Lightning-Fast Ascent: Building Without a Diamond Pickaxe
The conventional method of building a Nether Portal involves mining 10-14 Obsidian blocks with a diamond pickaxe. Finding diamonds, crafting the pickaxe, and then painstakingly mining the slow-to-break obsidian can be a time-consuming endeavor. The fastest method, therefore, circumvents this entirely by leveraging the water-lava interaction to create the obsidian frame directly. This technique is often favored by speedrunners and efficiency-minded players.
To employ this ingenious method, you will need a few essential items:
- A Water Bucket: This is your primary tool for obsidian creation.
- An Empty Bucket: Used for scooping lava from a nearby pool.
- Non-Flammable Building Blocks: Cobblestone, dirt, or stone are ideal. You’ll need about 10-20 of these for scaffolding and shaping the portal.
- A Flint and Steel (or other fire source): To light the finished portal.
Phase One: Securing Your Obsidian Foundation
The first step is to locate a suitable lava pool. These are commonly found on the surface in badlands biomes, or underground in caves, often at Y-levels 11-13. Look for a lava pool that has a straight edge of at least four lava source blocks. This straight edge will be crucial for forming the base of your portal.
Building the Initial Obsidian Base
You have a couple of options for creating the first two obsidian blocks that form the bottom of your portal:
- The 2×2 Hole Method: Stand four blocks away from the straight edge of the lava pool, facing it. Dig a 2×2 hole, one block deep, directly in front of you. Now, place your water bucket on one of the blocks adjacent to this hole, allowing the water to flow into the 2×2 depression and over the lava. This will form two obsidian blocks. Break the blocks the water is on to pick up your water source.
- The Temporary Block Method: This is often quicker. Place a temporary, non-flammable block (like cobblestone) two blocks away from the lava pool’s edge. Place your water bucket on this temporary block. The water will flow over the lava, instantly creating obsidian. Break the temporary block and pick up your water. Repeat this process on the other side of where the portal’s base will be, ensuring you create two obsidian blocks that are four blocks apart (with two empty spaces in between for the portal’s inner frame).
Phase Two: Crafting the Obsidian Frame with Precision
With the two base obsidian blocks established, it’s time to build the vertical frame. This requires careful placement of scaffolding and precise water and lava management. There are two popular methods:
Method 1: The “Rock Paper Shotgun” Build
This method involves creating a specific mold to guide the water flow.
- Pillar up two blocks directly from one of your base obsidian blocks using your temporary blocks.
- From the top of this pillar, place four more temporary blocks in a stair formation to the right (or left, depending on your preference).
- From your current position (on the top stair block), build a 1-block wide 2×2 square using temporary blocks. This creates a small platform.
- Pillar out two blocks towards the lava pool from this platform, then remove the two blocks directly behind you (the ones connecting to the stair formation).
- Place your water bucket on the highest block of the structure behind you. The water should flow down and around, creating a controlled environment for obsidian formation.
- Now, using your empty bucket, scoop lava from the pool and carefully place it into the mold where the water is flowing. Each lava source block that meets the flowing water will turn into an obsidian block. Continue placing lava until all the necessary blocks for one side of your portal frame (three more blocks above the base) are formed.
- Once one side is complete, you can adjust your scaffolding and water placement to build the top and then the other side, always ensuring the lava flows into the water.
Method 2: The “Speedrunner’s L-Shape” Approach
This is a more streamlined approach often seen in speedrunning communities.
- After creating your two initial obsidian base blocks, build two temporary blocks upwards on one side of where the portal will be.
- On the other side, build an “L” shape. This involves placing one temporary block extending towards the portal and then three blocks upwards, forming a vertical segment. Ensure there’s a two-block air gap between the “L” shape and the two temporary blocks you just placed on the first side (this gap is where the portal’s inner frame will be).
- Place your water bucket on the corner block of the “L” shape (the highest block that extends towards the portal). The water will flow down and create a controlled stream.
- Now, carefully scoop lava with your empty bucket and place it into the flowing water to form the obsidian blocks for the vertical sides and the top of the portal. You will need to place lava in specific spots, allowing it to flow into the water stream to solidify. Work your way around the frame, forming all 10 obsidian blocks.
Both methods require a bit of practice to get the lava placement just right, but they are significantly faster than mining obsidian.
Phase Three: Ignition and Interdimensional Travel
Once all 10 obsidian blocks are in place, forming your 4×5 frame (with the 2×3 inner opening), the hardest part is over.
- First, retrieve your water source block by breaking the block it’s placed on. Wait for all the water to drain.
- Then, equip your Flint and Steel. Right-click on any of the inner obsidian blocks of the portal frame.
A purple, shimmering vortex will appear within the frame, signifying your successful construction. Congratulations, your express ticket to the Nether is now ready!
Optimizing Your Journey: Essential Tips for Nether Travel
Having a portal is just the beginning. Here are some pro tips to ensure your Nether expeditions are safe and efficient:
- Minimal Obsidian is Key: Remember, you only need 10 Obsidian blocks for the smallest functional portal frame. Don’t waste time or resources making the corner blocks, as they are purely aesthetic.
- Pre-Mining (If You Have Diamonds): If you happen to stumble upon diamonds early and craft a diamond pickaxe, mining obsidian is a viable alternative. However, for sheer speed, the water-lava method still usually wins as it avoids the diamond hunt entirely.
- Emergency Fire: Ghasts in the Nether can extinguish your portal with their fireballs. Always carry a spare Flint and Steel, or at least the materials to craft one (an iron ingot and a piece of flint). Getting stranded in the Nether without a way back is a common and unpleasant experience.
- Protection and Fortification: Upon entering the Nether, you might spawn in a precarious location. Immediately building a small cobblestone box around your portal can protect it from Ghasts and prevent hostile mobs from entering or exiting. Fortifying your portal hub in the Nether is crucial for long-term safety.
Avoiding Pitfalls: Common Mistakes in Portal Construction and Use
Even seasoned players can make mistakes. Be aware of these common blunders:
- Incorrect Frame Size: The portal frame must be between 4×5 and 23×23 blocks externally. Any other size will not activate.
- Forgetting a Lighting Tool: It sounds obvious, but many adventurers have built a perfect portal only to realize they left their Flint and Steel at home.
- Portal Linking Issues: Due to the 8:1 coordinate ratio, building multiple Overworld portals too close together can lead to them linking to the same Nether portal, or creating new, unexpected Nether portals. To ensure accurate linking, divide your Overworld X and Z coordinates by 8 to determine the ideal Nether coordinates for your corresponding portal.
- Getting Stranded: As mentioned, don’t enter the Nether without a plan for relighting your portal if it’s extinguished.
- Enclosing the Portal Too Tightly: While protecting your portal is good, completely blocking off the purple energy field with solid blocks can trap you inside, forcing you to break blocks to escape.
- Placing a Bed in the Nether: This is a classic Minecraft prank and a dangerous mistake. Beds explode violently when used in the Nether (or End), often resulting in instant death.
Conclusion: Your Express Ticket to the Nether
Building a Nether Portal quickly is a fundamental skill for any Minecraft player looking to advance efficiently. By mastering the water-lava obsidian creation technique, you can bypass the need for diamonds and establish your gateway to the Nether in record time. With careful planning, a steady hand, and an understanding of the mechanics, you’ll be traversing the fiery landscape and harnessing its unique resources in no time. Prepare for adventure, and may your journeys through the dimensions be swift and fruitful!
Tags:
YOU MAY ALSO LIKE...


