

Minecraft How to Build a Village
The most common oversight when aspiring to create a thriving settlement in Minecraft isn’t about grand designs or rare resources; it’s often the fundamental neglect of a villager’s most basic needs. Many players invest hours into constructing elaborate houses, only to find their villagers stagnant, refusing to breed, or worse, despawning. Understanding that a successful village isn’t just about buildings, but about meeting the specific, block-by-block requirements of its inhabitants, is the first step towards transforming a barren landscape into a bustling hub of activity.
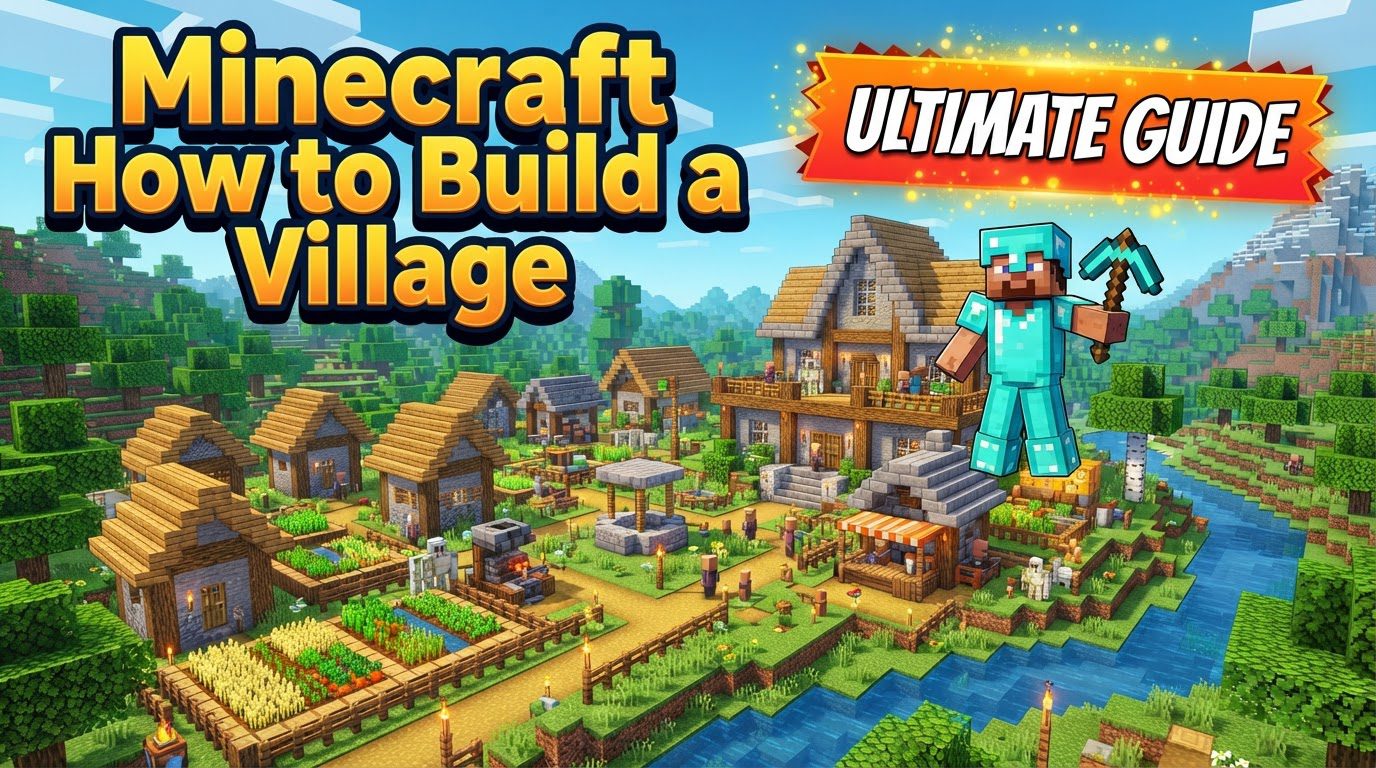
The Foundation: Understanding Villager Needs and Village Mechanics
Building a functional and thriving village in Minecraft hinges on a clear comprehension of villager behavior and the game’s mechanics for population growth and settlement recognition. Without this core knowledge, even the most aesthetically pleasing structures will fail to support a lively community.
- Villager Essentials: For a location to be recognized as a village and for its inhabitants to thrive, each villager requires a dedicated bed and an accessible workstation. These are fundamental for their well-being and the village’s operational status.
- The Breeding Cycle: Population growth is crucial. Villagers enter a “willing” state for breeding when they have sufficient food in their inventory: 12 carrots, 12 potatoes, 12 beetroots, or 3 loaves of bread. Only one food type needs to be met per villager.
- Beds for New Life: An accessible, unclaimed bed must be present for every new baby villager to be created. Without these extra beds, breeding will not occur, regardless of food supply.
- Village Recognition: The game primarily identifies an area as a “village” based on the number of beds within its vicinity. A sufficient quantity of beds signals a settlement, influencing mob spawns, trade options, and raid mechanics.
- The Farmer’s Crucial Role: Villager farmers are invaluable assets. They grow, harvest, and share food with other villagers, consistently contributing to keeping others “willing” to breed and fostering continuous population expansion with minimal player intervention.
Constructing Your Settlement: A Step-by-Step Guide
Once you grasp the underlying mechanics, you can begin the exciting process of building your village. Strategic planning and thoughtful construction will ensure both functionality and aesthetic appeal.
- Lay a Strategic Foundation: Plan your village layout carefully. Choose a suitable biome, clear an area, and consider a blueprint for efficient space use and future expansion. Think about defensibility from the outset, considering proximity to resources and water.
- Build Individual Homes: Construct houses, ensuring each structure provides at least one bed and a workstation for every intended resident. Get creative with multi-storied designs, stairs, and distinct rooms to enhance visual appeal and functionality. Remember, each villager needs their own bed to claim.
- Create Diverse Workplaces: Provide a variety of workstations (e.g., a fletching table for a fletcher, a lectern for a librarian, a blast furnace for an armorer) to encourage diverse villager professions. Distribute these throughout your village to maximize trade opportunities and ensure every adult villager can claim a job.
- Add Community Buildings: Incorporate structures that foster community, such as a central gathering area, a well, market stalls, or even decorative gardens. These add character and provide villagers with places to congregate, enhancing the immersive quality of your settlement.
- Build Connecting Roads: Connect all buildings with roads, ranging from simple dirt paths to elaborate stone or wood pathways. Roads improve aesthetic flow and aid villagers in pathfinding between homes, workstations, and other areas, enhancing overall village efficiency.
- Populate Your New Village: With the infrastructure in place, it’s time to bring in residents. You can transport villagers from an existing village using boats or minecarts. Curing zombie villagers is another effective method, often resulting in beneficial trades. Most sustainably, bring in a small initial group and encourage them to breed within your new settlement by providing ample food and a surplus of beds.
Avoiding Common Pitfalls in Village Building
Even experienced players can make mistakes that hinder village development. Being aware of these common issues will help you maintain a thriving and safe community.
- Insufficient Beds: A primary stumbling block. Failing to provide enough beds for all existing villagers and any desired offspring prevents population growth and can impede village recognition. Always aim for a surplus of beds to allow for natural expansion.
- Lack of Food for Breeding: Villagers require specific food items (bread, carrots, potatoes, or beetroots) in their inventory to become “willing” to breed. Neglecting this crucial need halts all breeding efforts. Establish a farmer villager or a reliable food farm early to ensure a continuous supply.
- Missing Workstations: Unemployed villagers are less functional. If villagers lack a dedicated workstation, they cannot claim a profession, limiting trade opportunities and the overall economic output of your village. Ensure a good variety and sufficient number of workstations are available for all adult villagers.
- No Protection Against Hostile Mobs: A village without defense is at constant risk. Forgetting to protect your villagers from zombies, skeletons, creepers, and especially Pillagers during raids, leads to their demise and the depopulation of your settlement. Prioritize perimeter walls, ample lighting, and iron golems.
- Inadequate Lighting: Hostile mobs spawn in dark areas. Insufficient lighting inside and outside buildings risks constant attacks on your villagers. Place torches, lanterns, or glowstone liberally to maintain high light levels throughout the entire settlement, creating safe zones.
- Ignoring Raid Mechanics: Pillager raids pose a significant threat. If you acquire the “Bad Omen” effect and subsequently enter your village, a raid will commence. Be prepared with defenses, or ensure you remove the effect (e.g., by drinking milk) before entering village boundaries to prevent a raid.
Nurturing Your Minecraft Community
Building a vibrant village in Minecraft is a rewarding endeavor that blends creative construction with strategic game mechanics. By diligently understanding the core needs of villagers-beds, food, and workstations-and systematically creating a safe, functional, and aesthetically pleasing environment, you can transform a simple plot of land into a bustling hub of activity. Remember, a thriving village is a nurtured village, requiring ongoing attention to defense, growth, and the well-being of its blocky inhabitants. Your dedication will be repaid with a dynamic center of trade, exploration, and endless possibilities within your Minecraft world.
Tags:
YOU MAY ALSO LIKE...


