

Minecraft How to Make a 1×2 Piston Door
One of the most common pitfalls for aspiring Redstone engineers in Minecraft is underestimating the power and precision required for even seemingly simple contraptions. A 1×2 piston door, while fundamental, introduces players to core Redstone mechanics that are vital for more complex builds. Mastering this basic design is a crucial step in becoming a proficient Redstone inventor, allowing for hidden entrances, automated pathways, and secure bases.
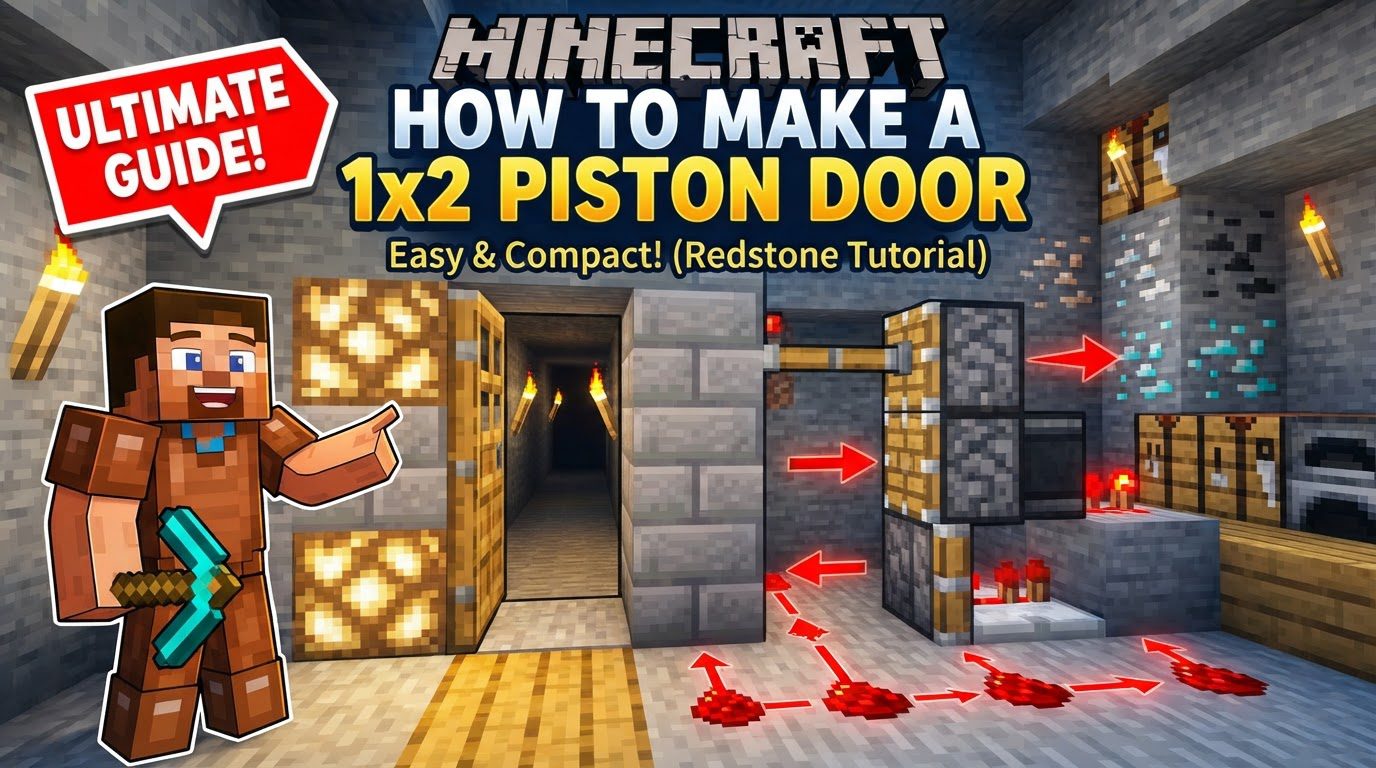
A 1×2 piston door is a compact mechanism that uses Redstone to extend and retract two blocks, creating an opening and closing doorway. It’s a staple in many Minecraft builds due to its utility and relatively straightforward construction, offering a practical demonstration of how sticky pistons, Redstone dust, and other components work in harmony.
The Essential Redstone Toolkit
To construct your 1×2 piston door, you’ll need a collection of Redstone components, each playing a critical role in the door’s functionality:
- Sticky Pistons: These are the heart of any piston door. Unlike regular pistons, sticky pistons not only push blocks when powered but also pull them back when depowered. For a 1×2 door, you’ll typically use two sticky pistons stacked vertically on each side of the opening, or a combination of forward-facing and upward/downward facing pistons to create a “flush” effect where the door blocks completely retract into the wall. Without sticky pistons, your door blocks would never return to their closed position.
- Redstone Dust: The primary conductor of Redstone power. Redstone dust transmits signals from input mechanisms to pistons and other components. It can be placed on top of solid blocks or along the ground to create a circuit. Understanding how Redstone dust powers adjacent blocks and components is key to efficient wiring.
- Redstone Torches: These components serve as a constant power source or an inverter. A Redstone torch will power adjacent blocks and Redstone dust. When placed on the side of a block that is powered, the torch will turn off, acting as an inverter – a crucial concept for many Redstone circuits, especially when needing to power pistons from specific locations or create specific timing.
- Redstone Repeaters: Repeaters have two main functions: they extend Redstone signals over longer distances (as Redstone dust signals degrade after 15 blocks), and they introduce adjustable delays. These delays are absolutely vital for complex piston actions, particularly for flush doors where blocks need to retract or extend in a precise order to avoid getting stuck or leaving gaps. Each repeater can add a delay of 0.1 to 0.4 seconds.
- Input Mechanisms: These are how you interact with your door.
- Levers: Provide a constant on/off signal, ideal for doors you want to keep open or closed for extended periods.
- Buttons: Emit a momentary pulse of Redstone power, causing the door to open and then automatically close after a short duration.
- Pressure Plates: Activate when a player, mob, or item stands on them, providing an automatic opening/closing mechanism, perfect for seamless passage.
- Solid Blocks: Used for construction, to place Redstone dust on, and to transmit power from Redstone torches. Ensure they are solid blocks that can conduct Redstone power, not transparent blocks like glass (though glass can be used to transfer power vertically in some specific setups).
- Block Updates (Advanced): While simpler 1×2 doors generally don’t require them, more advanced designs, especially in Java Edition, might leverage “Block Update Detectors” (BUD switches) or quasi-connectivity to activate pistons under specific conditions. For this basic guide, we’ll stick to direct Redstone power.
Constructing a Basic 1×2 Piston Door: A Step-by-Step Guide
Let’s build a functional 1×2 piston door that opens and closes with a simple input.
- Define Your Doorway and Place Pistons:
First, decide where your 1×2 door opening will be. This means a space two blocks high and one block wide. On either side of this intended opening, place two sticky pistons stacked vertically, facing inwards towards where the door blocks will eventually go. For example, if your opening is at Y-level 64 and 65, you’d place a sticky piston at Y-level 64 and another at Y-level 65 on both the left and right sides.
- Add Door Blocks:
Place your desired door blocks directly onto the faces of the sticky pistons. These are the blocks that will move to create and seal your doorway. Choose any solid block material you like, such as stone, wood, or even obsidian (if you want an un-mineable door).
- Establish Redstone Power Sources for Pistons:
Behind each stack of two pistons, place solid blocks. For the bottom piston, you can directly power the block it’s attached to with Redstone dust. For the top piston, you’ll need to power the block above it, or use a Redstone torch to power the side of the block the top piston is attached to. A common method is to place a solid block behind the bottom piston, a Redstone torch on top of that block (which powers the top piston), and Redstone dust on the ground behind the torch to power the bottom piston and eventually link to your input.
- Wire the Base:
Dig a trench or create a hidden pathway extending from the Redstone dust behind your piston setup. This pathway will lead to your chosen input mechanism. Ensure the Redstone dust runs continuously and isn’t broken by non-conducting blocks or gaps.
- Place Your Input Mechanism:
Position your chosen input (lever, button, or pressure plate) in a convenient and accessible location. Connect this input directly to your Redstone wiring pathway. For pressure plates, you’ll typically place them directly on the Redstone line or on blocks adjacent to it, allowing them to power the Redstone below.
- Incorporate Repeaters (If Necessary):
If your Redstone signal needs to travel more than 15 blocks to reach the pistons, or if you notice the door isn’t opening/closing reliably, place Redstone repeaters along your Redstone dust line. Place them facing the direction of the signal flow. For a simple door, default (no delay) settings are usually fine. For more complex or flush doors, experiment with repeater delays by right-clicking them.
- Conceal the Mechanism:
Once your door is fully functional, cover all visible Redstone wiring and components with non-redstone-conducting blocks to hide the mechanism. Integrate it seamlessly into your build, creating a clean and professional appearance. Make sure not to place blocks that would interfere with the Redstone dust’s path or block the pistons’ movement.
Advanced Considerations and Expert Tips
While the basic 1×2 door is a great start, you can enhance its functionality and appearance with a few advanced techniques:
- Flush Doors: For a truly “flush” or “hidden” door that blends seamlessly into a wall, the design becomes more intricate. This often requires additional sticky pistons that push the door blocks into a recessed area within the wall, making them completely invisible when closed. These designs demand precise timing with Redstone repeaters to ensure blocks move in the correct sequence.
- Dual Activation: To open and close the door from both sides (e.g., inside and outside a base), you’ll need to wire two input mechanisms. This usually involves an XOR gate circuit, which is a Redstone logic gate that outputs a signal only if an odd number of inputs are active. This allows either input to toggle the door’s state independently.
- Timing is Key: For any piston door beyond the simplest design, especially flush doors, Redstone repeaters are absolutely crucial. They ensure that pistons extend and retract in the correct sequence, preventing blocks from getting stuck, pushed into the wrong place, or jamming the mechanism. Experiment with different repeater delay settings (1 to 4 ticks) until the movement is smooth and reliable.
- Version Differences: Be aware that Redstone mechanics can sometimes differ slightly between Java and Bedrock editions of Minecraft. Some advanced designs, particularly those relying on quasi-connectivity or specific block update orders, might need tweaking or complete redesigns to work across both versions. Always test your designs in your target version.
- Experimentation is Your Best Teacher: Redstone can be complex and sometimes counter-intuitive. Don’t be afraid to experiment! Place components, try different repeater delays, and observe how changes affect the circuit. Trial and error is a fundamental part of mastering Redstone.
- Material Matters: Always use solid blocks for construction around Redstone dust and components. Transparent blocks like glass, glowstone, or leaves will block Redstone dust power from passing through them, though they can sometimes be used to transfer power vertically in specific circumstances.
Common Pitfalls and Troubleshooting
Even experienced builders can run into issues with Redstone. Here are some common mistakes and how to address them:
- Incorrect Piston Type: The most frequent mistake is using regular pistons instead of sticky pistons. Regular pistons will push your door blocks but will not pull them back, leaving your door permanently open. Always double-check that you’re crafting and placing sticky pistons.
- Insufficient Power: Redstone signals degrade over distance. If your door isn’t activating, or only partially activates, the Redstone signal might not be reaching all components with enough strength. Place Redstone repeaters every 15 blocks or fewer along long Redstone dust lines to refresh the signal.
- Improper Repeater Delay: Especially for flush doors, incorrect repeater settings can cause blocks to be left behind, pushed into unintended locations, or the entire mechanism to jam. Systematically adjust repeater delays, one tick at a time, and test after each adjustment until the door operates smoothly.
- Redstone Crossover: Allowing Redstone dust lines to connect unintentionally can lead to unexpected behavior, short circuits, or circuits failing to work altogether. Use solid blocks, repeaters, or different Y-levels to separate Redstone signals and ensure they only power their intended components.
- Lack of Space: Complex 1×2 doors, particularly flush designs, require a significant amount of hidden space behind and around the door for the Redstone circuitry. Attempting to cram too much Redstone into a small area often leads to crossovers or components interfering with each other. Plan your space carefully.
- Ignoring Version Compatibility: A design that works perfectly in Java Edition might not work at all in Bedrock Edition without modifications, and vice-versa. Always consider which version you’re playing on and search for version-specific tutorials if you’re struggling with a particular design.
Building a 1×2 piston door is more than just a functional addition to your base; it’s a foundational lesson in Redstone engineering. By understanding each component and carefully following the steps, you’ll gain valuable experience that can be applied to countless other contraptions, opening up a world of automated possibilities in Minecraft.
Tags:
YOU MAY ALSO LIKE...


